

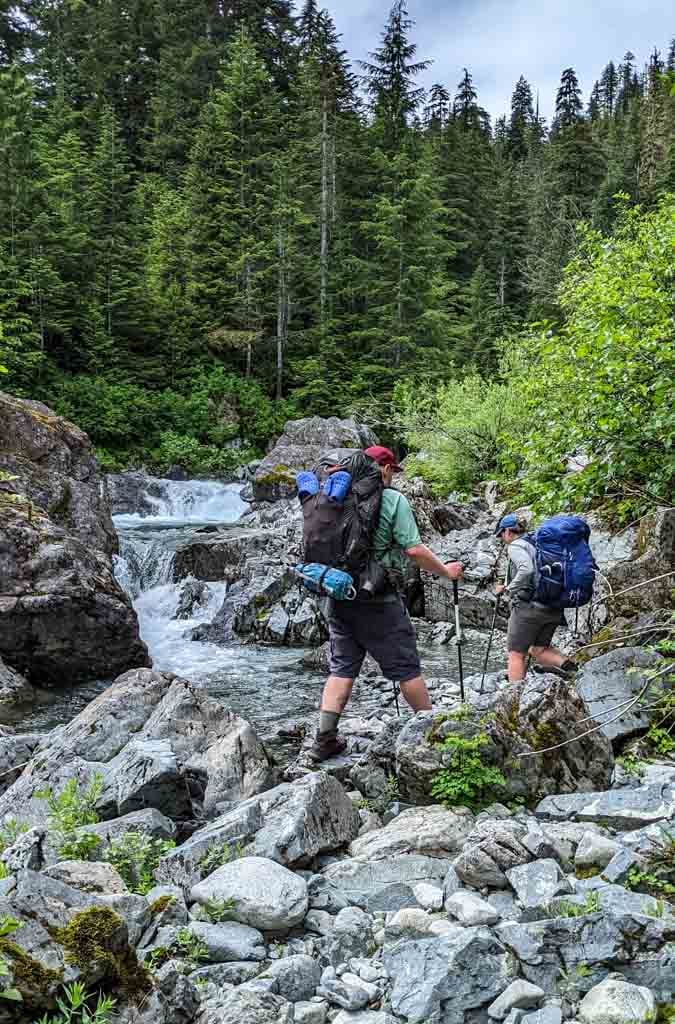
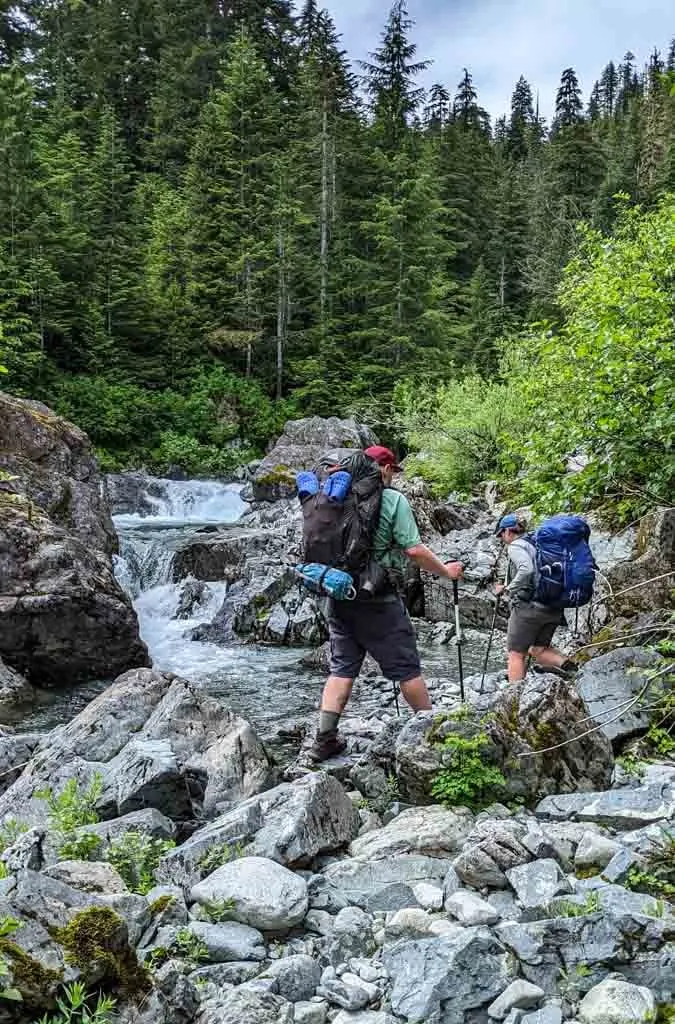
Backpacking is a natural extension of day hiking as you trek further into the wilderness. The major downside is having to carry all that gear. I’ve been backpacking for 20 years and have come up with lots of ways to reduce your backpack weight.
I’m definitely not an ultralight hiker (more on what that is below), but I’m a gear geek and have refined my backpacking gear choices over the years to prioritize low weight without sacrificing safety or too much comfort.
This guide to ways to reduce your backpack weight includes:
- Why should you reduce your backpack weight? What are the advantages?
- What is “Ultralight? Should you be an ultralight backpacker? What are the downsides?
- Over 20 ways to reduce your backpack weight including what to look for when shopping for gear and what to leave behind.
Hey there: Some of the links in this post are affiliate links, which means I earn a small commission at no cost to you. Thanks for your support. -Taryn

Why Should You Reduce Your Backpack Weight?
Maybe you’ve been on a few backpacking trips and you’ve thought: “This weight is manageable. I can hike with this.” And that’s probably true.
The general rule is that your backpack should weigh less than 20 percent of your body weight. But using that rule, if you weigh 200 lbs (91 kg), your pack could weigh up to 40 lbs (18 kg). That’s a lot of weight!
But what if your pack were a bit lighter? How would it feel then? Chances are, it would feel pretty good! Here are my top reasons why you should reduce your backpack weight:
- It’s more comfortable. It’s common to have sore shoulders and hips after backpacking. I bet you don’t feel that way after day hiking since your pack is lighter.
- It’s easier on your body. If you’re recovering from injury, or just dealing with aging, the less weight you carry, the less stress you put on your body. And over time, that can be an important factor in extending your backpacking career.
- You can move faster and cover more ground with a lighter pack. And that really opens up a ton more options for backpacking trips.
- It prevents injury. Carrying a heavy pack puts more strain on your body, especially your ankles and knees. You are also likely to be more tired when your backpack is heavy, and fatigue can lead to tripping and falling.
- It’s easier to balance when a heavy pack isn’t affecting your center of gravity. With a lighter pack, you will find technical terrain or creek crossings easier.
- It’s easier to stay organized. If you have less stuff to misplace, you won’t waste time looking for it.
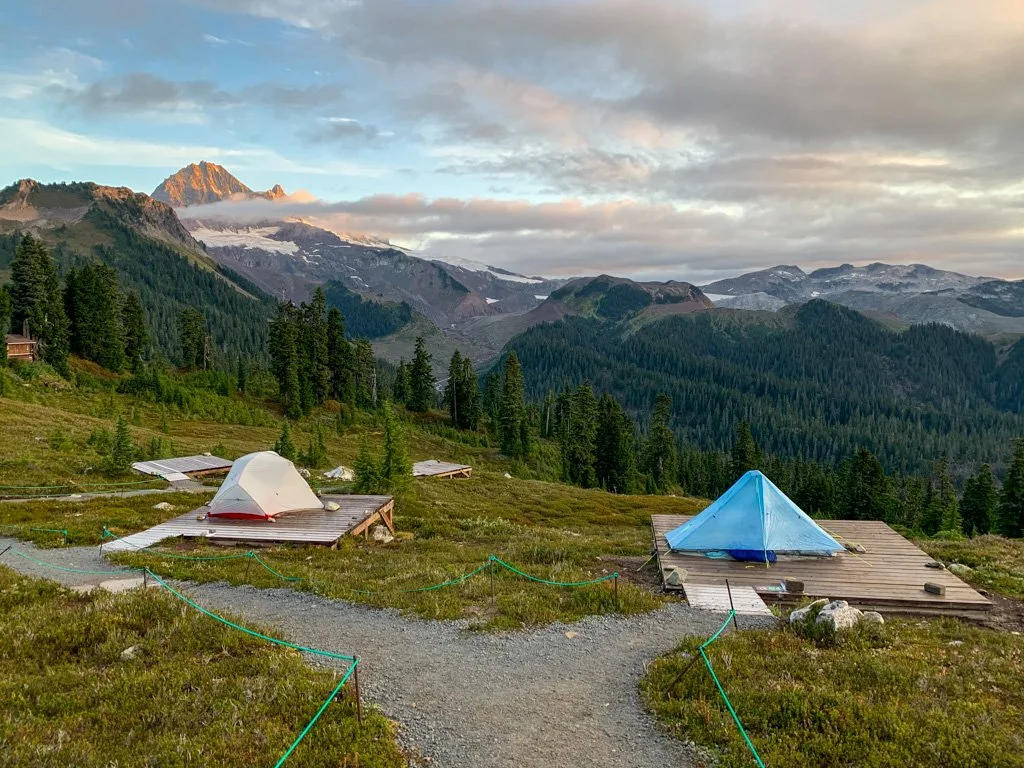
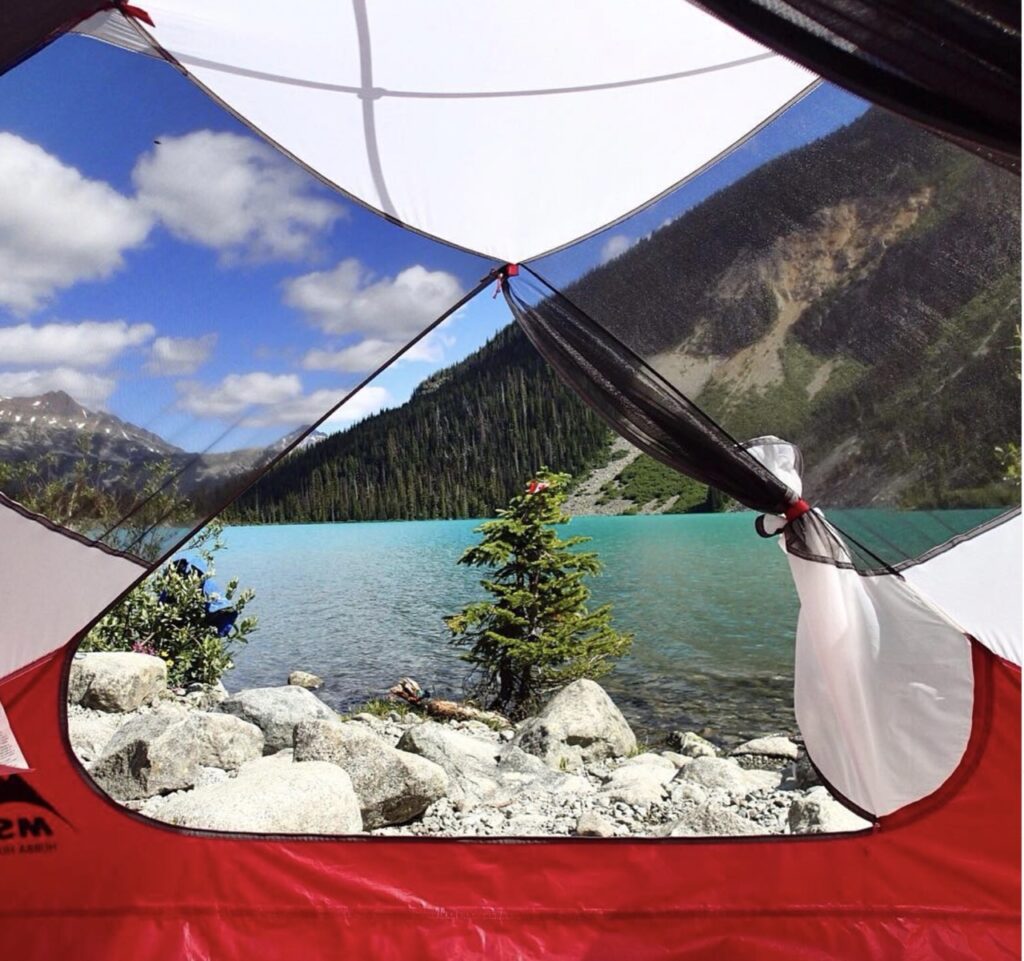
- It lets you bring luxury items. If you save weight on your gear, you can bring some non-essentials. My husband pushed for us to get an ultralight tent because he loves bringing his chair on trips. With the weight we saved on the tent, he doesn’t mind the weight of the chair.

What is “Ultralight”? Should You Be an Ultralight Backpacker?
If you’ve spent any time researching gear or talking to backpackers, you’ve probably heard the term “ultralight“. But what does it mean?
There is no established definition of ultralight, but in general, it means carrying the lightest (and sometimes least) amount of gear possible.
Some people define ultralight by your base weight, which is the weight of everything in your backpack, minus consumables like food, water, and fuel. A common ultralight base weight is between 10 and 15 pounds (4.5 to 6.8 kg).
Psst! Looking for more outdoor slang definitions? Check out this post: 300+ Hiking Terms Explained: A Hiking Glossary
Ultralight is not just a base weight definition – it’s also a mindset and a subculture. Some backpackers find it fun to obsess over the latest and greatest ultralight gear. They continually tweak their backpack contents to achieve lighter and lighter base weights. And they spend tons of time in ultralight sub-Reddits, forums, and Facebook groups chatting about gear.
A Few Words of Caution About Going Ultralight
But the ultralight mentality also has a few negative aspects.
Firstly, some people get obsessive about being ultralight and take it too far: It’s easy to get caught up in the hype and chase a low base weight number instead of thinking about safety. When deciding what gear to leave behind, make sure you take safety gear, including the ten essentials.
Second, it’s important to remember that backpacking is supposed to be fun. Sometimes people going super ultralight lose sight of that. They drop their pack weight so far that they aren’t comfortable and their trip isn’t fun. Make sure that you bring the right gear to keep you warm, ensure you get a good sleep, and have some tasty food.
The third negative aspect of ultralight backpacking can be a big barrier for many people: Ultralight gear is ridiculously expensive. Much of it is made by small companies using unusual materials, which accounts for the high prices. Since ultralight gear can be a big investment, do a lot of research and read reviews before you buy.
And lastly, ultralight gear is often not very durable. It’s made with very thin and lightweight materials that can easily snag, rip, or crack. You really have to take care of ultralight gear if you want it to last. Frequent patches and repairs are the norm, not the exception.
How to Reduce Your Backpack Weight
I’ve been backpacking for 20 years. In that time I’ve been on dozens of trips and spent hundreds of days carrying a fully loaded backpacking pack. I even wrote two backpacking guidebooks.
On my first backpacking trips I used borrowed gear that didn’t fit me and was really heavy. I brought tons of clothes. I loved the scenery and being outdoors, but the weight of the pack made hiking miserable. Since then I’ve refined my backpacking gear list over and over, trying to save weight while maintaining comfort.
I’m definitely not an ultralight hiker by any definition (my base weight is usually around 18-20 lbs./8.2-9.1 kg), but I do keep ultralight principles in mind when packing.
Here are the top tips for reducing your backpacking pack weight that I’ve picked up over the years:
1. Use a Scale
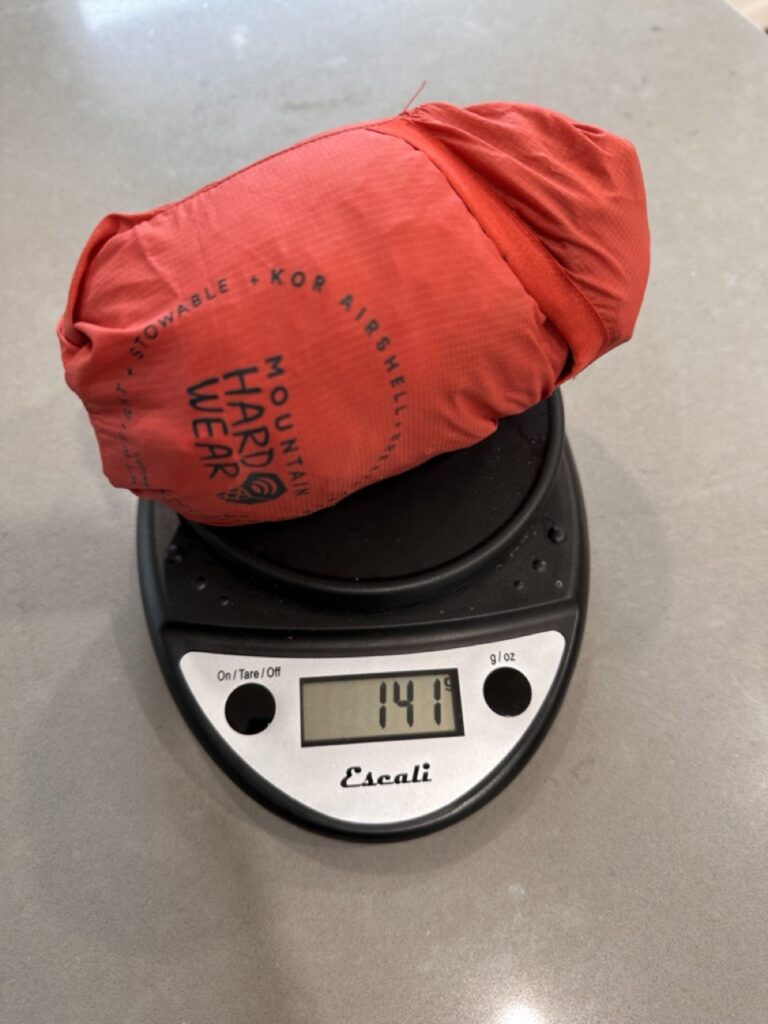
The first thing you need to do if you are going to reduce your backpack weight is to get a scale and weigh everything. If you don’t know how much something weighs, how are you going to know if you can find a lighter option?
I use a basic digital kitchen scale to figure out how much each piece of gear weighs.

I also keep a digital luggage scale in the car so I can weigh my fully loaded backpack at the trailhead at the beginning and end of my trip. That way I know how much weight I am carrying including food, water, and fuel, as well as how much lighter it was at the end of the trip.
On group trips, we also use the luggage scale to figure out how to split up shared gear so that no one is overloaded.
2. Make a Gear List (or Use an App)
After you get the weights of all your gear, you need some way to organize it. The old-school way was to plug everything into a spreadsheet so you could virtually add and subtract things from your pack to see what impact they had on your overall weight.
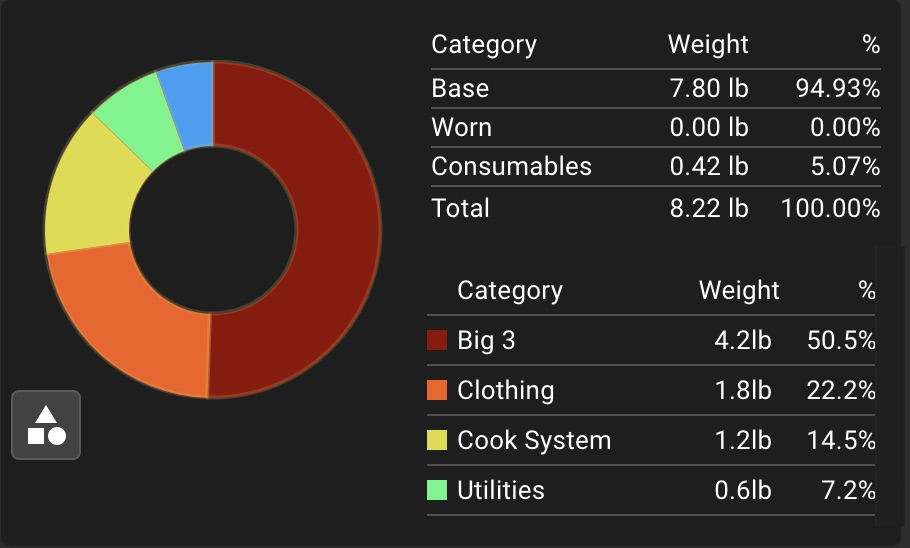
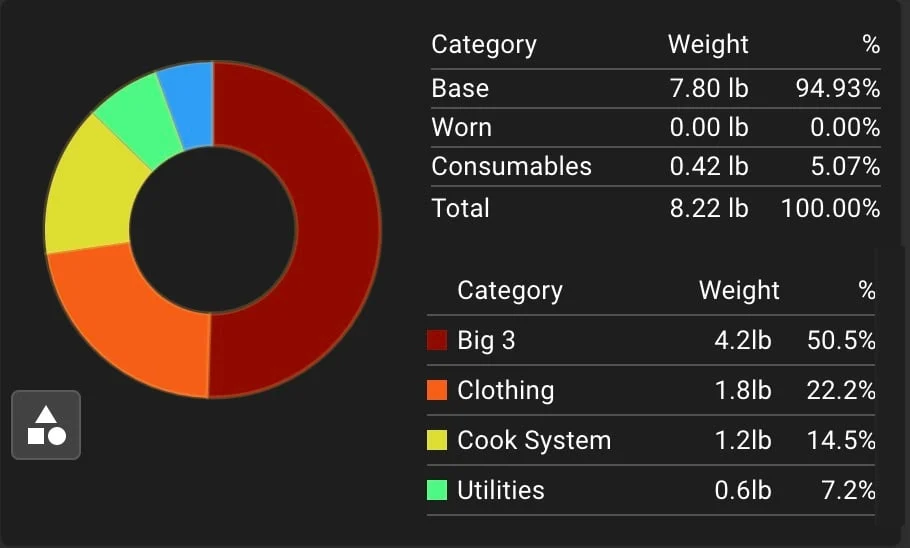
But these days there is an easier solution: pack weight web apps like Lighter Pack and Pack Wizard. Both of these apps let you build a personalized gear list including weights of each item. Then you can virtually add them to your pack.
These apps help visualize what your loaded pack will weigh with various gear configurations for different types of trips. They also let you categorize your gear so you can see how much weight you are carrying in each category. I really like the pie charts they produce.
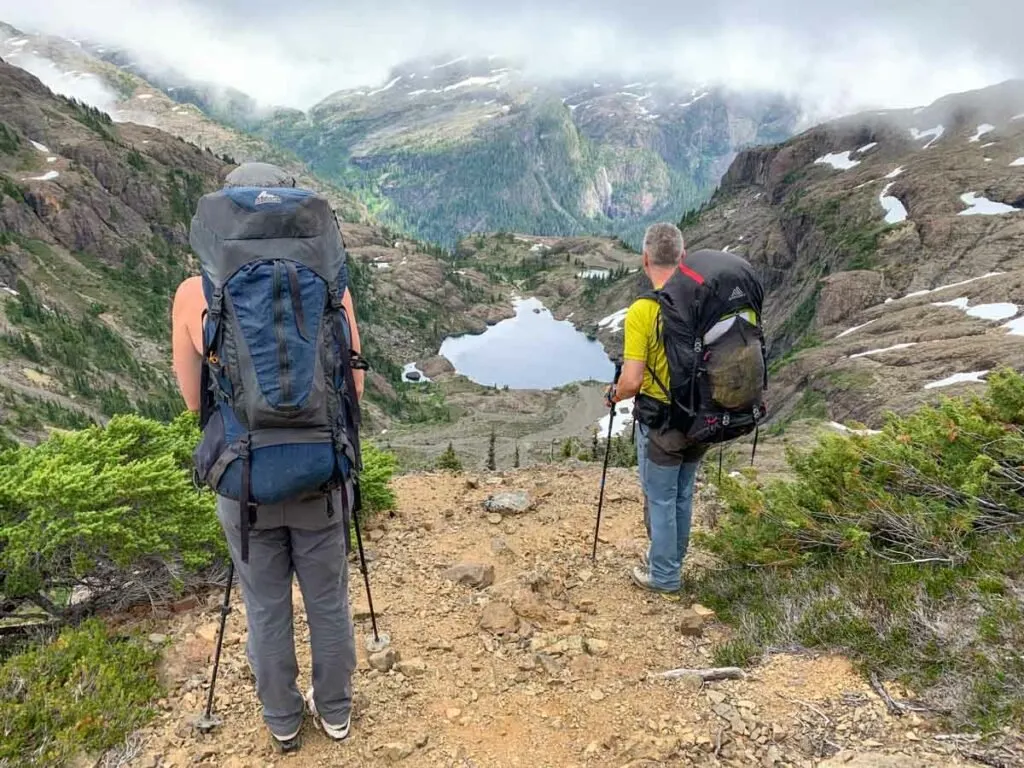
4. Focus on The Big Three
The easiest way to drop weight is to focus on what ultralight hikers commonly call The Big Three: your tent, backpack and sleep system (sleeping bag and pad). These are usually the heaviest items that backpackers carry so if you can drop weight from The Big Three, it can make a huge difference.
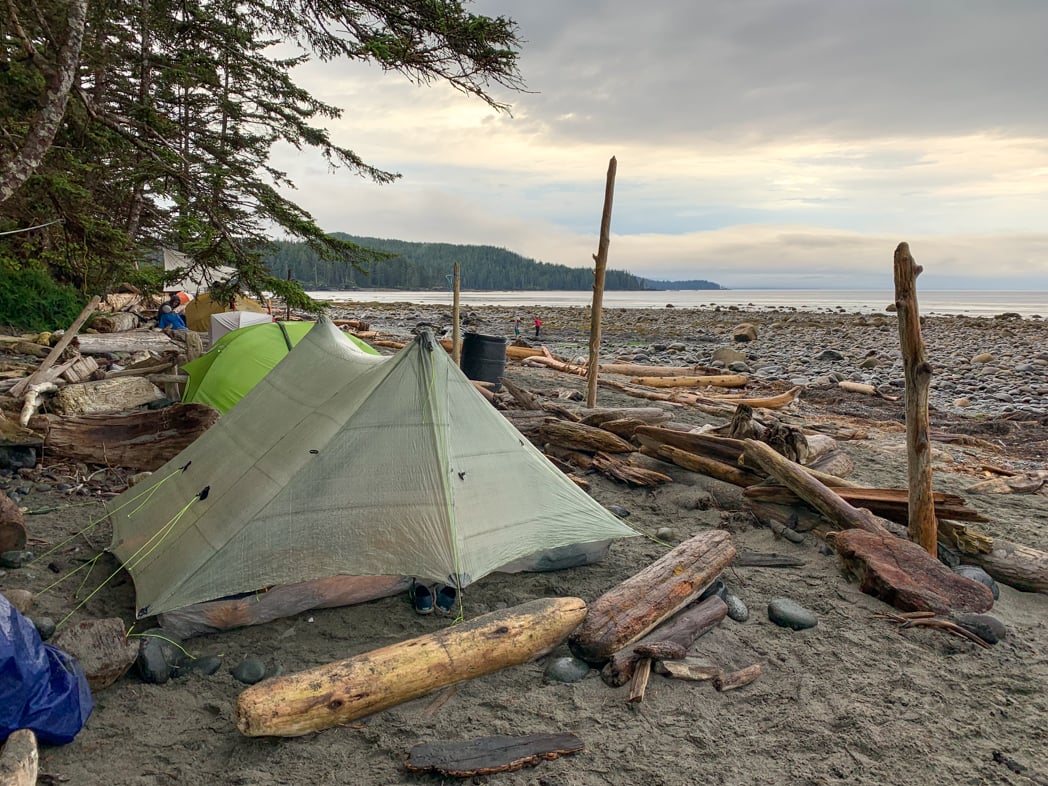
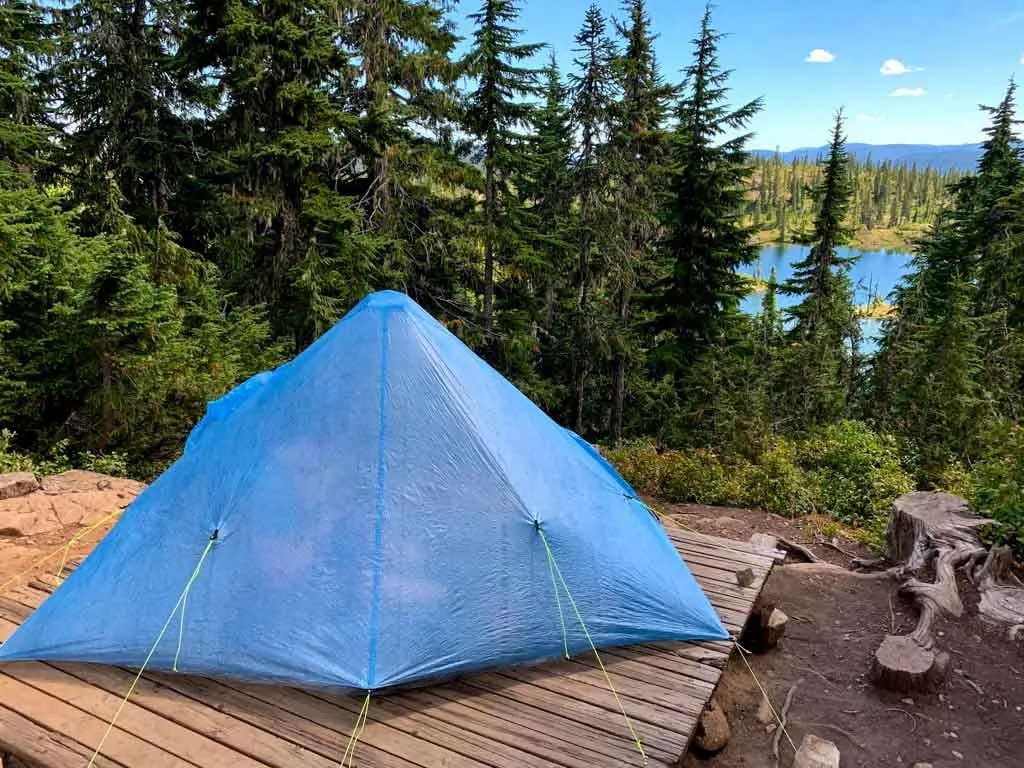
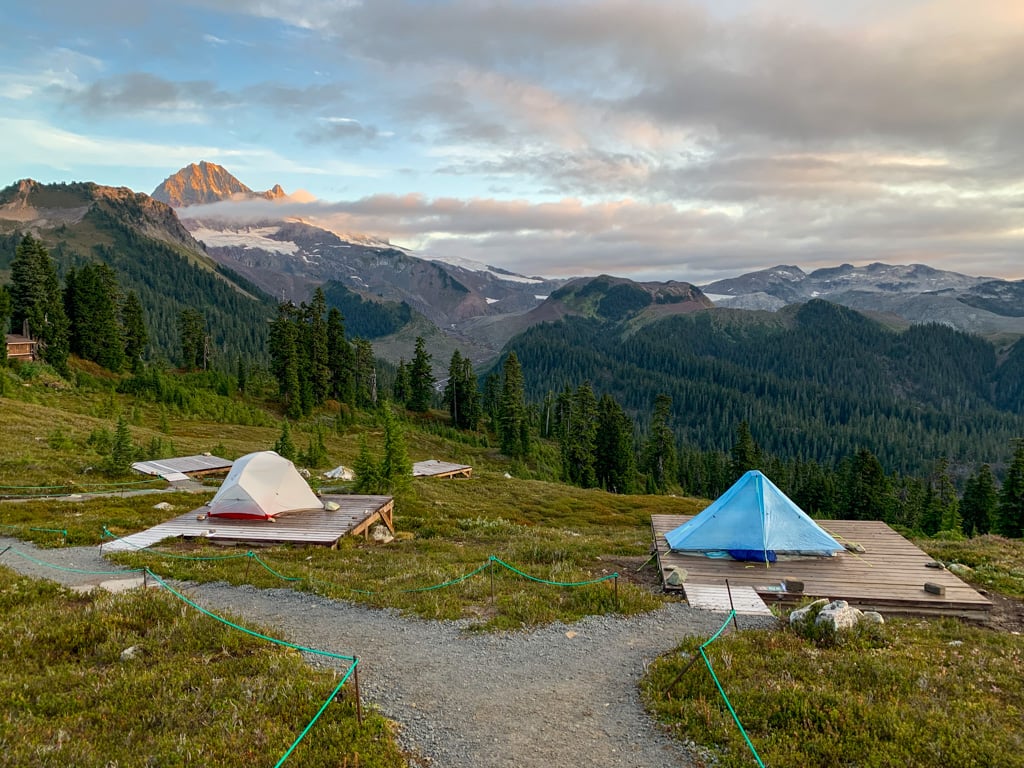
Lightweight Tents
If you are looking to drop some weight from your shelter, consider an ultralight tent. True ultralight tents like the Zpacks Duplex weigh about 2 lbs/ 0.9kg or less. To achieve such a low weight they use fragile (and expensive) materials like Dyneema or very thin silicone-treated nylon or polyester. Many are not free-standing so they can be a challenge to pitch, and they often require you to use trekking poles as tent poles.
If you aren’t ready to go full ultralight when buying a new tent, there are some great mainstream lightweight tent options. They are a bit heavier than ultralight tents, but they are more durable, easier to use, and less expensive.
I’ve loved my MSR Hubba Hubba for years, but I’ve also heard great reviews for the Big Agnes Copper Spur HV UL and the NEMO Dragonfly OSMO. They all weigh just under 3 pounds but are fully freestanding.
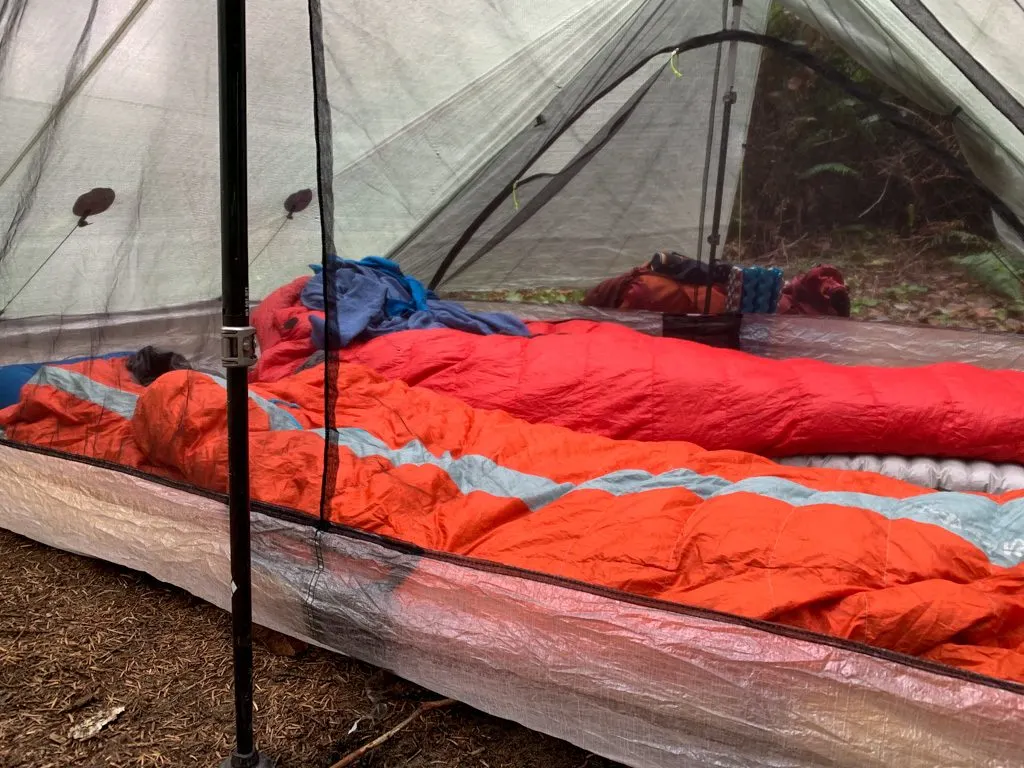
Lightweight Sleep Systems
The sleeping bag and pad you choose will depend a lot upon the temperatures you plan to backpack in.
Many ultralight hikers choose to forgo a sleeping bag entirely and use an ultralight quilt instead. These can be great in milder temperatures, but won’t keep you warm if it’s much below freezing. Pay attention to temperature ratings when shopping.
Whether you are looking for a quilt or sleeping bag, keep a few things in mind while shopping for lightweight versions. In general, down is lighter than synthetic insulation (although there have been some great tech advances in synthetics in the last few years).
Look for down sleeping bags or quilts with high fill-power down and ultralight face fabrics (20-denier or less). I love my Therm-a-rest Ohm 32F/0C. It’s super light and converts to a 2-person quilt. I recently got the MEC Aphelion UL -7C Down sleeping bag. It weights just 700g (25 oz) and is plenty warm.
You can also save a lot of weight on your sleeping pad, but make sure you get one that provides enough insulation (measured as R-value) for the temperatures you will face. Some ultralight hikers prefer cheap and durable closed-cell foam pads like the Therm-a-rest Z-lite (14 oz/410 g).
But many people find those uncomfortable and opt for an inflatable pad with insulation. The Therm-a-Rest NeoAir XLite is the OG lightweight pad in this category, weighing just 13 oz/370 g. Another popular lightweight option is the Sea to Summit Ether Light (16.6 oz/470 g).

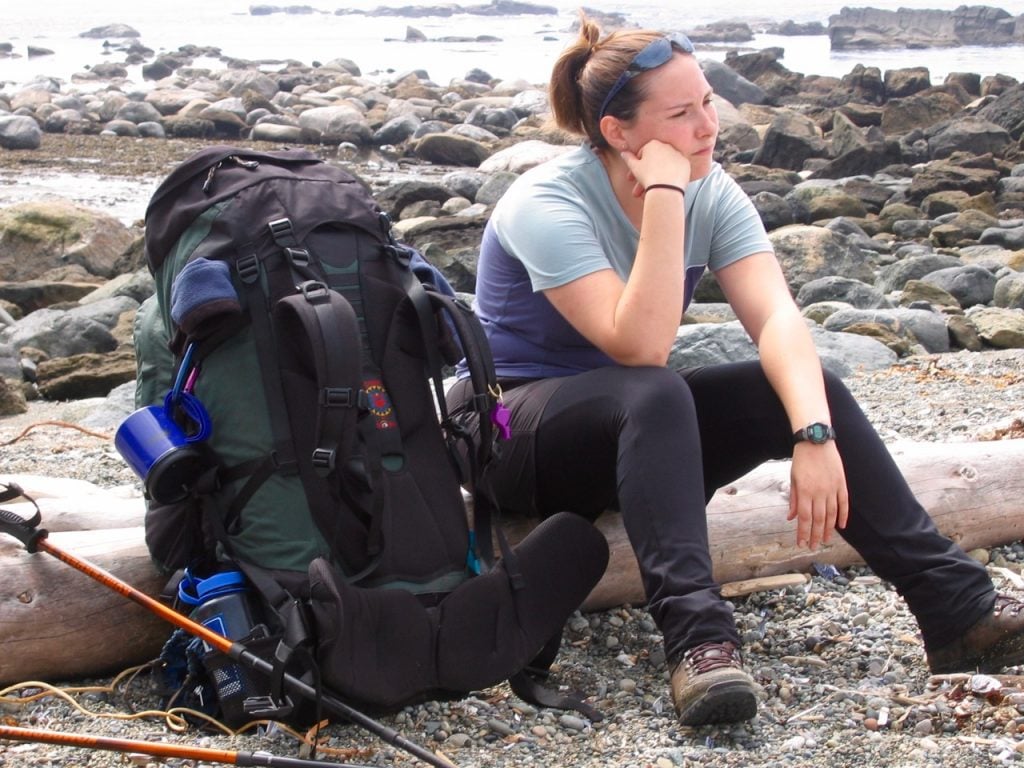
Lightweight Backpacks
Your backpack is the last piece of gear you should upgrade. If all of your gear isn’t ultralight yet, it won’t fit into an ultralight backpack and it won’t be comfortable to carry.
In general, most mainstream 60L backpacking packs weigh 3.5 to 4.5 lbs (1.6 to 2 kg). I carry the Gregory Amber 65 (3.55 lbs./1.6 kg) which is on the lighter side of mainstream but certainly not ultralight. (The men’s version is the Gregory Stout.)
Heavier packs like the Osprey Aether 65 (4.92 lbs./2.23 kg) and Ariel 65 (4.85 lbs./2.2 kg) have more comfortable harnesses, thicker and more durable fabric, and more features, like extra pockets. But at nearly 5 pounds, they are twice as heavy as an ultralight pack.
Ultralight packs have less robust harnesses, so they won’t be comfortable with heavy loads. Sometimes they don’t even have an internal frame to distribute the load. They also have few features and internal pockets but often have big and stretchy external pockets. Popular ultralight packs like the Hyperlite Southwest 55 typically weigh around 1 kg (2.2 lbs.)
5. Carry Less Clothing
Clothing is usually the second heaviest category of gear that backpackers carry after The Big Three. It’s important to carry warm and waterproof clothing in case of bad weather. But lots of backpackers carry a lot of extra clothing just in case.
Dial in your clothing system so that you have only what you need. Skip the extras and the just-in-case layers. My goal for a trip is to layer all the clothing I bring so I can withstand the coldest temperature I face.
And don’t worry about needing extra clean clothing. Besides an extra pair or two of socks and underwear, you don’t need clean clothing. Embrace the stink!
6. Choose Lightweight Jackets
Jackets are often the heaviest clothing item that backpackers carry. Depending on the trip, you might be carrying a rain jacket, a fleece jacket, and/or a puffy jacket. The weight of jackets can add up and you often need them to ensure you stay dry and warm.
If you’re shopping for a rain jacket, look for lightweight options. These usually have 2.5-layer construction rather than 2-layer or 3-layer construction since it minimizes bulk. However, 2.5-layer options are generally less breathable and less durable.
If you’re looking for a recognizable technology, Gore-Tex Paclite is very lightweight. I love my Mountain Hardwear Minimizer jacket with Paclite. It weight only 8 oz/225g and has stood up to some intense rainstorms.
For an insulated jacket, opt for down over synthetic to save weight and bulk. Just like with sleeping bags, look for high fill-power and thin face fabrics. I love my Arc’teryx Cerium as it is so toasty warm. I’ve also heard great things about the Mountain Hardwear Ghost Whisperer.
I love wearing fleece and bring one on every backpacking trip. In general, choose a fleece that weighs less than about 10 oz/283 g. You don’t need a heavy-weight fleece. To save weight, look for ones made of grid fabrics or airy knits like Polartec Alpha Direct that trap warm air. That way you can get more warmth for the weight.
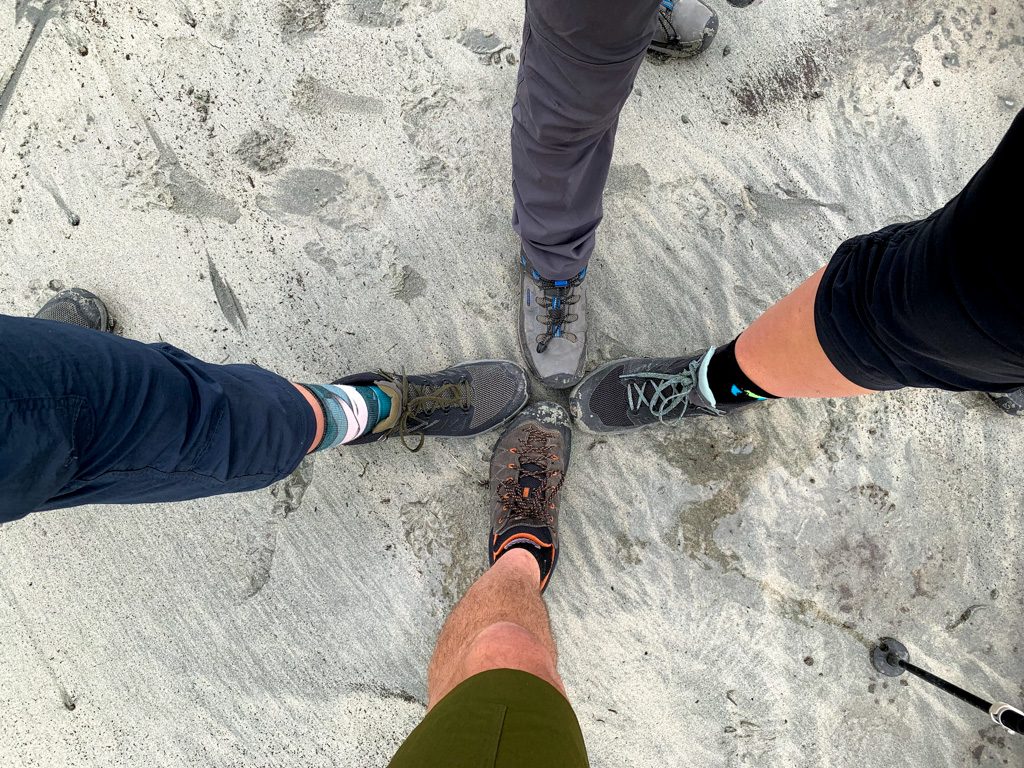
7. Skip the Heavy Hiking Boots
Full-height leather hiking boots are really heavy. For example, the full-leather Zamberlan Vioz GTX hiking boots weigh 3 lbs 8 oz (1.59 kg) a pair. For every step you take in those, you’ll be lifting up 3.5 pounds of weight!
In comparison, Altra Lone Peaks, the trail runner of choice for thru-hikers weighs just 10.6 oz (300g). That’s a huge difference.
Of course, there are big trade-offs there. Traditional hiking boots offer more ankle support, foot stability, waterproofness, and durability compared to trail runners. If you aren’t used to hiking in trail runners with a weighted pack, don’t just jump in – you could injure yourself.
The good news is that there is a huge spectrum of footwear in between lightweight trail runners and huge traditional leather hiking boots. I like the Salomon X Ultra Mid Gore-Tex hiking boots. At 1 lb. 14 oz. (850 g) they are a nice compromise on weight while providing some durability and stability.

8. Understand Hiking Weather Forecasts
For me, the key to carrying less clothing (and choosing the right sleep system for each trip) is to pack for the weather forecast. But looking at a city forecast is usually useless since the weather is very different in the mountains.
I use an algorithmic forecast like Spotwx to get weather predictions for the exact elevation where I’ll be camping.
Psst! My guide to the best weather apps for hiking has more weather tips.

9. Carry a Thermometer
A few years ago I started carrying a thermometer on all my backpacking trips. It’s been really helpful to know the exact temperature so I can dial in my clothing and sleep system choices for different temperatures. I make a note of the temperature, what I packed, and if it worked. That way I can adjust for the next trip.
I started out with a cheap zipper-pull thermometer, but last year I upgraded to the digital ThermoDrop. It’s just as tiny and only a few dollars more. But it has the added feature of recording the lowest and highest temperatures since the last time it was turned off. That means I can keep track of the coldest temperature overnight without waking up to check!
Psst! The ThermoDrop made my list of my favourite gear of 2022.
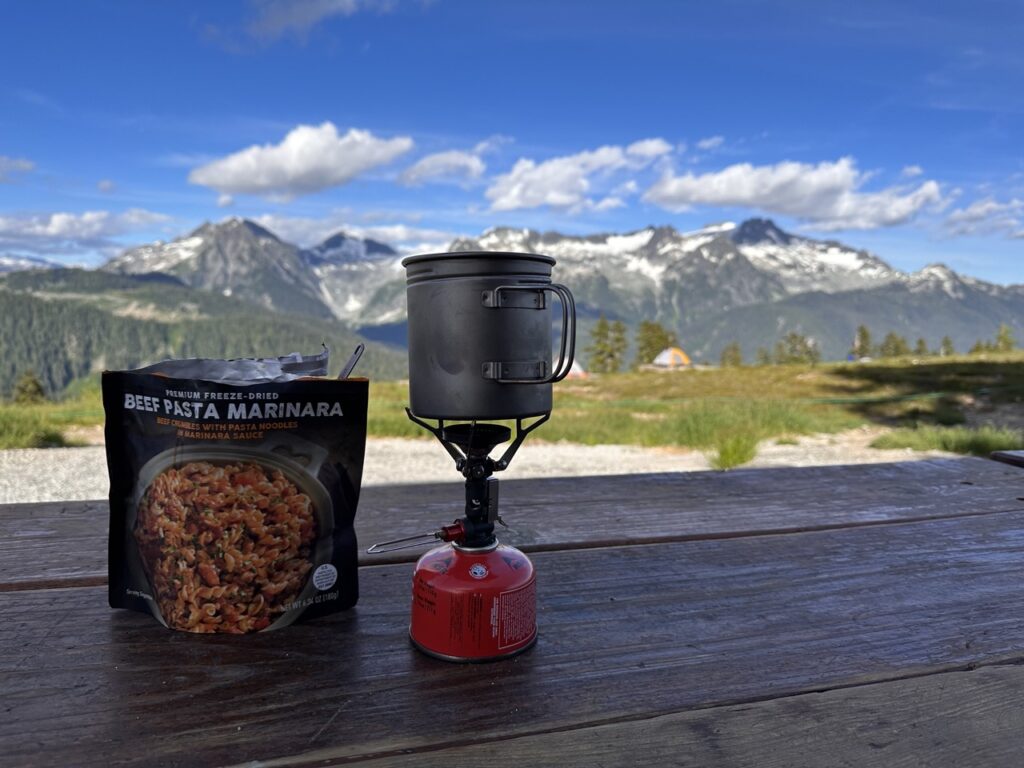
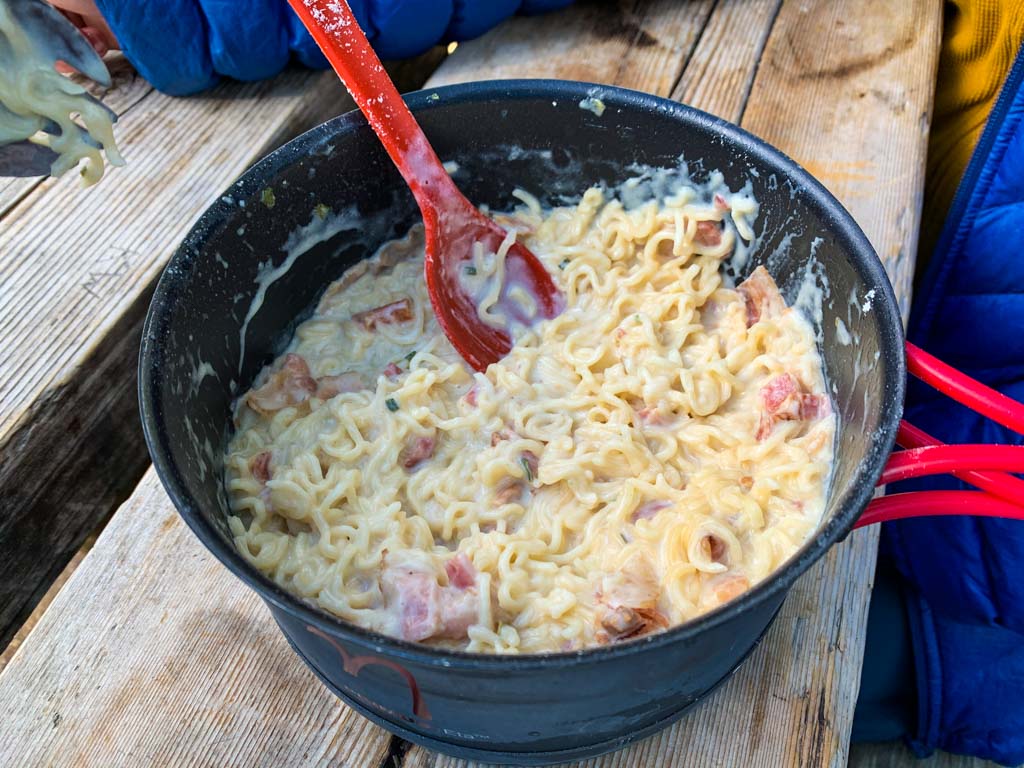
10. Streamline Your Cook System
If all you are doing is boiling water, you don’t need multiple pots. And while Jetboils and other stove systems are super popular for their reliability and speed, they are fairly heavy. (The Jetboil Flash weighs 13.1 oz/371 g.)
Pare your cook system down to a tiny stove and one small pot. I love the MSR Pocket Rocket Deluxe (2.9 oz/80 g). If I’m going solo, I use the Vargo Titanium BOT 700 (4.8 oz/138 g).

11. Measure Your Fuel
Many people just throw a full fuel canister in their backpack without bothering to figure out how much fuel they actually need for their trip. But that usually means carrying a bunch of extra fuel.
Instead, figure out how much water you will need to boil during your trip (plus a few extra litres just in case). Then look up your stove’s boil time in the manufacturer’s specs as well as its burn time (how long it can run on a fuel canister of a certain size). Use these numbers to figure out how much fuel to bring.
If you have partially empty canisters at home, you can use your kitchen scale to figure out how much fuel is left in them. Simply weigh the partially empty canister, then compare it to the weight of a full canister (which should be listed on the side of it).
12. Plan Your Food Carefully and Count Calories
It’s easy to pack tons of just-in-case snacks. Or to get tempted to pack treats or luxury meals that are heavy. Be mindful when you plan your backpacking food.
Always choose calorie-dense food – it should provide lots of calories for its weight. My rule is that food should have at least 100 calories per ounce (25 g). And don’t carry liquid in your food – pack dry, dehydrated food that you can add water to at camp.
Once you have chosen your food, remove excess packaging or cut up packaging to save weight and bulk.
You also need to count the calories in your food to make sure that you have enough. And of course to make sure that you aren’t bringing more than you can possibly eat. On a recent five-day trip my husband and I packed in a hurry and didn’t look at our snacks too carefully. We packed out so much extra food – at least three extra days’ worth of snacks! Oops!
Psst! For advice on backpacking menus, check out my post on choosing the best backpacking meals, my guide to making DIY backpacking meals from grocery store ingredients, and my guide to dehydrating backpacking meals.

13. Ditch the Stove
This is a more radical idea (and to be honest, something I’m not willing to do) but some ultralight backpackers hike stoveless. They cold-soak their food or eat foods that don’t require added water.
Going stoveless works best in warm or mild weather. It also requires more creativity and planning if you plan to cold-soak. Many people find hot food to be an important mental pick-me-up, so try out going stoveless on a short trip before you commit to it for a longer hike.
14. Research Water Sources
It can be tempting to load up with lots of water at the start of a hike. But water is heavy. Each litre weighs 35 oz/1 kg! Instead, look at maps and read trail descriptions ahead of time so you can fill up at water sources along the way and carry only as much water as you need.
15. Swap Out the Heavy Water Filter
When I first started backpacking we carried a heavy pump filter. But filter technology has come a long way. Now I carry a lightweight Katadyn BeFree filter that weighs just 2.3 oz (65 g). The Sawyer Squeeze is another popular option at 3 oz/85 g.
If you want to get even lighter, you can use purification drops like Pristine or Aquamira instead. They weigh only 1 oz (28 g) but you do have to wait for the chemical reaction to start and some people say that they add a bit of a chemical taste to water.
16. Leave the Heavy Water Bottles at Home
If you run into me in the city, there is a 100% chance I have my beloved Hydroflask bottle with me. But there is no way I’m taking it on a backpacking trip – it’s waaay too heavy. Metal water bottles and ones made with thick plastic like Nalgenes are heavy.
Ultralight light hikers use Smartwater bottles since they are lightweight, durable, and cheap to replace. Empty soda bottles or Gatorade are also great. I own a bunch of Platypus Platy bottles (1.3 oz./37 g). I like that they roll up so I can stash them away if I’m not using them.
17. Choose Toiletries and First Aid Gear Carefully
While a first aid kit is one of the ten essentials, you can still be mindful about what you put in it. Lots of people buy a pre-made first aid kit, and then just pack it with them without looking at what is inside. Take a good look at your first aid kit and make sure it contains everything you need… and nothing else.
For toiletries, you don’t need much, especially on a short trip. Use travel-sized items or decant things into tiny bottles. (Tip: For short trips, I use these tiny cosmetic sample containers from Amazon to hold liquids.)
Depending on your personal tolerance, you can skip most toiletries. For me, the bare minimum is a toothbrush, toothpaste, and sunscreen. I also usually carry deodorant, a small comb, moisturizer, and a couple of wet wipes.
18. Minimize Electronics
It’s easy to get caught up in the hype for gadgets: phone, camera (with lenses, tripod and other accessories!), GPS unit, eReader, satellite messenger, GPS watch, etc. Try to bring as few as possible to save weight.
Another thing to keep in mind is that all those electronics need batteries. Research settings for all your devices to prolong battery life. Try to bring one small power bank to charge all your electronics rather than stand-alone batteries for each device.
Make sure you understand how much power each of your devices needs to fully recharge and pack an appropriately sized power bank. It’s easy to pack a huge one that you don’t need! Most backpackers shouldn’t need anything larger than 10,000 mAh. In general, solar panels are heavier than small power banks and aren’t worth their weight unless you are on a longer trip in a sunny climate.
I have an Anker power bank, but I’ve great things about the Nitecore ones – they are made with a carbon fibre shell that is designed to be super lightweight.
One of my recent discoveries is this tiny 3-in-1 charging cable. That cable, along with a tiny Garmin smartwatch adapter is all I need to charge. No more mess of cables!

19. Be Mindful of “Luxury” Items
One of the reasons to reduce your backpack weight is so that you can carry extra luxury items without being overloaded. Everyone’s definition of a luxury item is different, but many hikers consider backpacking chairs, bathing suits, a book or eReader, camera gear, a pillow, camp shoes, alcohol, or gourmet food to be luxury items.
Bringing all of these luxury items sounds great, but in reality, you likely won’t use all of them. Do a short trip without your luxury items and see how you feel. Then add back in the one or two items you really missed having.

20. Share Gear With Your Group
If you backpack in a group, have a conversation before the trip about shared gear. You probably don’t need a power bank, first aid kit, stove, water filter, satellite messenger, or tent for each person. You can also eat shared meals to save fuel. Share the weight!
21. Carry Multi-Use Items
A common piece of advice for reducing your backpack weight is to carry multi-use items. Some of the suggestions are no-brainers: Skip the mug or bowl and eat and drink from your cooking pot. Use a stuff sack or puffy jacket as a pillow. Your extra socks can double as mittens or an insulator for your water filter or phone/batteries in cold weather.
Take a good look at your gear – I’m sure some of it can serve more than one purpose!
22. Do a Post-Trip Debrief
As you unpack from a trip, do a debrief. What didn’t use? Why not? What worked well? What didn’t? Can you leave something behind next time? My goal for each trip is to use everything I brought. (Except that I’m always happy if the weather was nice enough that I didn’t have to use my rain gear!)
23. Get Ruthless With Scissors
This last tip is for the truly committed. If you’ve saved weight everywhere else, you can trim down your gear. You aren’t going to get any big weight savings this way, but if you believe that every gram counts, get out the scissors!
Cut the tags off all your gear. Chop the excess length of your pack straps and drawstrings on stuff sacks. Cut the handle off your toothbrush.
Cutting up your gear is a fairly drastic step and one you can’t undo. Remember to “measure twice and cut once” so you don’t end up with gear that doesn’t function anymore! And of course, keep in mind that this voids the warranty on your gear and means you likely can’t resell it if you want to upgrade to something else.
That’s everything you need to know to reduce your backpack weight. Do you have more tips for how to go ultralight backpacking? Drop them in the comments!
READ NEXT:
- Backpacking Checklist: Gear You Need To Go Backpacking
- 300+ Hiking Terms Explained: A Hiking Glossary
- The Best Weather Apps for Hiking
- My Favorite Hiking Gear – 2022 Edition
- How to Choose the Best Backpacking Meals
- Grocery Store Backpacking Meals for Cheap


- Best Sun Hoodies for Hiking - June 3, 2026
- Lower Stein Valley Trail Hiking and Backpacking Guide - May 27, 2026
- The Best Things to Do in Vernon, BC - May 21, 2026
Todd
Wednesday 16th of July 2025
Hi Taryn
As always great information. Just wondering if you’ve had a chance to look into the lightweight equipment Durston Gear is making (durstongear.com)? It seems like they’ve put a lot of thought into their products and it’s a British Columbia company.
Thanks for
Todd
Taryn Eyton
Wednesday 16th of July 2025
I've looked at Durston Gear stuff and it does look good. I seriously considered one of their tents, but they don't make a three person version and their two person tents are too small for my husband and I so we ruled them out.
Shannon
Thursday 18th of April 2024
Hi Taryn,
I recently bought the Zpacks Triplex tent and I'm not sure how I will use it with a tent pad. I was wondering if you might have any suggestions, as I see you have the same tent?
Taryn Eyton
Friday 19th of April 2024
Hi Shannon, I've used my triplex on countless tent platforms over the years. There are various strategies - I really should make a post about it! One is to bring lots of guylines so you can either tie off to the tent platform slats or peg out into the nearby ground. Some tent platforms also have nails in the sides you can tie off guylines to. A second strategy is to use fishbone anchors (you can buy them on amazon) or to create your own fishbones by tying a guyline around the middle of your tent stakes, then pushing them between the slats of the platform, then spinning them so they are perpendicular to the slats. The last option is to use screw-in cup hooks from the hardware store. This is my preference since you can place them anywhere you like and they are easy to remove. However, they do make tiny holes in the platform.
Marcel
Friday 22nd of September 2023
Hi Taryn, love your down to earth approach! Really helpfull tips. May be one to consider: bring a versatile wood burner. Use sticks were you can and gas, alcohol, or solid fuel as back-up. Firebox stoves do the trick.
Taryn Eyton
Friday 22nd of September 2023
Interesting idea Marcel. The challenge where I live (and in a lot of places) is that wood burner stoves aren't legal during a fire ban and unfortunately we usually have a fire ban for most of the summer.
Bucky
Thursday 21st of September 2023
Great tips.