

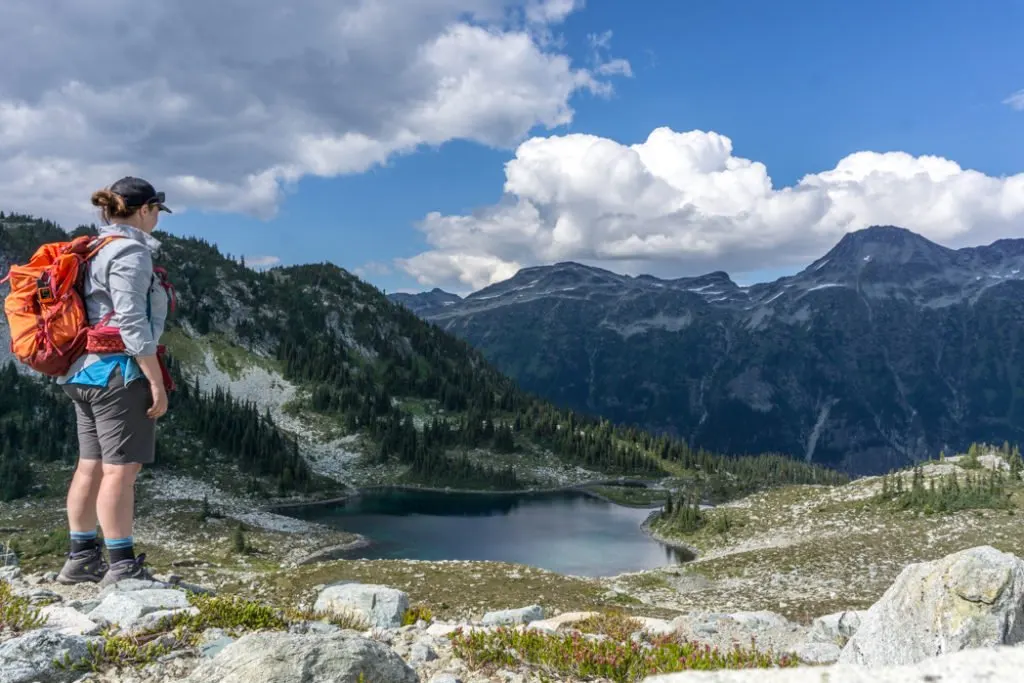
I’ve been backpacking for nearly 20 years, but I still remember my first backpacking trip. I had no idea what I needed to pack and the whole process of choosing gear seemed daunting. But it doesn’t have to be! I’ve put together a super-simple backpacking checklist for you. It lists out all the gear you’ll need to bring on your next backpacking trip.
This backpacking gear checklist is just a starting point. You’ll need to customize it a bit depending on the type of trip you are planning. If your hike is longer or the weather is bad, you might need more gear, clothing, and food. No matter how long or short your trip is, don’t forget to bring the 10 essentials – crucial safety items you should bring on every hike.
When you’re getting backpacking gear, keep weight and bulk in mind. In general, your total weight shouldn’t be more than 15-20% of your body weight. In practice, that means your pack should weigh somewhere between 25 and 40 pounds.
However, it’s really easy to accidentally carry more. You’ll need to balance having enough gear to be safe and comfortable against carrying a pack that is too heavy. Read my tips for reducing your backpack weight for more details.
And all that new gear can be really expensive! But it doesn’t have to be: read my tips for saving money on hiking and backpacking gear.
Why Should You Trust My Advice?
I’ve done dozens of backpacking trips over the years. Most of my trips have been near home in British Columbia and Washington, but I’ve also backpacked all over the world in Nepal, Iceland, and Australia.
I also spent nearly a decade working in the outdoor industry. I worked as a front-line retail staff member in an outdoor store for a few years, helping customers choose tents, sleeping bags, stoves, and more. More recently, I spent six years writing about gear for a large outdoor retailer. I designed staff training materials and wrote how to choose gear articles and product descriptions for their website. For those six years, I was absolutely immersed in outdoor gear.
So between my boots-on-the-ground experience and my industry experience, I’m kind of a backpacking gear expert at this point. If you’re interested in which gear I use personally, check out my personal list of gear I use.
Basic Backpacking Gear
These are the main items you’ll need to go backpacking. They are also usually the heaviest items on a backpacking checklist, and sometimes the most expensive. If you’re looking to invest in backpacking gear, splurge on a quality lightweight backpacking tent, sleeping bag, sleeping pad, or backpack. If you can save weight on these items, it can make a big difference.
Backpack: 50-75L backpacking pack that fits you well. Make sure you can fit all your gear inside.
Backpack Rain Cover or Liner: I never travel without a backpack rain cover since I like having dry gear. But if you’re hiking in an arid climate or taking a short trip with a good weather forecast, you could skip it.
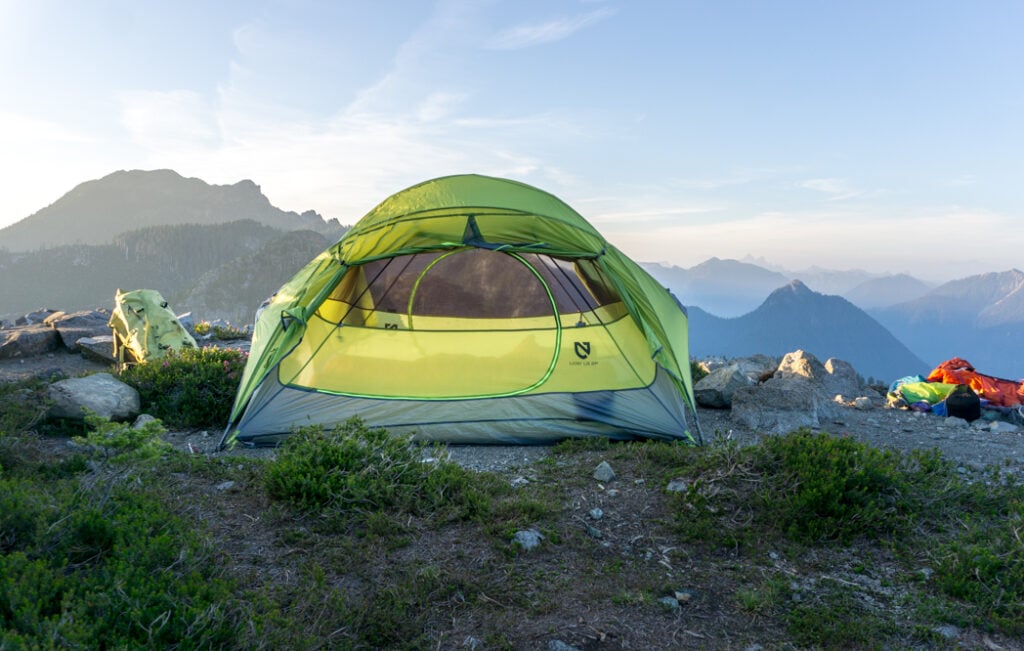
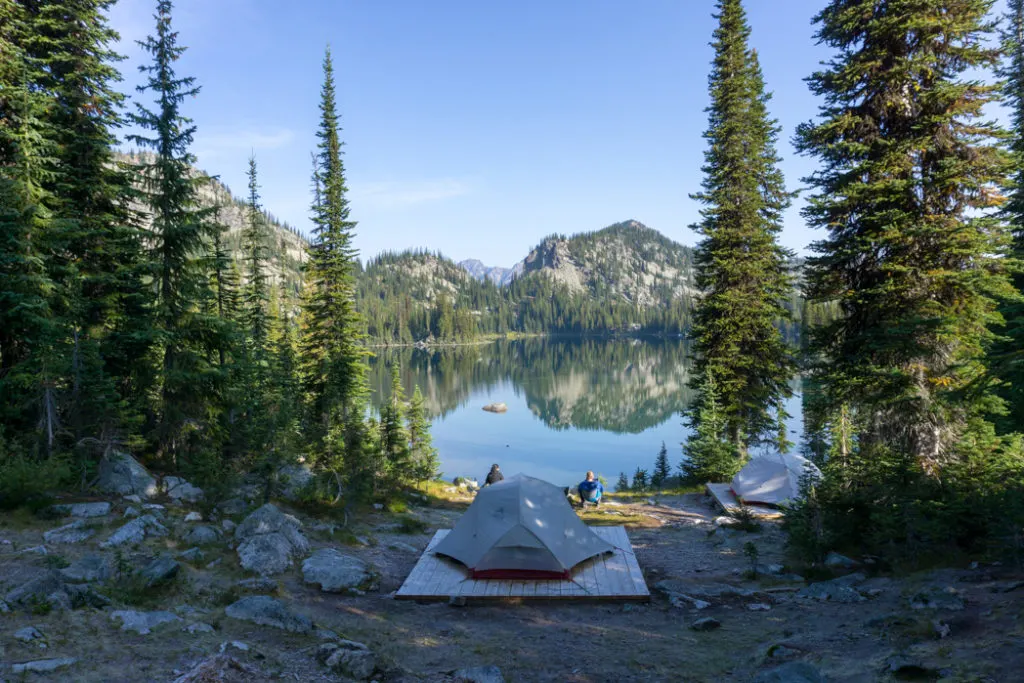
Tent: Lightweight 3-season backpacking tent with a full-length rainfly, stakes, and guylines. Now is not the time to cheap out on a big box store tent.
Sleeping Bag: Lightweight backpacking sleeping bag. If you’re going to the mountains, choose one rated at least 0C/32F.
Compression Stuff Sack: To make your sleeping bag more compact inside your backpack.
Sleeping Pad: Lightweight and compact backpacking-style sleeping pad with an R-value of at least 2.5

READ NEXT: How to Stay Warm in a Tent: Over 40 Tips
Essentials and Safety Gear for Backpacking
Carrying safety gear is non-negotiable on a backpacking trip. No one plans to get lost or injured, but it happens. These essentials can help prevent incidents and also ensures you’ll be prepared for an emergency if it happens. Make sure you add these safety items to your backpacking checklist.
Headlamp and extra batteries: You don’t need a fancy or extra-bright headlamp or flashlight. A quality headlamp that is reliable and has fresh batteries is more important than features.
Compass, paper maps, and GPS: Carry maps inside a plastic bag to protect them from water. A GPS device or app is helpful but it’s not a substitute for a paper map and compass. If you use a GPS device or phone app, bring extra batteries.
Trail description: Carry paper printouts or photocopies of guidebook pages or trail descriptions. Or bring an electronic version on your phone via PDF, photo, or an app.
Watch: A simple wristwatch (or a phone or another electronic device that tells the time) is helpful for planning hiking time and using with a tide table on coastal hikes like the West Coast Trail.
Emergency Communication: Bring a whistle as well as an electronic means of communication like a cell phone with a battery bank. In remote areas, a satellite messenger like a Garmin inReach or SPOT is a good idea.
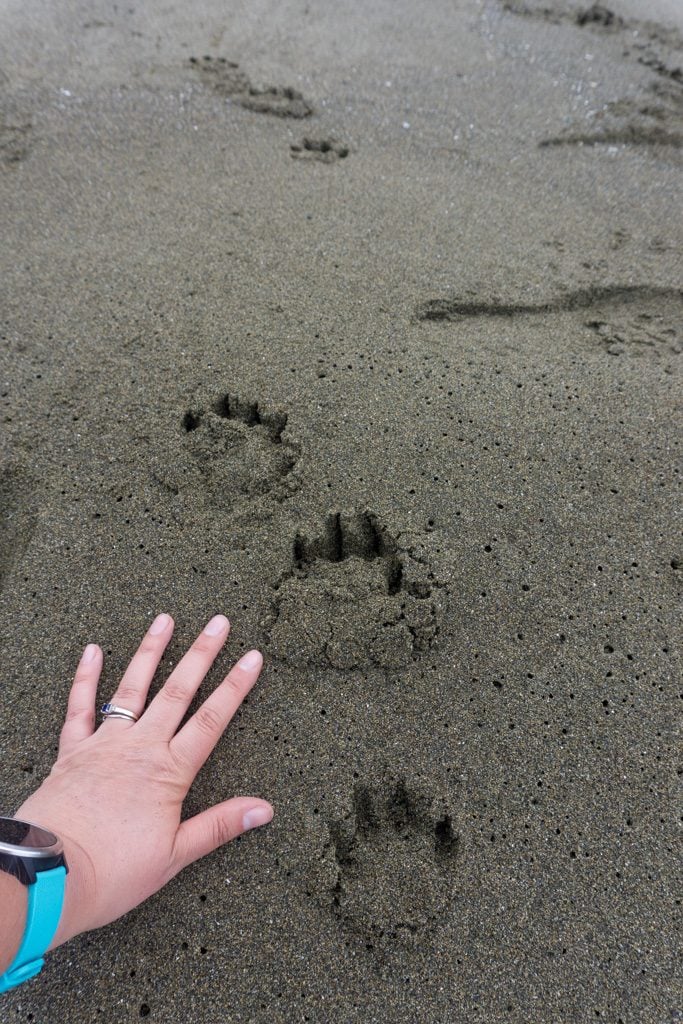
Bear Spray: Always carry it securely attached to the outside of your backpack where you can reach it easily without taking your pack off.
First Aid Kit: Store-bought kits are fine, but you may want to add your own painkillers and prescription medication. It’s also a good idea to pack lots of blister dressings just in case. Read my tips for preventing and treating blisters.
Repair Kit: Carry a multi-tool and some duct tape or repair tape to fix broken gear. A tent pole splint is also a good idea.
Permits: In some areas, you need a permit, pass, or reservation. Bring a paper copy of yours in a plastic bag or a screenshot on your phone.
Wallet and ID: Don’t leave these in the car – they are tempting for thieves. And if you have an emergency and need to be rescued, you’ll be happy to have your wallet and ID with you.
Trip Plan: Leave a detailed trip plan with a friend. That way, if you don’t come home on time, Search and Rescue will know where to look for you. Adventure Smart has some great trip plan templates you can use.
Backpacking Clothing and Footwear
In general, clothing for backpacking should be made of synthetic fabrics or merino wool that dry quickly. (Read my Merino wool guide to find out if it’s worth it.) Avoid cotton as it won’t keep you warm when wet and takes forever to dry. Check the weather forecast before your trip and pack accordingly. Remember that it is often much colder and wetter in the mountains than it is in the city.
Clothing is one area where backpackers tend to overpack. You really only need one outfit to hike in and one outfit to sleep in, plus some layers to add warmth or waterproofing. If your hiking clothes get sweaty and stinky, don’t worry about it. They’ll dry overnight and everyone else will smell bad too 🙂 Don’t add too many clothes to your backpacking checklist.
Waterproof breathable jacket and pants: Choose a lightweight and compact rain jacket and pants made of waterproof breathable material. The pants could be optional in arid climates or on short trips with a good forecast.
Lightweight puffy or fleece jacket: In warm conditions, you could bring one or the other, but in chillier weather, you might want both.
Quick-drying t-shirt(s): Choose a tee made of synthetic material that dries quickly. On most trips, just one short-sleeved shirt should be enough. But you may want to bring a long-sleeved shirt as well if you expect chillier weather or to wear for extra sun protection.
Hiking pants and/or shorts: Bring quick-drying hiking pants or shorts. Depending on the weather, you may want both pants and shorts. (Psst! Read my guide to hiking leggings and my guide to hiking pants.)
Midweight base layer top and bottoms: Also known as long under, you can wear base layers under your clothing to add warmth on cold days, around camp, and as sleeping clothes. Choose ones made of synthetic fabrics or merino wool.
Quick-drying underwear and sports bra: Regular cotton underwear absorbs sweat, which can be uncomfortable and chafe. Cotton underwear also takes a very long time to dry. (Read my guide to choosing backpacking underwear – it has picks for the best hiking under for women and men.)
Hats: Bring both a fleece or wool beanie (toque if you’re Canadian) for chilly weather and a baseball cap or wide-brimmed hat to keep the sun off your face.
Gloves: Even on warm trips, I pack a pair of lightweight fleece gloves just in case. It’s often chilly at night in the mountains.
Sunglasses: Protect your eyes from glare, especially on snowy slopes.
Hiking socks: Choose ones made with synthetics and/or merino wool.
Hiking boots: There are lots of options out there. The most important thing is finding boots that fit you. You don’t want blisters! (But just in case, here are my tips for preventing blisters.)

Backpacking Kitchen Gear and Food
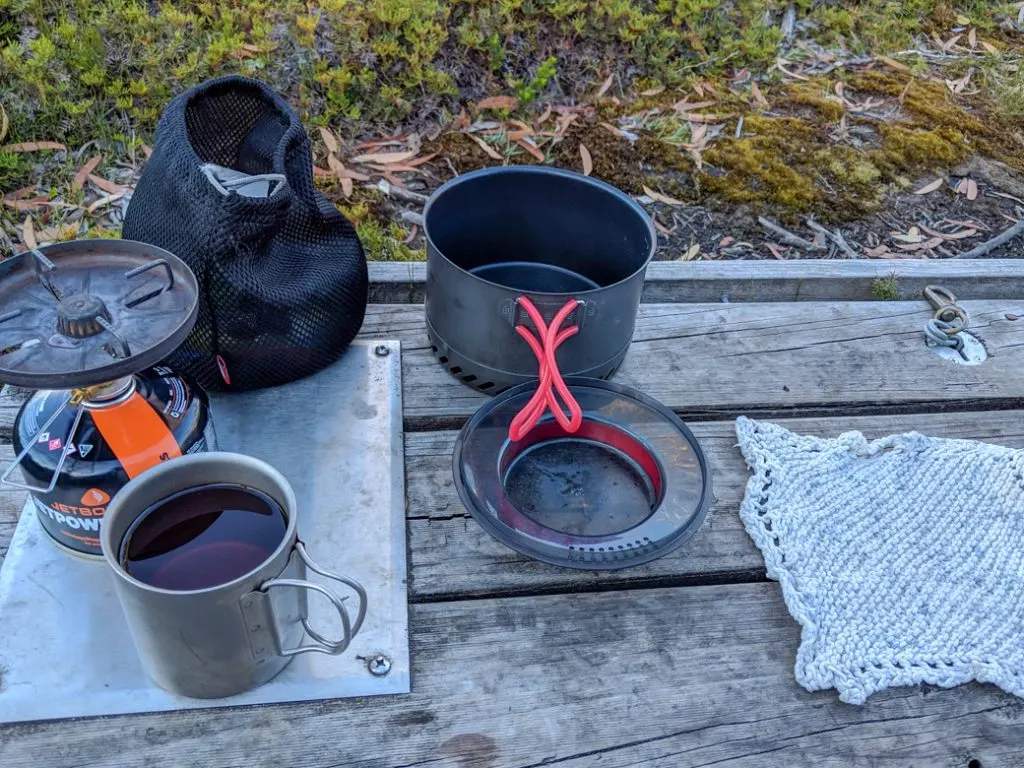
The type of cooking you do will determine what kind of backpacking kitchen set-up you choose. But this isn’t the time to get too fancy – you don’t need all kinds of pots, pans, and gadgets. Keep it simple, lightweight, and compact.
Stove and Fuel: Bring a small and lightweight stove designed for backpacking. Make sure you have enough fuel for your trip.
Pots: Bring a lightweight pot designed for backpacking. If you’re just boiling water you only need one pot. If you’re cooking something more complicated, you might need two pots or perhaps a frying pan. Keep your set-up lightweight and simple.
Firestarter: Bring a lighter, matches, or fire steel to start your stove. Bring a backup just in case.
Eating and Cooking Utensils and Dishes: Bring a lightweight fork or spork, pocket knife, bowl, and mug.
Food: Bring lightweight, compact, and calorie-dense food that is easy to cook. For more info, check out my post about how to choose the best backpacking meals and my guide to making cheap backpacking meals with grocery store ingredients.
Food Bag and Rope or Bear Canister: Bring 40-50′ (12-15m) of lightweight rope to hang your food. Pack your food in a lightweight and waterproof bag like a roll-top stuff sack to protect it from the elements. In some areas, park regulations may require you to use a bear canister.
Water Bottles or Hydration Reservoir: Choose lightweight bottles or reservoirs and ensure you have at least 2L capacity in total.
Water Treatment: There are lots of good water treatment and purification options out there including pump filters, drops, tablets, UV-light, gravity filters, and squeeze filters.
Biodegradable Soap and Cloth: Pack a tiny amount of biodegradable soap and a lightweight microfibre cloth to clean your dishes. Remember that biodegradable soap needs to filter through soil to work, so never wash dishes directly in a water source. To learn more, check out my post about how to Leave No Trace.

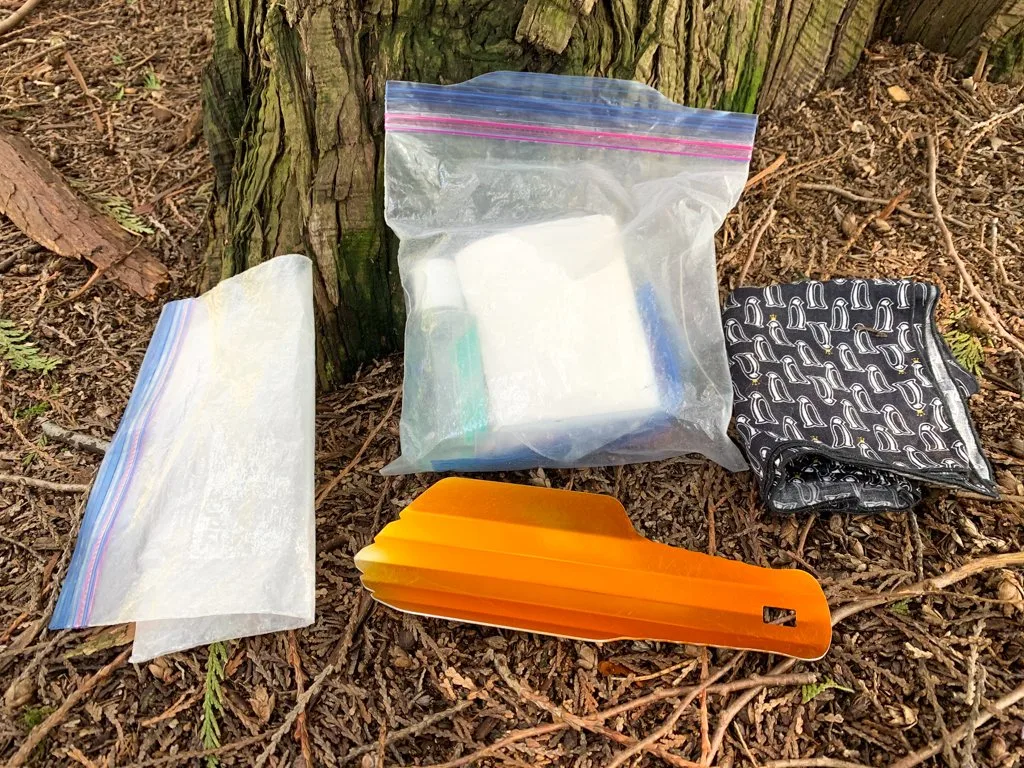
Toiletries for Backpacking
Keeping clean on the trail can make you feel better and smell better. But the real benefit to backcountry hygiene is keeping you healthy. Leave your usual toiletries at home and just bring add these basics to your backpacking checklist.
Sunscreen and SPF lip balm: Sunburns can be debilitating.
Bug spray and/or head net: Keep the mosquitos and black flies away. Depending on where you hike and how sensitive you are to bugs, this could be an optional item for some people.
Toothbrush and toothpaste: Choose travel-sized ones.
Deodorant: Some people may see this as optional, but if you bring it, travel-sized is best.
Trowel, hand sanitizer, and toilet paper: In most places, you’ll have to BYO toilet paper and on some trails, there isn’t a toilet at all. Bring your own supplies, plus a plastic bag to pack out used toilet paper. Learn more about how to go to the bathroom the Leave No Trace way.
Menstrual supplies: Pads, tampons, or a menstrual cup. Learn more about how to hike and camp with your period.

Optional Gear
Bringing these items along on a backpacking trip can add to your comfort. But if you bring too many of them, the extra weight will slow you down and take away from your enjoyment of the trip. Choose your optional items wisely – don’t add them all to your backpacking checklist!
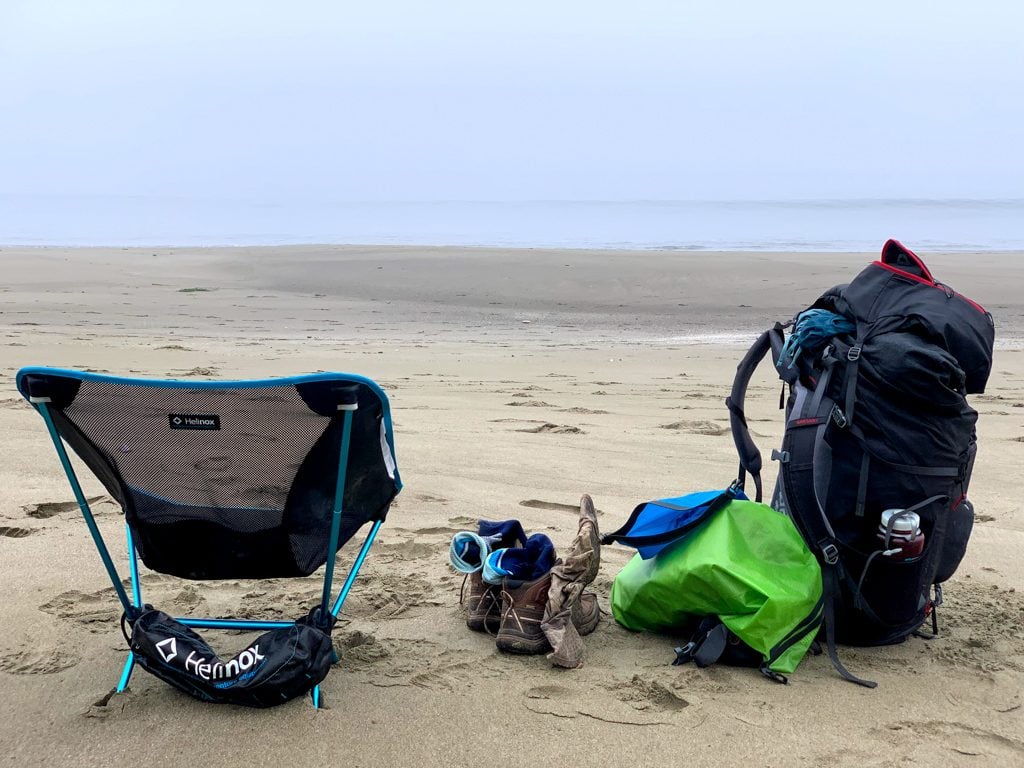
Trekking poles: These add stability on uneven terrain and can save your knees on descents, especially if you’re carrying a heavy load. I always bring my trekking poles backpacking.
Pillow: You can use a balled-up fleece or puffy jacket, but I sleep better with an ultralight backpacking pillow.
Tarp and Guylines: On rainy trips, it’s nice to have a lightweight tarp to cover your cooking area. Get one made of silnylon to save weight. The 8’x10′ size is best for small groups.
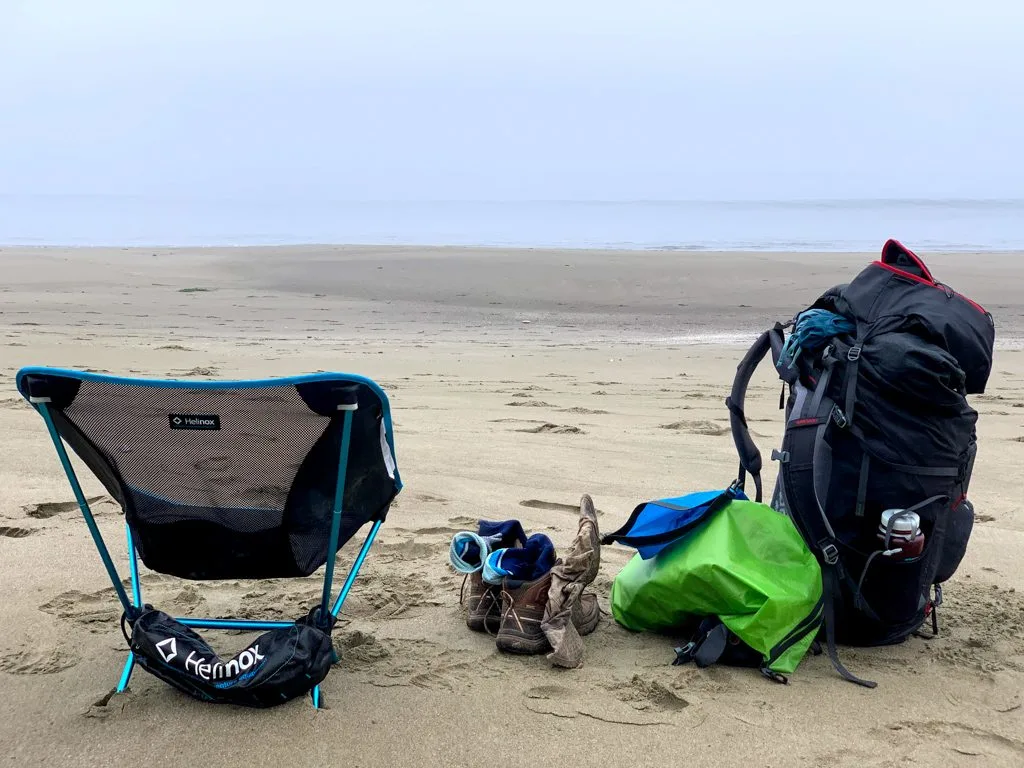
Butt Pad or Ultralight Chair: It can be nice to have something to sit on in camp. Pack a lightweight foam butt pad or an ultralight collapsable backpacking chair.
Book or eReader: To pass time in the evenings. I have an Amazon Kindle since it’s lighter than a paperback book but contains dozens of books.
Camera Gear: Traditional camera gear is heavy. I use a lightweight Sony mirrorless camera and a carbon fibre tripod.
Ear Plugs: In some areas, tent sites are very close together and the snoring is LOUD.
Small Microfibre Towel: You can use a small, lightweight, and quick-drying microfibre towel to wash your face, mop up sweat, or dry off after a swim. I use a tiny face-cloth sized one.
Swimsuit: Lots of people are ok with swimming in their underwear, sports bra, shorts, t-shirt, etc. in the backcountry. But some hikers prefer to bring a swimsuit.
Wipes: These can be great for cleaning up after a sweaty day on the trail. But keep in mind that you’ll have to pack them out with you and since they’re disposable, they aren’t very environmentally friendly.
Collapsible Day Pack: If you’re doing day hikes from a backcountry basecamp, one of these is handy.
Sandals or camp shoes: It can be nice to have comfy shoes to wear once you get to camp. And some hikers like to bring sandals to wear for stream crossings.
Power bank and charging cables: It’s easier if you can use a power bank to charge all your devices, rather than bringing specific batteries for each one.
Stuff Sacks: Use lightweight stuff sacks to keep your gear organized.
So that’s my simple backpacking checklist. It includes everything you should bring backpacking along with a few tips for choosing gear. If you’re a beginner backpacker, here are a few other posts to read to get you started:
- Gear I Use: My Personal Gear Recommendations
- 20+ Ways to Reduce Your Backpack Weight
- The 10 Essentials: Things You Should Bring on Every Hike
- How to Stay Warm in a Tent: Over 40 Tips
- Backpacking with Kids: Tips from a Tween and His Mom
- How to Choose the Best Backpacking Meals
- 17 Ways to Save Money on Hiking Gear
- How to Prevent Blisters When Hiking
- How to Leave No Trace (And Why it’s Important!)
- Which Women’s Specific Hiking Gear is Actually Worth Buying?
- Best Hiking Underwear For Women and Men
- 18 Best Hiking Leggings of 2022
- 12 Best Women’s Hiking Pants (Picks for Every Body Type)


- Best Sun Hoodies for Hiking - June 3, 2026
- Lower Stein Valley Trail Hiking and Backpacking Guide - May 27, 2026
- The Best Things to Do in Vernon, BC - May 21, 2026
Carol
Monday 7th of June 2021
excellent advice. The only one I’d suggest providing a mor eopen opinion to is the compression sack. Packing your sleeping bag in the botom of your pack loosely then squishing your gear in above/around still compresses the bag but actually fills the space cavities better and doesn’t give you a big hard lump against your back. Also, a heck of alot easier to pack in the morning then trying to stuff into a hard football.