

So you want to try backpacking… exciting right? But it can also be daunting as there is lots to learn. I’ve been backpacking for almost 20 years, but I still remember what it was like to start out. I’ll walk you through it in this guide to backpacking for beginners.
This handbook for first-time backpackers includes:
- Backpacking gear for beginners: What gear do you need and what should you look for when shopping
- Backpacking fitness for beginners: How to get in shape for backpacking
- Backpacking skills for beginners: A run-down on key skills like navigation, bear safety, going to the bathroom, and more
- How to plan a backpacking trip: Everything you need to do before you hit the trail
- Step-by-step beginner backpacking plan: Go from day hiker to backpacker in 5 steps
Hey there: Some of the links in this post are affiliate links, which means I earn a small commission at no cost to you. Thanks for your support. -Taryn
This is a sensitive wilderness area. Learn how to Leave No Trace to keep the wilderness wild. Make sure you are prepared by bringing the 10 Essentials. Get ready for adventure with this checklist of things to do before every hike.
Day Hiking vs Backpacking: What’s the Difference?
Day hiking can be defined as a hike that you start and finish on the same day. When you go backpacking, you hike for at least two days, camping in the wilderness each night. Backpacking is a natural progression from day hiking and uses a lot of the same skills.
READ NEXT: 300+ Hiking Terms Explained: A Hiking Glossary
Why Should You Go Backpacking?
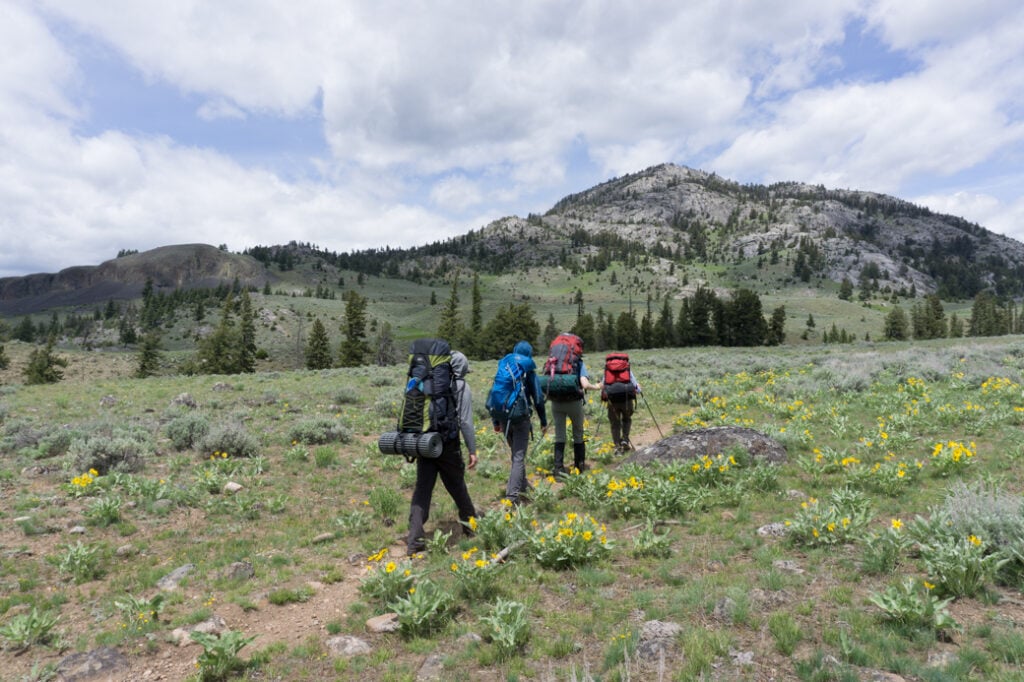
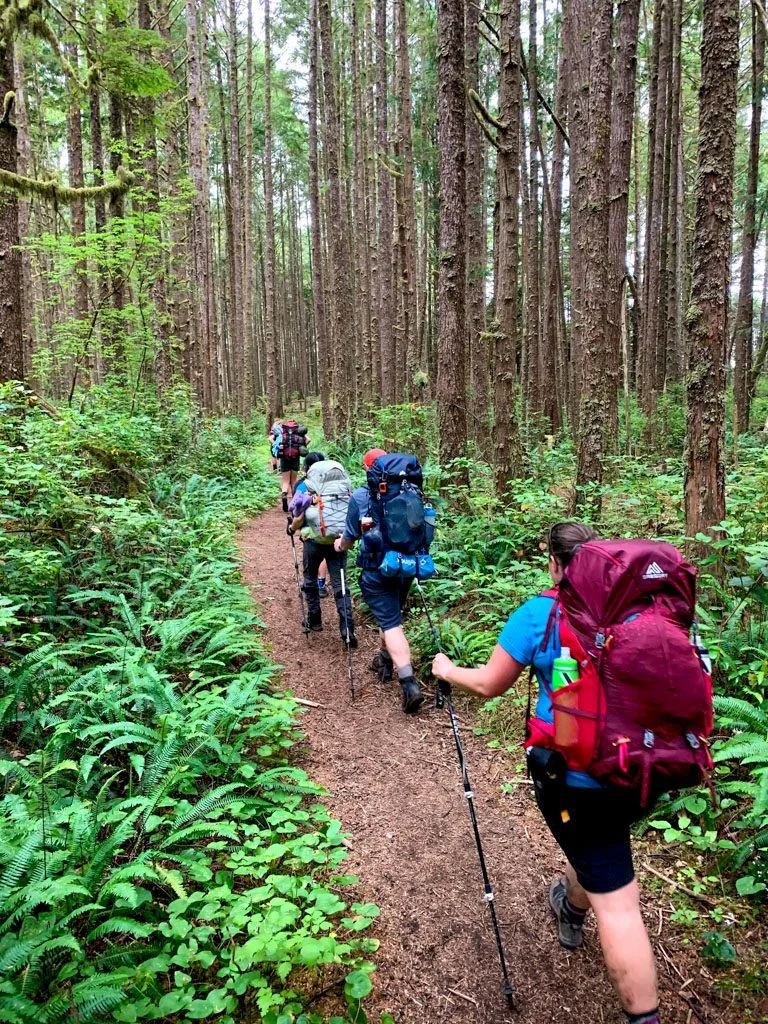
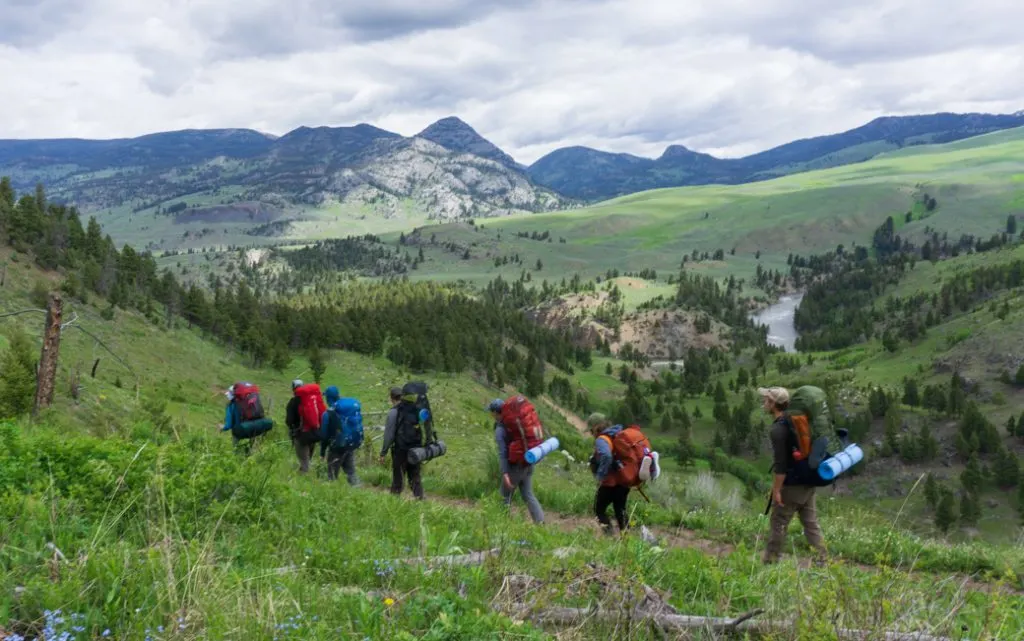
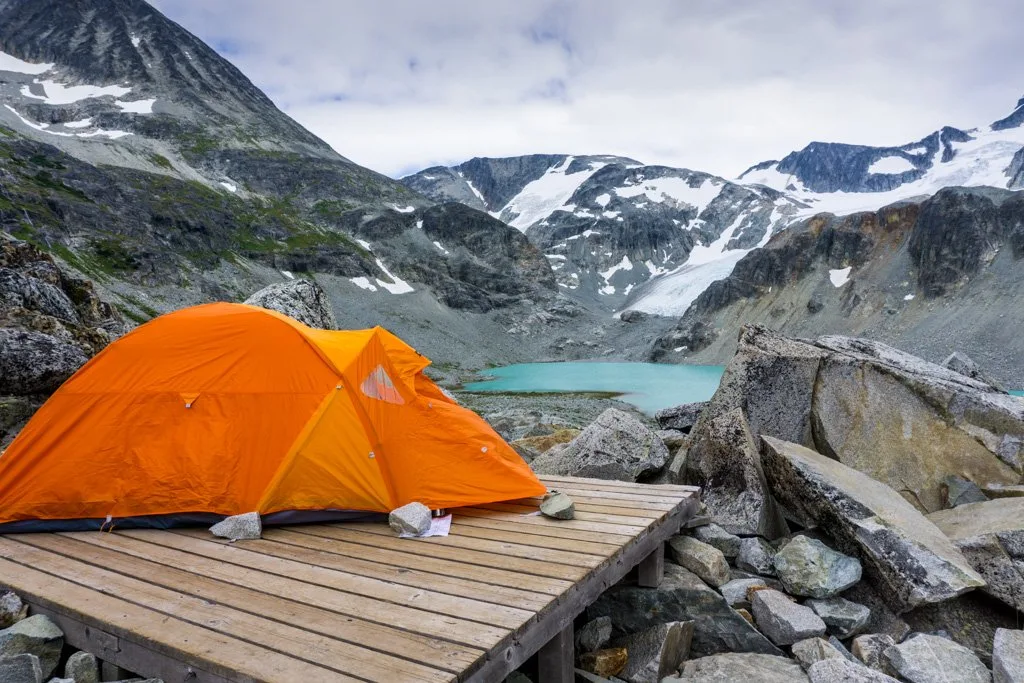
Backpacking allows you to enjoy the wilderness in a different way than day hiking. I find it to be a much more immersive experience. When you backpack you get to enjoy sunrises, sunsets, and the stars overhead. You’re more likely to encounter animals since they are more active at dawn and dusk. You can travel further into the backcountry and see places that few people do.
With no screens to distract you, you can really unplug. I’ve done some of my best thinking on backpacking trips. (In 2019, I decided to quit my day job and work on this website and my book full-time while hiking the Overland Track in Australia.)
Going on a backpacking trip is also a great way to gain self-confidence. You’ll learn all kinds of new skills and prove that you can be self-reliant without the creature comforts of home.
My Backpacking Experience (And Why You Should Trust My Advice)
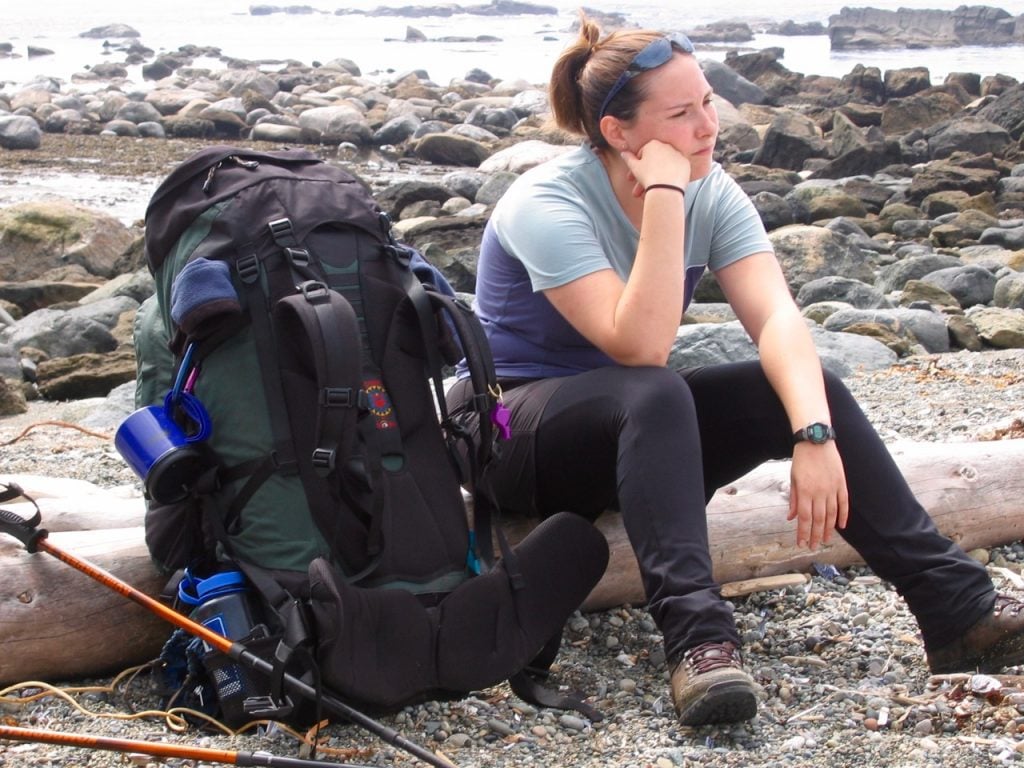
My first backpacking trip was a six-day trip on the West Coast Trail back in 2004. Before that, I had been on a few long day hikes and one overnight hut trip, but in a lot of ways, I wasn’t prepared. I had a borrowed backpack that rubbed my collarbone raw. I didn’t know basic skills like navigation or how to go to the bathroom. And the trail was so tough that I cried.

But I still had an incredible time! The scenery was incredible. I learned that I loved immersing myself in the backcountry. It made me want to go hiking all the time. And I discovered that I was more resilient than I thought.
That trip changed the course of my life in a few ways: It eventually led me to a career writing about the outdoors. And the boyfriend who invited me on that trip has been my husband for over a decade. We hiked the West Coast Trail together again in 2019 and it was MUCH easier that time.
In the years since, I’ve honed my skills and refined my gear to the point that I feel more comfortable in my tent in the middle of nowhere than I do in a random hotel room.
I’ve been on dozens of backpacking trips near home in British Columbia, as well as in the USA, Nepal, Iceland, and Australia. I worked in an outdoor store for three years, and then for six years at the head office of a large outdoor retailer writing about gear for their website, so I know a lot about hiking gear.
And I wrote a whole book about backpacking, Backpacking in Southwestern British Columbia, which was published in 2021.
Going on a backpacking trip may not be so profoundly life-changing for you. But I guarantee that you will create some beautiful memories and learn something about yourself and what you can accomplish.
Backpacking Gear for Beginners
If you’re already a day hiker, you probably have some of the gear you’ll need for backpacking like hiking boots and a rain jacket. But for backpacking, you’ll need a lot more gear. For a full list of everything you will need, read through my Backpacking Checklist. It lists every single piece of gear you’ll need and has advice on how to choose.
Read next: Backpacking Checklist: Gear You Need To Go Backpacking
Unfortunately, backpacking gear can be quite expensive. And you want to make sure you are buying quality gear because your life could literally depend on it. If it’s your first time backpacking, consider renting gear or borrowing from friends to see what you like. You can also buy lightly used gear or wait for sales.
Psst: I’ve got 17 ways to save money on hiking gear
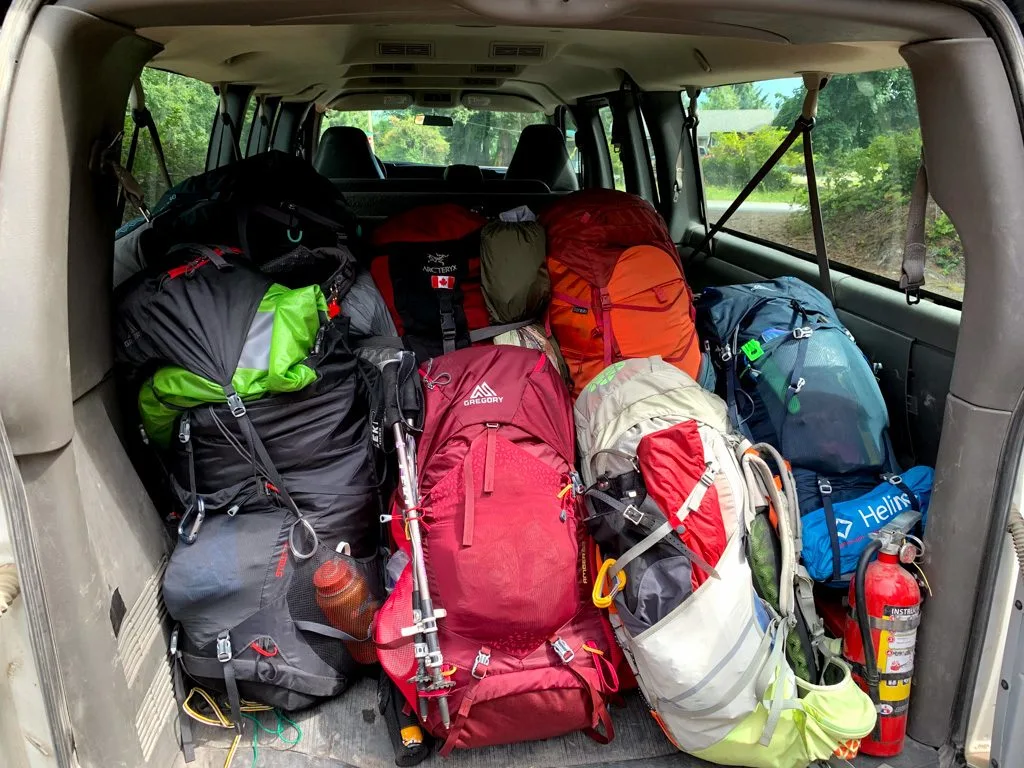
In general, choose gear that is lightweight and compact. Ideally, the total weight of your full backpack should be no more than 15-20% of your body weight. In practice, that works out to about 25 to 40 pounds. And make sure you try out your gear before your trip and know how to use it.
Psst: Read my guide to reducing your backpack weight
Here’s a brief overview of some of the backpacking gear you’ll need to get along with tips on how to choose:
Backpacking Pack
You’ll need a pack large enough to carry all of your gear. Look for one that holds between 40 and 75 litres. Smaller packs (40-50 litres) are great for overnight trips, warm weather, and people with ultralight gear. Larger packs are good for longer trips, cold weather, or people with bulkier budget gear.
It’s important to choose a pack that fits you well. Packs are sized based on the length of your torso. You can also buy women’s specific packs that have hip belts and shoulder straps designed to fit women’s curvier bodies. Read my guide to women’s specific gear to find out if a women’s pack is right for you.
Read next: Which Women’s Specific Hiking Gear is Actually Worth Buying?
I use a women’s Gregory Amber 65 Backpack. (The men’s version is the Gregory Stout 70.) It’s a good size for trips up to a week, and on shorter trips, I cinch down the straps since it’s not full. I love that the hip belt pocket fits my phone. It is also quite reasonably priced.

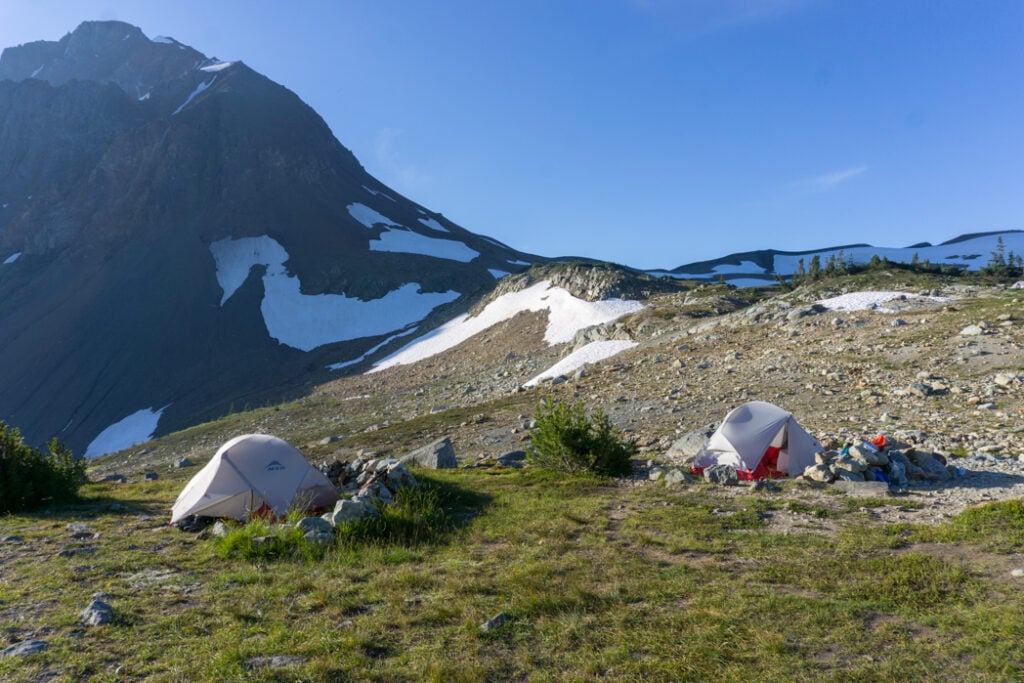
Backpacking Tent
Get a lightweight tent designed for backpacking, ideally one that weighs less than 4 lbs/1.8 kg. You’ll also want to make sure it has a waterproof fly that extends all the way to the ground. There are tons of good tents on the market, so do some reading and see which features are most important to you.
Make sure you practice setting up and taking down your tent in your yard or a park before you go on your first backpacking trip.
For beginners, I recommend the MSR Hubba Hubba 2-Person Backpacking tent. I’ve had several versions of this tent over the years. It’s lightweight, easy to set up, and holds up to storms. It’s not the cheapest, but you’ll use it for years.

READ NEXT: How to Stay Warm in a Tent: Over 40 Tips
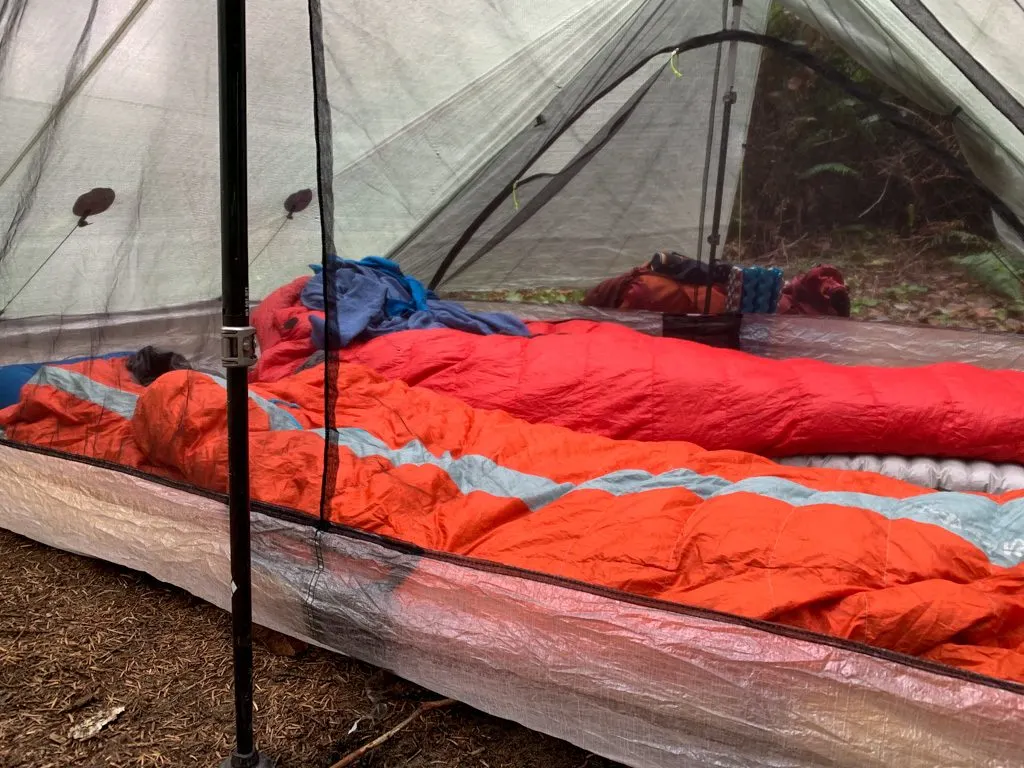
Sleeping Bag
A warm sleeping bag can be the difference between a great trip and a miserable one. It can get quite cold at night, especially in the mountains. For most backpackers, a 3-season sleeping bag rated between 39°F/4°C and 15°F/-9°C is a good choice. Choose one that weighs less than 3.5 lbs/1.5 kg. Get one with a hood for extra warmth.
For beginners, the MEC Draco and Delphinus down sleeping bags are great. I started out with an earlier version of these bags. The Marmot Trestles sleeping bag is a good alternative.

Sleeping Pad
Sleeping pads serve two important purposes: They provide comfort since the ground is hard. But more importantly, they provide insulation since the ground is cold. You’ll still be shivering in a super warm sleeping bag if you don’t have a sleeping pad.
For a balance of comfort and warmth, choose an inflatable pad with some insulation. Look for ones with an R-value of at least 2.5 to ensure you’ll stay warm when the temperature dips.
I recommend the Therm-a-Rest NeoAir XLite. It’s comfortable, warm, and packs down really small.
Water Filter or Purifier
It’s tempting to think that burbling mountain creeks are pristine and safe to drink from, but usually they aren’t. Humans and animals may have pooped or died upstream of you. To be safe, always filter or purify your water.
You can treat water by boiling it on your backpacking stove, but that is slow and uses lots of fuel so most backpackers choose to carry a filter or method of purification. There are lots of different options.
Some people prefer purification drops or tablets since they are lightweight and compact. But they can add a chemical taste to your water.
I like to use the Platypus GravityWorks Water filter because there is no pumping or squeezing. It’s also a good option for groups since you can filter a lot of water at once.
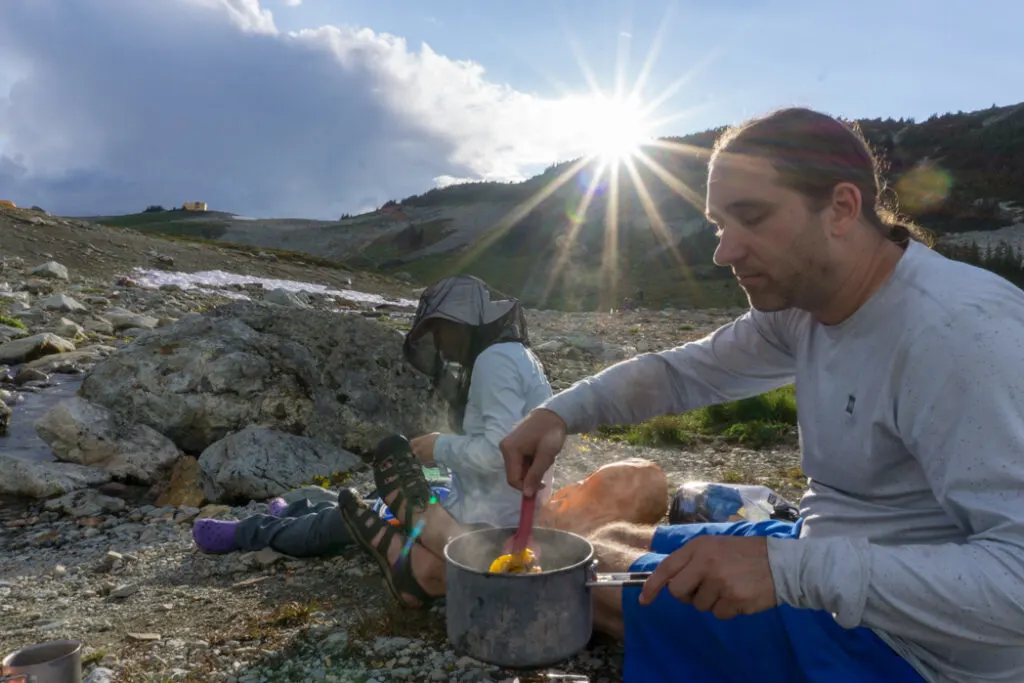
Backpacking Stove and Cooking Gear
While some multi-day hikers choose to forgo the stove and eat cold meals, a hot dinner at the end of the day or coffee in the morning is non-negotiable for many backpackers. Choose a single-burner backpacking stove that is lightweight, compact, and easy to use.
Many backpackers like to use stove systems with an integrated pot like the Jetboil or MSR Windburner. Those stoves are great for boiling water faster, but they aren’t great for cooking other meals.
I use an MSR Pocket Rocket Deluxe because that way I can choose which pot to bring depending on what I need. For solo trips where I’m just boiling water, I use a tiny Vargo Titanium BOT pot. On trips where I’m doing actual cooking for two or more people, I bring a Primus Lite pot.

Clothing
For backpacking, it is essential to bring lightweight, quick-drying hiking shirts, pants, or shorts made of nylon, polyester, or wool. Dress in layers so you can easily adjust your temperature. Don’t bring cotton – it absorbs sweat and doesn’t dry quickly. It’s also not that warm.
Read Next: 12 Best Women’s Hiking Pants (Picks for Every Body Type)
Depending on the temperature and weather, you’ll also need jackets and base layers. A good rain jacket is a must on any trip. You may also want a fleece jacket or an insulated jacket for colder weather. Base layers made of synthetics or wool are also great for sleeping or for adding warmth on cold trips.
The right underwear is also key – you don’t want to be stuck with a pair that rubs or chafes.
Read Next: Best Hiking Underwear For Women and Men

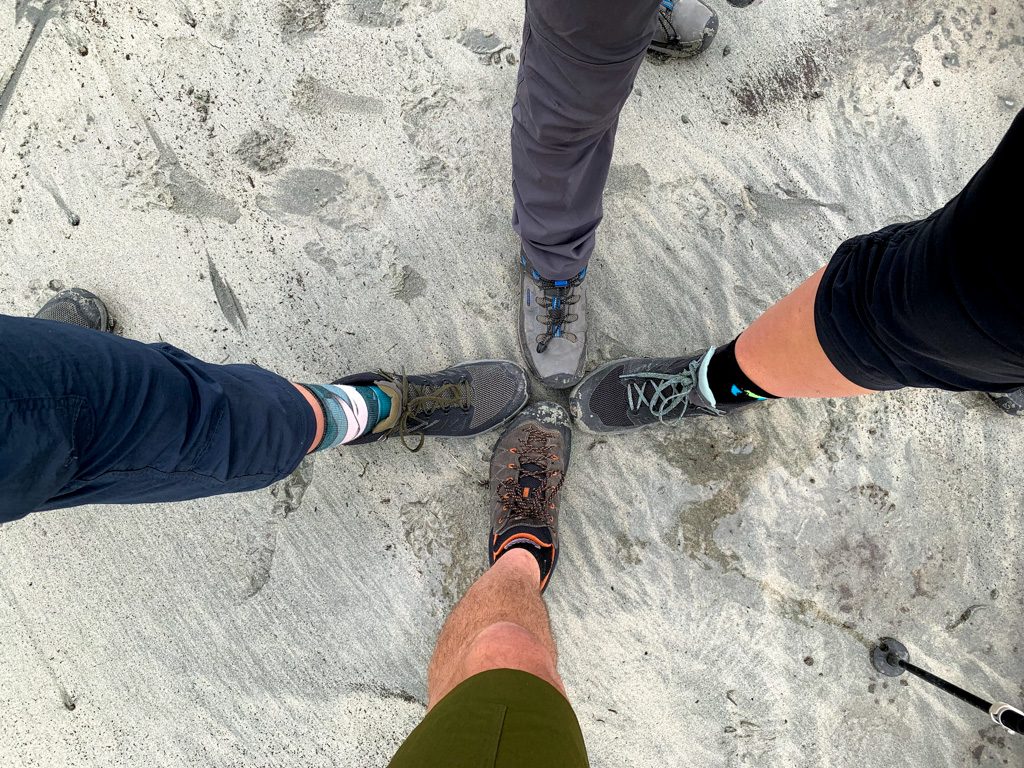
Hiking Boots for Backpacking
Blisters can end your hike, so picking the right hiking boots is the key to a good backpacking trip.
Read Next: How to Prevent Blisters When Hiking
You might be able to get away with wearing your regular running shoes on casual hikes, but for backpacking, you’ll need proper hiking boots. If you plan to carry a heavy load or have weak ankles, look for hiking boots with lots of ankle support.
The most important factor is comfort – try on lots of pairs of boots to find ones that work for you. Everyone has different feet so don’t rely on recommendations from friends or random online reviews.

The Ten Essentials
The ten essentials are key safety and emergency supplies that you should have on every hike, whether it’s a short walk or a multi-day expedition. They include a first aid, headlamp, knife, navigation gear, and a communication device.
Read next: The 10 Essentials: Things You Should Bring on Every Hike
More Beginner Backpacking Gear Resources
- Backpacking Checklist: Gear You Need To Go Backpacking
- 17 Ways to Save Money on Hiking Gear
- How to Stay Warm in a Tent: Over 40 Tips
- Which Women’s Specific Hiking Gear is Actually Worth Buying?
- Best Hiking Underwear For Women and Men
- How to Prevent Blisters When Hiking
- The 10 Essentials: Things You Should Bring on Every Hike
Backpacking Fitness for Beginners
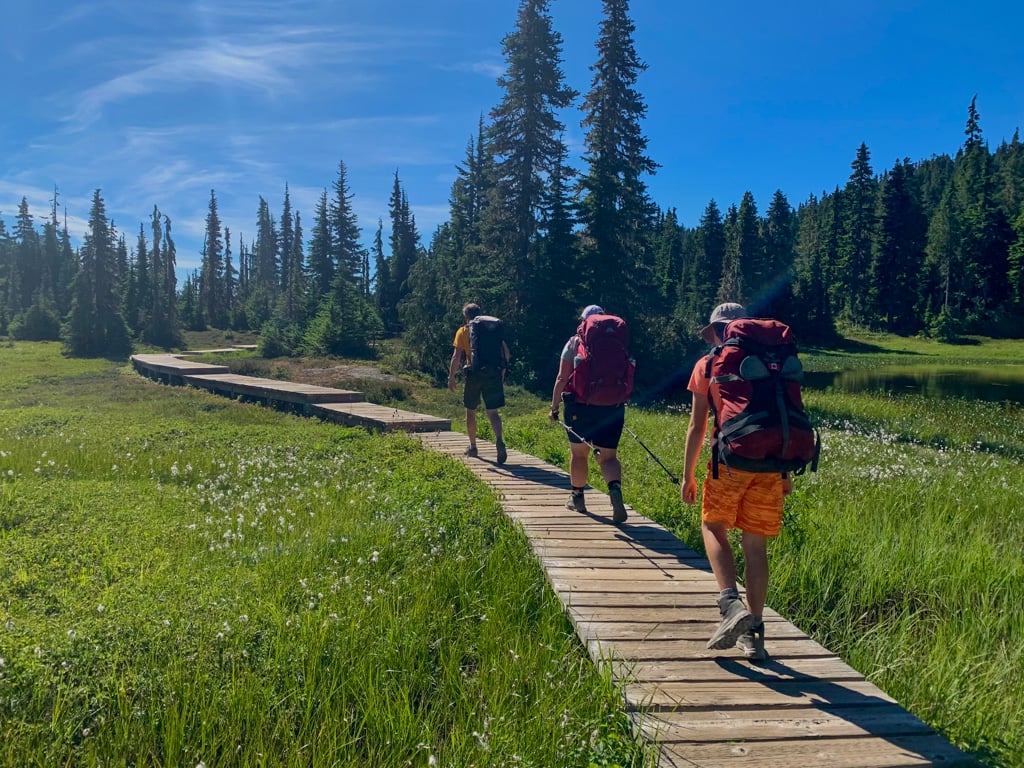
There’s no way to sugarcoat it: backpacking can be challenging and requires good fitness. It’s tougher than day hiking because you’ll be carrying a heavy pack and sometimes you have to deal with bad weather or unexpected trail conditions.
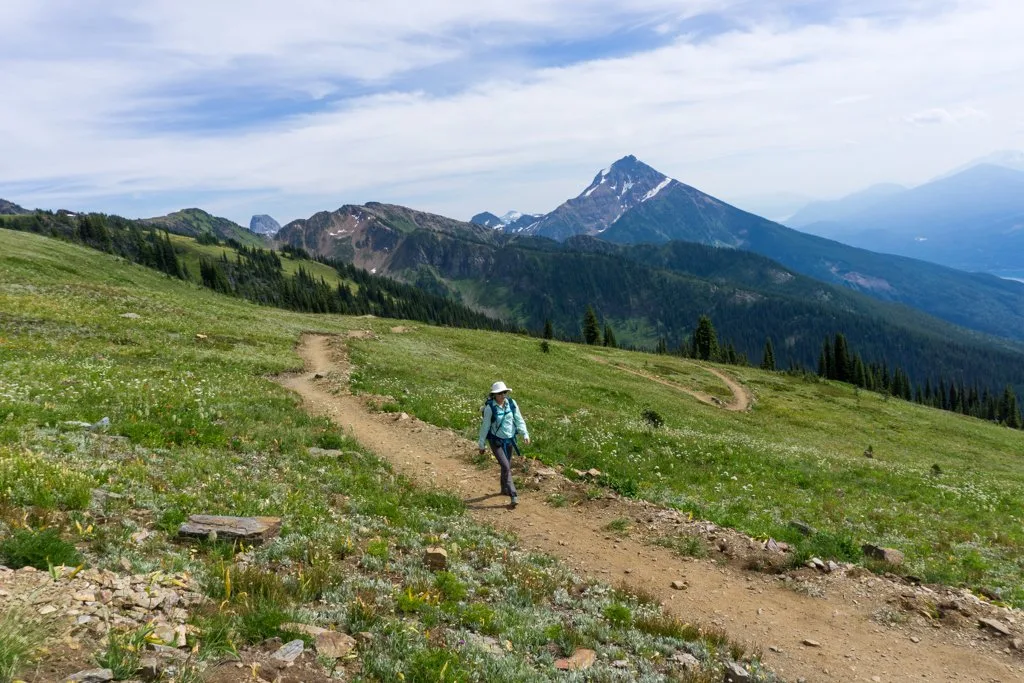
Backpacking is most enjoyable when you’re in good shape. But if you’re new to hiking, you can still go backpacking – you’ll just need to choose easier trails. My philosophy is that you should pick backpacking trips that are just a little bit easier than the day hikes you are comfortable with. So if you feel comfortable doing a moderate-rated trail as a day hike, choose one rated easy for backpacking.
To improve your fitness, train by doing progressively harder hikes. If you aren’t able to get out on the trails, you can also try simulating hiking conditions. Try working out at the gym on the Stairmaster or the treadmill on an incline. For an added challenge, wear your backpacking pack.

You can also go for walks in your neighbourhood with your pack on. If possible, walk on uneven surfaces instead of pavement and seek out hills and stairs. Walking on the beach is a great way to build stamina.
Building your strength and fitness is also key. Try yoga or bodyweight exercises like lunges, squats, step-ups, and crunches designed to strengthen your lower body and core. Balance exercises are also great.
Backpacking Skills for Beginners
For the most part, the skills you need to go backpacking are the same as the ones you need for longer day hikes. But even if you are an expert day hiker, it’s worth brushing up on your skills before you go backpacking. That way you’ll be safe, have minimal impact on the wilderness, and most importantly, have fun.
Here’s a quick overview of the basic backpacking skills for beginners.
Navigation
Backpacking can take you further into the wilderness than you can reach on a day hike. Sometimes these trails aren’t as well marked so mastering navigation is key.
Carry paper maps and a compass, just in case. I also often carry guidebook pages or trail descriptions (either as paper copies or as photos stored on my phone).
I also use the Gaia GPS app on my phone to orient myself. It shows tons of trails along with your current position overlaid on a topographic map. (Don’t forget to bring a battery pack if you’re using a phone for navigation.)
Practice navigation on easy day hikes before you go backpacking to get familiar with using a map and compass or GPS app.


Bear and Wildlife Safety
Going backpacking means sharing the trails and campgrounds with bears, cougars, wolves, raccoons, mice, porcupines, birds, and lots more. Actually, it’s more accurate to say they will be sharing the trails with you since it’s their home.
Give animals lots of space to maintain their natural behaviours. Don’t approach or touch animals.
To avoid negative bear interactions, hike in a group, make lots of noise, and keep dogs on a leash. If you see a bear, don’t run. Instead, talk to it while avoiding eye contact and backing up slowly. Carry bear spray and know how to use it if you are charged or attacked.
Be sure to protect your food from wildlife. Never feed animals – it’s bad for their health and encourages them to continue to seek out human food. Keep a clean camp. Never leave food unattended. Store all food and garbage in a food locker (if provided) or bring a bear canister or construct a bear hang.
Read next: Bear Safety for Hikers, Campers and Backpackers
Going to the Bathroom
Many popular backcountry campsites have pit toilets. Do research about toilet locations before your trip and plan to use one whenever possible.
If you have to go to the bathroom and there isn’t a toilet nearby, go to the bathroom the Leave No Trace way. Find a spot well away from trails, camp, and water sources (at least 200ft/70m). Dig a hole 6″/15 cm deep and poop in the hole. Afterward, cover it up. Pack out your toilet paper as it doesn’t break down well and animals may dig it up.
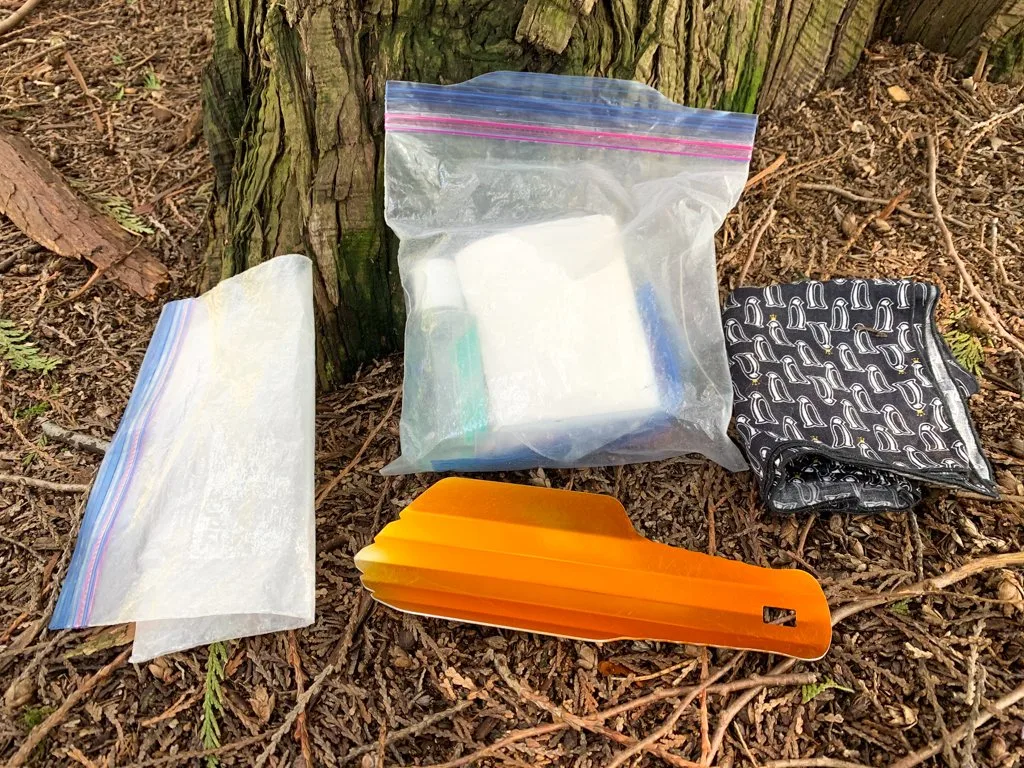
I carry a dedicated toilet kit that includes hand sanitizer, toilet paper, a plastic bag for packing out used toilet paper, and a small trowel.

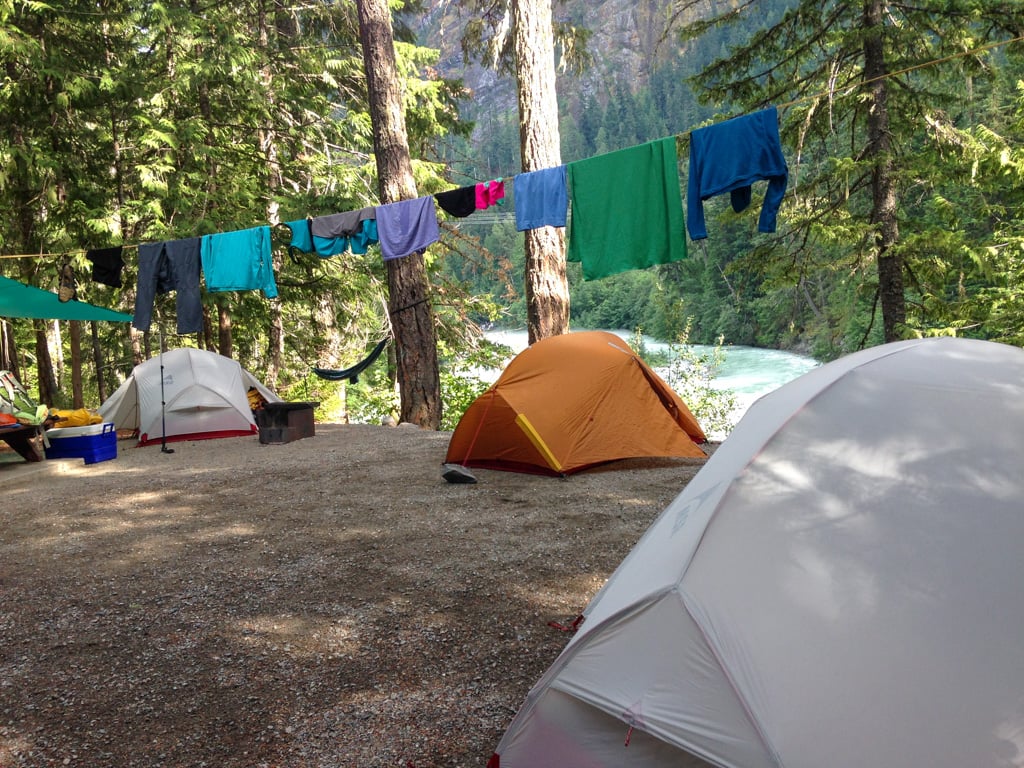
Backpacking Hygiene
It can be tough to stay clean on a backpacking trip. When people get sick on a hike, they often blame contaminated water. But in reality, poor hygiene is more often the case. Bring some hand sanitizer and use it after going to the bathroom and before eating or cooking.
To keep yourself clean, use a quick-dry towel to give yourself a quick sponge bath. (I use a face cloth-sized Pack Towl.) Disposable wipes are also a good idea, but please pack them out as they don’t break down.
You can also use biodegradable soap, but keep in mind that it isn’t safe for plants or fish. That means you’ll need to collect water in a cooking pot or bucket and wash well away from water sources. The soap needs to filter through the soil to properly biodegrade.
Women and people who menstruate will also want to be prepared by bringing supplies.
Read next: How to Camp and Hike on Your Period
Leave No Trace
The seven principles of Leave No Trace help hikers and backpackers have minimal impact. I’m a Leave No Trace Master Educator and have been teaching Leave No Trace for over 15 years. I’m sure you’ve heard the phrase “pack it in, pack it out”, and know to pick up your trash, but there is lots more to Leave No Trace.
You’ll learn ways you can prepare beforehand to minimize your impact, how to avoid damaging the trail when you walk, where to pitch your tent, how to have a responsible campfire, and how to share the wilderness with other users.
Read next: How to Leave No Trace (And Why it’s Important!)
More Beginner Backpacking Skills Resources
- Bear Safety for Hikers, Campers and Backpackers
- How to Camp and Hike on Your Period
- How to Leave No Trace (And Why it’s Important!)
How to Plan a Backpacking Trip
So, you’re ready to go on your first multi-day hiking trip. Congrats! That’s exciting. But it can also be a bit daunting to figure out how to get ready. Here are my tips for planning a backpacking trip.
Pick a Trail
Choose a trail that is a good match for your abilities. For beginners, that usually means picking something rated easy or moderate where you’ll be hiking about 5-8 mi/8-13 km each day on fairly flat terrain. Avoid remote areas and trails with lots of elevation gain, tricky stream crossings, or technical sections.
Do some research and pick a trail that is appropriate for the time of year you want to go. You don’t want to deal with snow and cold. Check the weather and make sure you have the right gear for the forecast. Or be ready to change to a different destination or postpone your trip.
If possible, choose to stay at an established campsite with flat tent sites, a water source, and a toilet.
READ NEXT: 24 Easy Backpacking Trips In BC For Beginners

Get a Permit
Many backcountry camping areas require permits to avoid overcrowding and protect the environment. Check park and trail websites to find out if a permit is required and how to get one.
In some places, you’ll have to make a reservation months in advance. In others, you just need to fill out a form at a trailhead kiosk. Some places have a limited number of permits per day while others have unlimited permits. Most permits cost between $5 and $30, but others are free.
READ NEXT: 2023 BC Backpacking Reservation Dates You Need to Know
READ NEXT: How to Make Backcountry Camping Reservations in BC
Check Local Rules
Each park and trail has its own rules about campfires, drones, dogs, food storage, group size, and more. Check local rules ahead of time so you aren’t disappointed at the trailhead or campsite. These rules are in place to prevent damage to the environment and make sure all hikers have a good experience, so it’s important to follow them.
Organize Transportation
In most cases, transportation is fairly straightforward. But you may need to pay for parking or get a parking pass at a trailhead. And if you are doing a one-way hike you may need to arrange a shuttle or research buses or taxis. As well, some trails can only be accessed via rough roads that require a 4WD vehicle. Do some research and make a transportation plan.

Check Your Gear
Make sure you have the gear you need for the trip you are planning. Find out if there are food storage lockers or if you’ll need to bring a bear canister or build a bear hang. Check the weather forecast to see if you’ll need extra gear for cold weather or rain.
READ NEXT: 40+ Tips for Hiking in the Rain
Talk to your trip partners about sharing gear like tents, stoves, and water filters to save space and weight. You also may want to share safety gear like first aid kits, navigation gear, and a communication device.
Pick Hiking Partner(s)
Seasoned backpackers might have the experience to go on a multi-day hiking trip alone, but it’s not a great idea for beginners. Team up with a few other backpackers while you are still learning. Go with friends, join a hiking club, or find hiking partners through MeetUp or Facebook groups.
Make sure that your skills and personality mesh with others in the group. If you’re an absolute beginner, it’s best if someone else in the group has some experience and can help answer your questions when you’re unsure. And make sure that everyone in the group has the fitness and skills to complete the trip. It’s unsafe to leave people behind (and it’s such a dick move), so you’ll have to travel at the pace of your slowest hiker.
Group dynamics are important on a backcountry trip. If possible, go on a day hike with potential partners first so you can see if you get along and have a similar hiking style. You don’t want to get stuck in the middle of nowhere with someone you can’t stand.

Make a Meal Plan
The food you bring on a backpacking trip needs to meet a few criteria: it should be lightweight, compact, high in calories, and tasty. Avoid canned food and most fresh food. Bring dry foods with short cooking times like pasta, rice, and oatmeal. You can also buy prepackaged backpacking meals.
You will burn more calories on a backpacking trip than you do at home, so don’t skimp on calories. Be sure to bring snacks you can eat on the go. And pack a treat or two – I like to bring a little bit of chocolate as a reward for tough days.
Read next: How to Choose the Best Backpacking Meals and Grocery Store Backpacking Meals for Cheap
Leave a Trip Plan
If you get lost or hurt will anyone know where to look for you? Will they even know you are missing? Leaving a trip plan with a family member or friend can be the difference between life or death.
Put together a trip plan that includes the names and contact info of your hiking partners, your planned route with campsite locations, and the dates you’ll be gone. Also include info about the car you’ll be leaving at the trailhead including the licence plate number. Establish a check-in time for the end of your trip. If you don’t call or text your emergency contact by the check-in time, they will know to call search and rescue.
I also carry a Garmin inReach Mini communication device. It uses satellites to let me text my family at home to let them know if I’ve changed my route or am going to be late. It also has an SOS button I can push in an emergency to call for rescue.
Step-By-Step Plan for Beginner Backpackers
If you’ve never been on a backpacking trip before, it can be tempting to jump right in. But that can result in a less-than-awesome trip. Here’s my step-by-step plan to ensure your first backpacking trip is a success. It has lots of backpacking tips for beginners.
1. Build-up your fitness
Ensure you are in good shape for hiking. Working out at the gym is great, but the best training for hiking is hiking.
Start going hiking more often, building up to longer and longer hikes with more elevation. If possible, go hiking once or twice a week. If you can’t get to the trails that often, walking in your neighbourhood (especially if it has hills) or working out at the gym on a stair climber are also good options.
2. Gather Gear and Practice Packing
Backpacking requires a fair amount of gear. Use the backpacking gear overview above and my backpacking gear checklist to see what you’ll need.
Once you have your gear, practice packing your backpack. Place heavy items in the middle, closest to your back to maintain a good centre of gravity. Put items that you won’t need until later, like your tent and sleeping bag, at the bottom. Put things you will need on the trail like snacks, water, maps, and your rain jacket in outside pockets or at the top.
3. Do Day Hikes Fully Loaded
Once you’ve got some of your gear together, take it for a hike. Load up your backpacking pack with everything you’ll need for an overnight trip. (If you don’t have all your gear yet, try stuffing your pack with clothing and pillows for bulk and bottles of water for weight.)
The extra weight of your pack will really affect your stamina. It also shifts your centre of gravity.
Choose a moderate hike (both in distance and elevation) to start, then work up to carrying your pack on harder hikes. You could also try putting your loaded pack on to walk around your neighbourhood or on the stair climber machine at the gym.
4. Do a Shake-Down Camping Trip (With a Car)
Book a night at a drive-up campground, but pretend you didn’t bring your car. Pack like you’re going backpacking. When you arrive, unload your backpack, lock your car, and try not to open it until you leave. This exercise can really help you get used to the realities of using your backpacking gear in a safe environment.

5. Go On Your First Backpacking Trip
Pick a short and easy hike for your first time backpacking. It’s also a good idea to pick a designated backcountry campground that has pit toilets, good water access, and food storage.
If you’re near Vancouver, my book, Backpacking in Southwestern British Columbia, has some great beginner backpacking trip suggestions.
So that’s everything you need to go backpacking for the first time. Do you have questions about backpacking as a beginner? Ask in the comments – I’m happy to help!
READ NEXT:
- Backpacking Checklist: Gear You Need To Go Backpacking
- 20+ Ways to Reduce Your Backpack Weight
- 12 Best Women’s Hiking Pants (Picks for Every Body Type)
- 300+ Hiking Terms Explained: A Hiking Glossary
- 17 Ways to Save Money on Hiking Gear
- Bear Safety for Hikers, Campers and Backpackers
- The 10 Essentials: Things You Should Bring on Every Hike
- How to Choose the Best Backpacking Meals
- Grocery Store Backpacking Meals for Cheap
- 24 Easy Backpacking Trips In BC For Beginners
- 30 Best Backpacking Trips in BC
- Backpacking with Kids: Tips from a Tween and His Mom
- How to Stay Warm in a Tent: Over 40 Tips
- 40+ Tips for Hiking in the Rain


- 10 Best Things to Do in Saskatchewan - March 22, 2026
- The Best Things to Do in Saskatoon - March 17, 2026
- Grasslands National Park Travel Guide - February 4, 2026