

I’ve been on countless backpacking trips over the years (I’m a hiking guidebook author), but somehow I still end up with blisters every few years. I know all the tips and tricks to prevent blisters when hiking – but I just need to remember to follow my own advice!
Since I’m usually blister-free, here’s how to prevent blisters when hiking… and how to treat blisters when you do get them. Some of the tips are fairly straightforward (your shoes should fit you) but a few aren’t often talked about. For example, I’m a firm believer in good boot lacing technique.
This guide to preventing and treating blisters includes:
- Why do hikers get blisters? What causes them?
- How to prevent blisters when hiking: 17 tips I swear by
- How to treat blisters: 3 key steps to take
- My foot care gear checklist: everything I bring to prevent and treat blisters
Hey there: Some of the links in this post are affiliate links, which means I earn a small commission at no extra cost to you if you make a purchase. I only recommend products that I have used and believe in. Thanks for supporting my website! -Taryn
Why Do Hikers Get Blisters?
So first things first: Why blisters? Blisters form when skin gets irritated or damaged by pressure or friction. This could be from tight spots in your hiking boots or wrinkles in your socks.
You’ll also be more prone to blisters if your feet are wet, either from sweat or from getting rained on or dunked in a stream. When I get blisters, it’s usually because I let my feet get waaaay too sweaty 🙁
How to Prevent Blisters When Hiking
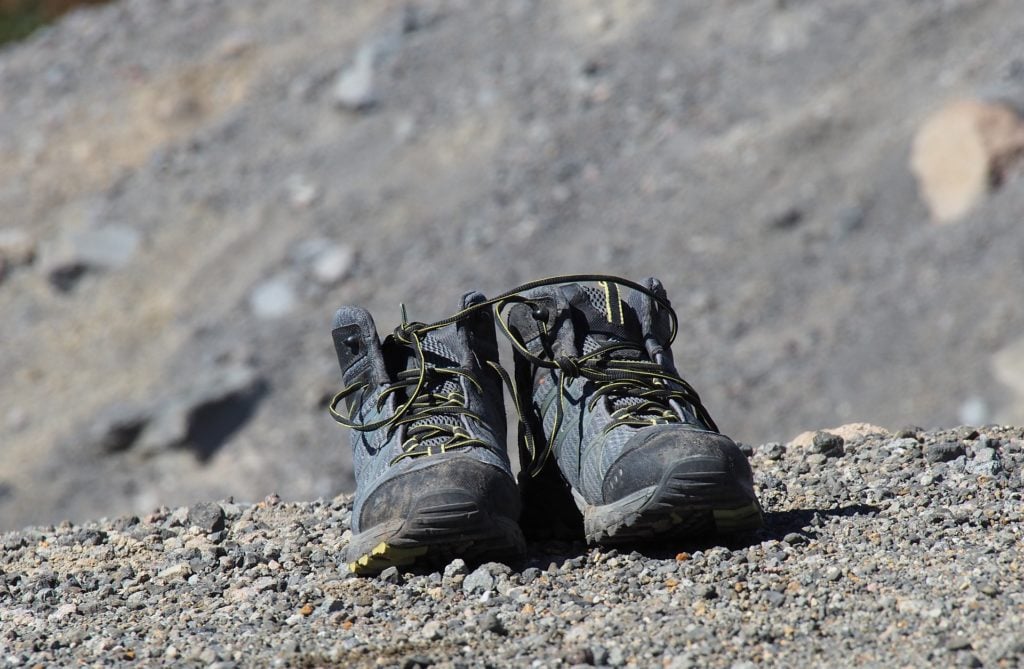
Wear Hiking Boots That Fit Well
If your boots don’t fit or aren’t broken in, you’re likely to get blisters. Take your time when buying hiking boots and try on lots of pairs. Make sure your toes have enough room to spread out – if they are scrunched together you can get blisters.
Getting the right size is also important. Check the sizing by walking on an inclined ramp – most good outdoor stores will have one. When walking uphill your heels should stay in the same place – the boots are too big if your heel slips. Going downhill make sure that your toes don’t bump the front of the shoe. If they do, they’re too small.
Choose the Right Footwear
To avoid blisters you want to keep your feet dry. That means that your hiking boots shouldn’t let your feet get too sweaty, but they also should keep water out when you hike in the rain or splash through puddles.
Unfortunately it’s almost impossible to get boots that do both well. Waterproof boots are good at keeping water out, but even if they use a waterproof breathable membrane like Gore Tex, they still make your feet pretty sweaty. And mesh ventilated hiking boots are great at keeping your feet cool… but terrible at keeping them dry.
My solution is to wear waterproof breathable hiking boots like the Salmon Quest Gore-Tex for colder and wetter weather and ventilated mesh trail runners like the Salomon XA Pro for warmer weather.
Learn How to Lace Your Boots
Lacing your boots isn’t as simple as just tying a knot at the top. There are actually different lacing techniques that you can use to alleviate different kinds of boot fit issues and prevent blisters when hiking. You can fix things like heel slipping or pressure points with different lacing.
There are some great instructions on REI’s website that can teach you how.
Wear Wool or Synthetic Socks
Hiking socks are designed to move moisture, dry quickly, cushion your feet and avoid chafing. If you want to avoid blisters, you need to get some.
Good hiking socks are made of merino wool or synthetic. I like socks that blend the two together as I find pure wool socks aren’t as durable and pure synthetic socks get stinky. My favourites are the Darn Tough Light Hiker Micro Crew. They have flat seams and they’re super durable.
Whatever you do, never wear cotton socks! Cotton soaks up moisture so wearing cotton is a recipe for blisters.
Make Sure Your Socks Fit Well
You don’t want them to bunch up or slip inside your boots, causing skin irritations and then blisters. Check the packaging to make sure you get the right size. And if you’re in between sizes, try on both sizes to see which one fits better.
And it should go without saying, but if you’re wearing higher cut boots, you should also wear higher cut socks to avoid direct skin to boot contact.
Pick Socks That are the Right Thickness
Choose thinner socks for hot weather and thicker ones for cold weather. Remember, you want to avoid sweaty feet.
Recently, I got blisters because of poor sock choice. It was really cold in the morning (close to freezing) so I put on my thick and warm socks for the day’s hike. Throughout the day my feet got sweaty in thick socks as the temperature warmed up. And I got blisters. 🙁
READ NEXT: Tips for Hiking in Hot Weather
Wear Liner Socks
Liner socks are thin socks that you wear under your regular hiking socks. Liner socks do two main things: wick sweat away from your feet and prevent friction.
Hikers who wear stiff leather hiking or mountaineering boots should consider wearing liner socks. If you wear softer low-cut fabric boots or trail runners, liner socks often aren’t necessary. Nevertheless, if you’ve got recurring blister problems, give liner socks a try.
You can also get socks with built in liners. I’ve been wearing Wrightsock double layer socks for years and I love them. They have a thin liner sock inside sewn to an outer regular sock. The idea is that the two layers of the sock rub against each other rather than your foot rubbing against your sock. For me they really work!
Consider Toe Socks
If you’re prone to getting blisters between your toes, wearing toe socks can help. They take a bit of getting used to but I think they work. You can get stand-alone toe socks or thin toe socks you can wear as liner socks. Injinji are the original toe sock brand – they have tons of styles from liners to hiking socks.
Upgrade Your Insoles
The factory insoles that came with your hiking boots suck. They are pretty flimsy and might not be the best shape for your feet.
I add aftermarket insoles to all of my hiking footwear since I find they give me a better fit, more support and make my feet less sore after long days of walking. Try swapping out the insoles that came with your boots for ones that fit your foot better.
I’ve been using Superfeet insoles for years and love them. I have narrow heels and I find that they cup them better than other brands I’ve tried.
Cut Your Toenails
One of the easiest ways to get blisters or irritated feet is to neglect your toenails. If your nails are too long they will rub against your toes, your socks, and the front of your boots. Give yourself a home pedicure the night before a hike. On longer trips I bring a tiny pair of nail clippers to trim on the trail.
Air Everything Out
If you stop for a break, take your hiking boots and socks off to let your feet air out and dry off. Make sure to spread your socks out in the sun and remove your insoles from your shoes so any accumulated sweat has a chance to evaporate.
If you get really sweaty feet consider packing an extra pair of socks so you can swap out gross wet ones for dry ones.
When backpacking, bring lightweight camp shoes (such as Crocs) to wear while your boots air. I often get blisters when I don’t let my boots air out enough.

Plan For Stream Crossings
Stream crossings can soak your feet, and wet feet are prone to blisters. Bring dedicated water shoes or sandals to cross streams so you don’t get your hiking boots and socks wet. Crocs or Tevas work well.
I like to bring a small travel-sized Pack Towl to dry my feet with after stream crossings before I put my shoes and socks pack on. They are made of microfibre that dries really quickly. I also use it for washing my face and wiping sweat off my brow.
If you do need to cross in your boots, bring a back up pair of dry socks to change into afterwards.
Use Anti-Chafing Products
There are tons of anti-chafing products out there that lubricate your feet so there isn’t as much friction. If you know you are prone to blisters, applying an anti-chafe balm before your hike can help.
The cheapest (and messiest) option is good old Vaseline. I use Body Glide Foot Glide, but Hike Goo is also popular. Keep in mind that as you hike and sweat it will wear off so you might need to bring it with you and reapply.
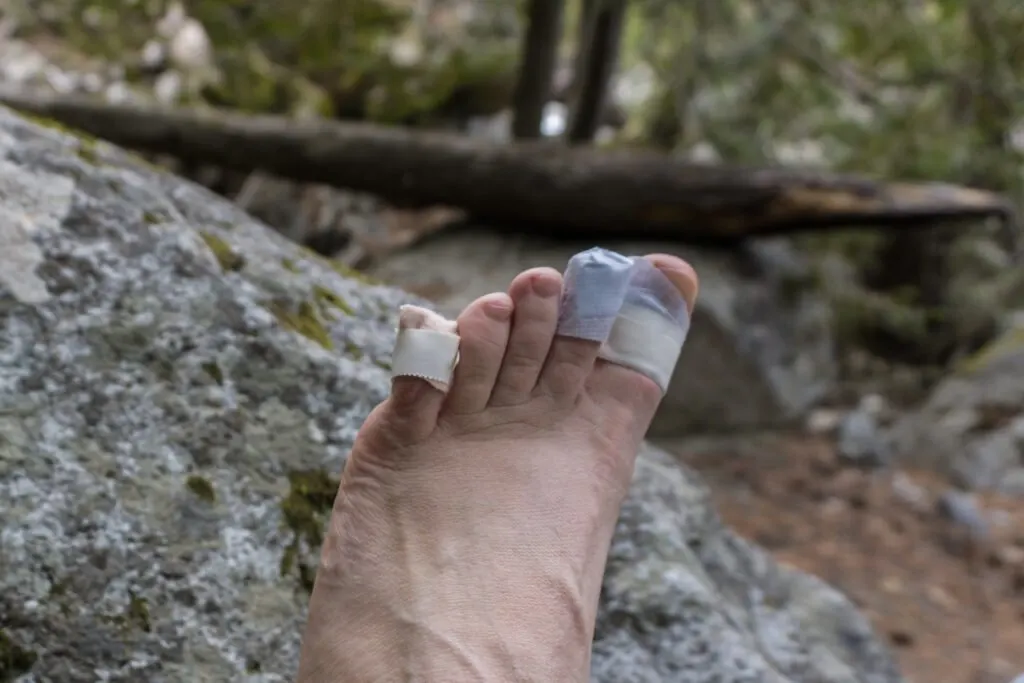
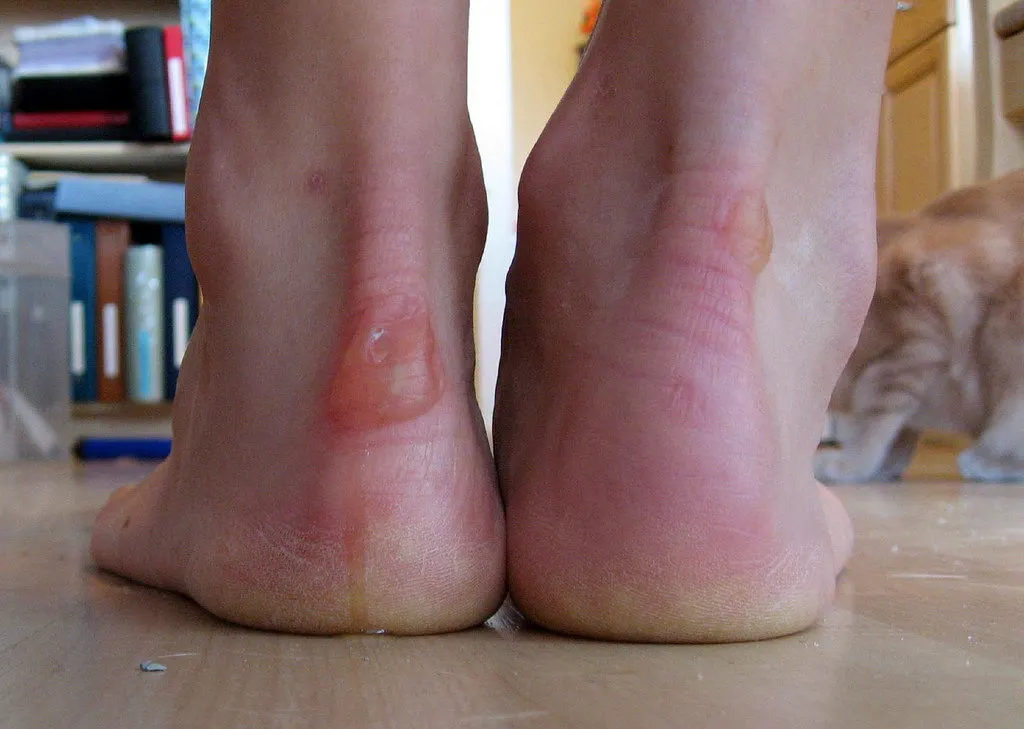
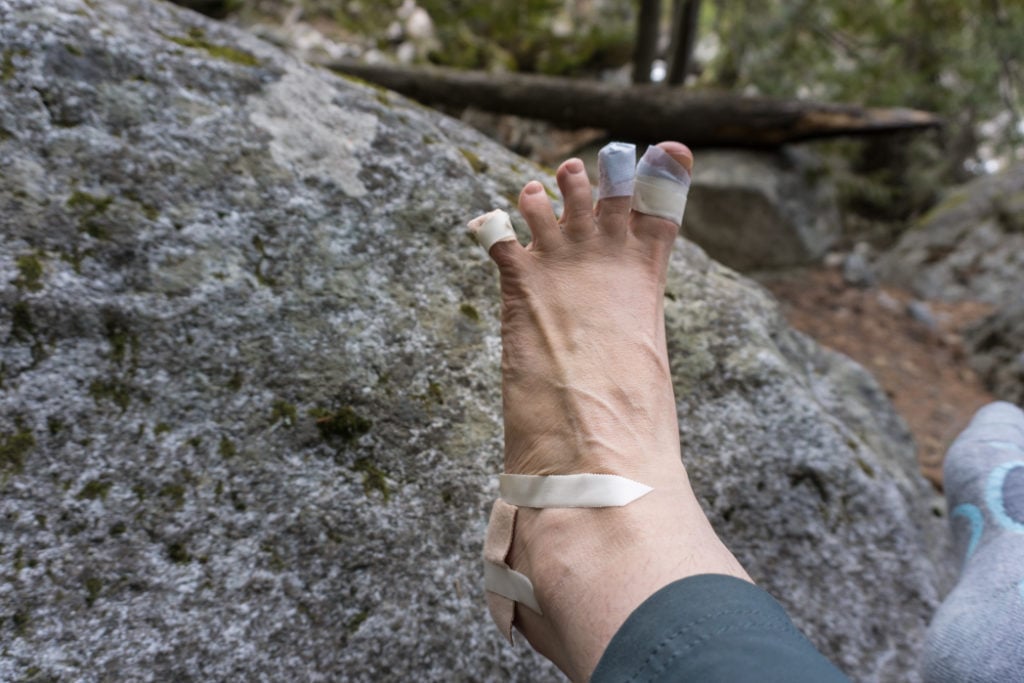
Pre-Tape Problem Areas
Lots of hikers have known problem areas where they usually get blisters. Common areas are the backs of your heels, toes and the balls of your feet. To prevent blisters when hiking you can pre-apply blister prevention tape before your hike.
Moleskin tape is the classic solution. It’s a thin strip of cotton padding with adhesive on the back. It pads the foot to take the pressure off the area. Cut it into a shape that covers your problem area, and be sure to round off the corners. It sticks pretty well on it’s own, but I like to add a bit of medical tape on top to ensure it stays in place.
Some people also like to use duct tape as they say it stays on a long time but I’ve found that the edges of it often lift up and get stuck to my socks so I’m not a fan. It also doesn’t provide any padding. And taking it off your skin can be brutal.
The new school way to prevent blisters is to use Leukotape or KT tape. Both of these are designed stabilizing muscles and joints, but since they are very sticky and stay on for days, they’re great for blister prevention. l carry KT anyway to deal with my tempermental achilles, so I use it for blister prevention too.
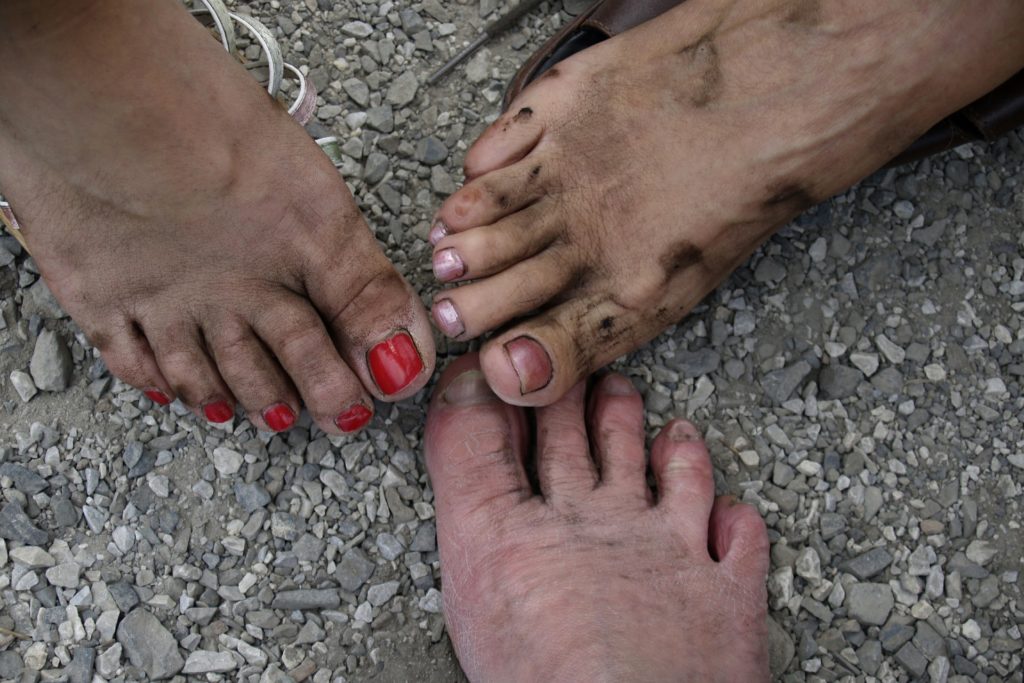
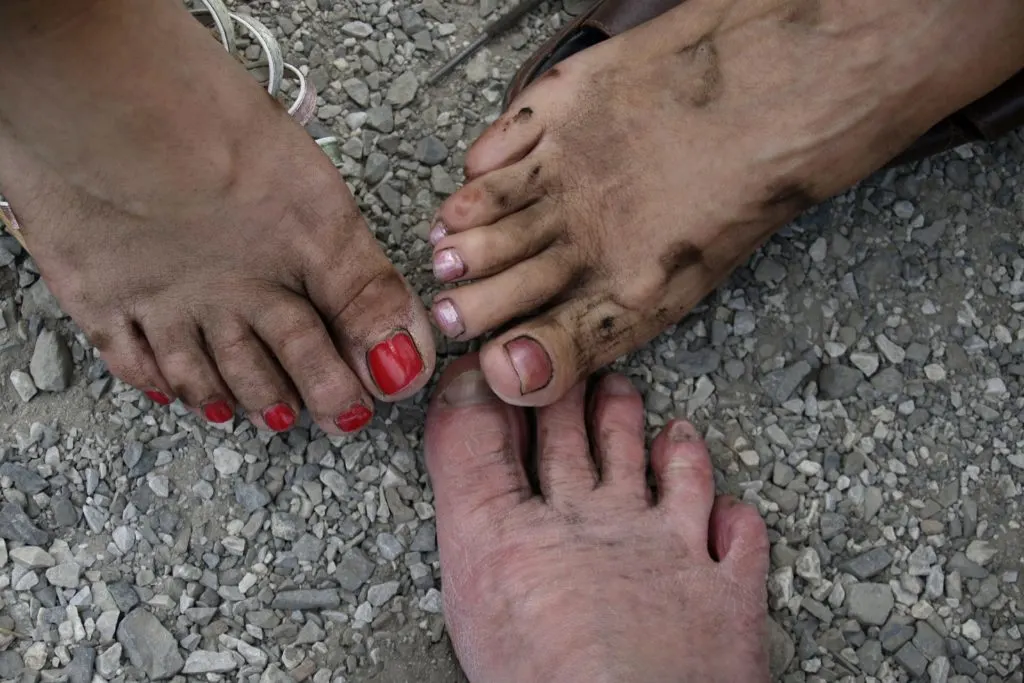
Keep Your Feet and Boots Clean
Hikers splash through puddles and kick sand and dirt up as they walk. Getting dirty and muddy feet is a regular part of hiking. But those little dirt particles can rub your feet and cause blisters.
Make sure you clean the dirt out of your shoes and off your feet periodically. Be sure to check in between your toes! On dusty backpacking trips I usually wash my feet in a stream or wipe down my feet with baby wipes each day when I get to camp.
Wear Gaiters
If you’re going to be hiking on a beach or in the desert, pick up some lightweight gaiters to keep the sand and dirt out of your shoes. The low-cut, lightweight REI Flash gaiters are a good choice.
And if you expect to encounter rain, mud or wet trails, wearing waterproof breathable gaiters can help keep your feet dry. I do a lot of coastal hiking on trails like the West Coast Trail, and I wouldn’t dream of going without gaiters. I use Outdoor Research Rocky Mountain Gaiters.
Treat Hot Spots Right Away
If you start to feel any foot irritation while hiking, it’s probably a hot spot that will soon turn into a blister. Stop right away, take off your shoes and treat it.
If it’s just a hot spot and not a blister yet, the best thing to do is pad the area with some moleskin, Leukotape or KT tape.
If you don’t have anything else, you can also use bandaids (I prefer waterproof bandaids since they stay on longer) or even duct tape.
It’s also a great time to clean dirt out of your shoes, change your socks, or tighten your shoelaces.
On more than one occasion, I’ve felt myself getting hot spots and decided to wait to look at them. By then they had turned into blisters. I should have stopped right away.
How to Treat Blisters
Decide If You Should Pop It
Everyone has their own opinion about whether you should pop your blister or not. Some people think you should always pop them, and some think you never should.
Well I think… they’re both right. (Way to sit on the fence, Taryn!) But seriously, I recommend examining the blister and deciding if you should pop it or not.
If it looks like it will burst when you’re walking or it’s so painful to walk on that you can’t keep going, I think it’s time to pop it.
But if it’s small and adding a bit of padding will let you walk on it, I think you should tape it up and keep going.
Usually when I get blisters I catch them before they are too big so I can tape them up and hike mostly pain free. Once I get home into a cleaner environment, I pop them (if needed). More on popping blisters below.

Pop With Care
If you do decide to pop it, it’s best to do it in a clean environment (like your house) to avoid infection. That’s why I often choose to try to walk out with an intact blister, rather than popping it on the trail.
But sometimes you have no choice and you need to pop your blister in the backcountry. Here’s how to do it. Start by cleaning the area and your hands with an alcohol wipe. Sterilize a sewing needle or the point of your knife with the flame from your lighter or stove. Make the smallest hole possible and massage the blister to drain out all the liquid.
Clean the blister with antibiotic ointment like Neosporin, then dress it with gauze or a waterproof bandaid. If it’s still really painful you can add some moleskin for extra padding. To make sure your dressing really sticks, back it up with a few strips of medical tape.
Never apply Leukotape, KT Tape, or duct tape to a popped blister as the adhesive will prevent the damaged skin from healing and can actually rip it open again when you remove the tape. Ouch!
Pad the Blister
If you decide not to pop your blister, you’ll need to add some padding to keep the blister from growing and ease the pain in your feet so you can finish your hike. There are tons of options at drug stores for blister care, but really they fall into two main categories: padded bandages and gel bandages.
Moleskin is the classic padded bandage. You can cut moleskin to protect blisters of pretty much any size. A popular method is to cut the moleskin into a donut shape and place it over the blister so that the blister is in the donut hole. Cover the moleskin with another sheet of moleskin or some medical tape and you’re good to go.
There are also tons of blister treatment bandages with hydrocoiloid gel in them that both pad the blister and promote healing. They come in a few different sizes but they can’t be cut to fit so you have to hope you brought the right size with you. ]
The gold standard in blister bandages is Compeed. They are expensive, but they stay on for days and are padded enough to prevent further pain.

Foot Care First Aid Checklist
The majority of the items that I carry in my first aid kit are actually for foot care and blisters, since that’s by far the most common ailment for hikers. Here’s a list of essential and optional blister prevention and treatment items I recommend you carry in your hiking first aid kit:
Essential
- Moleskin sheets
- Medical tape
- Bandaids in a variety of sizes (preferably waterproof ones)
- Small folding scissors or a multi-tool like a Leatherman that comes with scissors
- Alcohol wipes
- Neosporin
- Sewing needle
- Blister treatment bandages
Optional
- Nail clippers
- Anti-Chafing Balm (Foot Glide or Hike Goo)
- Leukotape or KT Tape
Final Thoughts
So there’s my tips for preventing blisters when hiking and treating them both on and off the trail. What’s the worst blister you’ve ever gotten? How do you think you could have prevented it? Tell me in the comments.
READ NEXT:
- 40+ Tips for Hiking in the Rain
- Tips for Hiking in Hot Weather
- Backpacking for Beginners: Tips for Getting Started
- The 10 Essentials: Things You Should Bring on Every Hike


- Best Sun Hoodies for Hiking - June 3, 2026
- Lower Stein Valley Trail Hiking and Backpacking Guide - May 27, 2026
- The Best Things to Do in Vernon, BC - May 21, 2026
Ron Perrier
Thursday 9th of July 2026
From walking 2000 km of Camino and never getting blisters, the keys are a wide toe box, zero drop heel and little padding; double socks. When get a blister, they should always be popped by threading the blister. Thread on a sewing needle, pass the needle through the blister, remove the needle and leave the thread to keep the blister drained. I am also an MD and treated hundreds of blisters during the walk.
Rick Ciccone
Friday 21st of March 2025
I enjoy your articles very much, very useful info. Re blisters, when buying boots sometimes people don't bring their own usual sock combinations to the store for fitting. Also helps to bring your usual pack as this weight flattens feet more than just standing. Check return policy beforehand and try walking about in your house with pack on for a while to see how it goes.
Lisa
Thursday 3rd of May 2018
Toe sock liners are the best! My first full week out last summer I had horrible terrible no-good blisters between a bunch of my toes. A friend recommended toe socks. A week later I was back on trail and blister free. My feet also felt a lot better at the end of the day. They work great under the waterproof socks too.
Leslie Carvitto
Monday 23rd of April 2018
Super informational post! I already told you my sob story about NZ on facebook ;) but I'm definitely storing some of these tips for spring/summer hiking!
Ioanna
Thursday 19th of April 2018
Oh, blisters! I've been just working on writing a blog post on them! :D Great minds think alike... ;-) I hardly get any blisters anymore - my last change, getting toe-sock liners fixed my problem with toes overlapping. The last three-week hike on Crete, I had one tiny blister on my toe the first day and nothing else. YAY!
btw - I suggest caution about the Compeed. I used them couple years ago when I got blisters on the side of my heels (on the inner side). As the Compeed plasters where partially under my heel, I was walking/stepping on them. After a few hours of hiking, weird goo started to ooze from it sticking to my sock liners. I ended up throwing away a pair of socks (the goo/glue like thing could not be washed out) and had to buy new ones. Never used them since!