When we talk about going hiking, there’s a lot of chatter about “being prepared”. But what exactly does that mean? What things should you do before a hike?
Over the years I’ve developed a bit of a routine before each hike. Keeping this simple checklist in mind makes sure that I stay safe on the trails. AND it also makes sure that I have fun since I’m much less likely to get so tired that I don’t enjoy it or end up soaking wet in a rainstorm. Read on for my recommendations for things to do before a hike.
Hey there: Some of the links in this post are affiliate links, which means I earn a small commission at no cost to you. Thanks for your support. -Taryn
Find Some Hiking Buddies
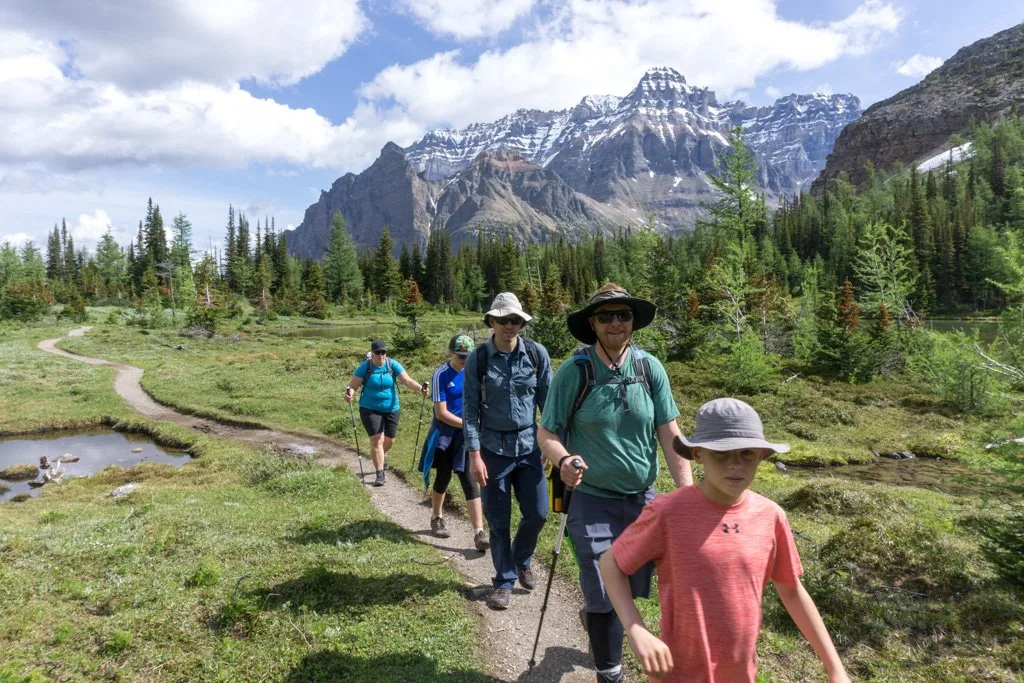
In general, hiking in a group is better. For starters, it’s more fun. But safety is the real reason it’s better to hike with friends. You can help each other if someone gets hurt. And it’s less likely you’ll have a negative animal encounter since wildlife tends to stay away from groups. (Read more about bear safety if you’re worried.)
In general, the ideal group size is four. That way if someone gets hurt, one person can stay with them while the other two go for help.
But when hiking, it’s not really “the more, the merrier”. Large groups are difficult to keep together on the trail, can be loud and disruptive to other hikers, and have a greater impact on the environment. Leave No Trace and many land management agencies recommend 10 or 12 people as the maximum group size.
While groups are ideal, hiking alone can have its own rewards. I do hike by myself sometimes, but I’m really careful and only do it on easier hikes. Here are my thoughts and tips on hiking alone.
Research Trail Options
Do some research and pick a trail to hike. This means more than scrolling through Instagram and picking somewhere that looks epic. Look at trail websites, blogs and park websites. Pick up a guidebook.
Find out some key pieces of info about the hike: How hard is it? How far is it? How much elevation gain is there? Make sure you choose a hike that is within the abilities of you and your group. If you’re just starting out, pick easier hikes, then work up to harder ones.
Make Sure You Have Enough Time
Accidents happen when you’re rushing or trying to hike at night. Make sure you have enough time to complete your hike.
Research how long it usually takes people to hike, then add in a bit more time as a buffer. Don’t forget to look up how long it will take you to drive there. And check what time the sun sets. You don’t want to be caught out after dark.
Read Up on Local Regulations
In many places, rules and regulations are in place to protect the natural environment and make sure all users have a positive experience. Check park websites to find out if you need a reservation, permit or park pass. (For example, in Vancouver, some trails require day passes.) Find out if any areas are closed and if dogs or campfires are allowed.
Check Trail Conditions
There’s nothing worse than getting halfway up a mountain to be stopped by snow. If you research the trail conditions ahead of time you have a higher chance of having fun. More importantly, you’ll have a much higher chance of staying safe and avoid getting lost. The first principle of Leave No Trace is plan ahead and prepare, and checking trail conditions is an important part of that.
These days, there are a LOT of places to check trail conditions. Try Instagram, hiking groups, and park websites. I’ve got a whole post about How to Find Trail Conditions with more info.

Get the Weather and Avalanche Forecasts
Find out if it’s going to rain or snow and how cold it’s going to be. Then pack clothes to match the weather. If you are going hiking in the mountains, keep in mind that the weather in the city isn’t the same.
READ NEXT: The Best Weather Apps for Hiking
If you hike in winter, make sure you check the avalanche forecast on avalanche.ca (Canada) or avalanche.org (USA). If you don’t have avalanche training, you should probably stay out of avalanche terrain if the forecast is anything except low.
Dress for the Conditions
In general, it’s a good idea to wear moisture-wicking and quick-drying clothing when hiking. This means choosing polyester, nylon or merino wool clothing and avoiding cotton, which soaks up moisture. Dress in layers so you can add or remove clothing as the temperature changes. (Read more about what to wear hiking.)
Even if you’ve checked the forecast, the weather can change fast. It’s a good idea to have an extra warm layer and a rain jacket in your pack just in case.
Take Care of Your Feet
The secret to happy hiking is happy feet. Wear hiking boots or trail runners that fit you and grip the trail. Prevent blisters by wearing wool-blend socks or pre-taping problem areas. And don’t forget to cut your toenails. (For a whole list of anti-blister techniques, check out my Blister Prevention Tips.)
Pack the 10 Essentials
Bring a backpack to carry your gear. Make sure you pack the 10 Essentials. These are 10 safety items that you should always have with you on every hike:
- headlamp,
- food and water,
- warm clothing,
- map or other navigation aid,
- fire starter,
- first aid kit,
- emergency shelter,
- sun protection,
- knife,
- communication device
Read my post about the 10 Essentials for full details.

Avoid Getting Lost
Make sure you stay on track by bringing a trail map and a copy of the trail description. If you choose to bring electronic copies on your phone, make sure you have a USB power bank as backup. A GPS or GPS app is also a good idea.
Pack Snacks… Lots of Snacks
Hiking makes you hungry. Make sure you pack enough food for your trip. It’s a good idea to bring more food than you think you’ll need.
I always keep a few extra bars in my backpack. That way I have emergency food if the hike takes longer than we thought, if someone gets injured and we need to wait for help or if a friend forgets their snacks.
It’s also a great idea to leave some snacks in the car. Nothing tastes better after a long day on the trail than some nice salty potato chips!
Bring a Garbage Bag
Plan ahead to reduce waste. Bring a garbage bag to carry out everything you brought with you. That includes organic waste like apple cores and banana peels. (Read more about organic waste in my post about Why it’s Important to Leave No Trace.)
You can also use your garbage bag to pick up any trash you find. It’s great to leave the trail better than you found it!
Fill Up a Water Bottle
Bring a water bottle or hydration reservoir. Dehydration is no joke. In general, about 2L of water is a good amount for a day hike. HOWEVER, if the hike is hard or it’s hot out, you’ll need much more.
Find out if there are creeks along the way, then bring a filter or water treatment tablets. Giardia (a.k.a. beaver fever) is also no joke.
Check Your Gear
Make sure your gear works and you know how to use it. You don’t want to figure out how to use your GPS for the first time at the trailhead. Double-check the contents of your first aid kit before each hike. I always find something I’ve run out of like bandaids or painkillers.
And make sure your batteries are charged. Phone battery, GPS battery, headlamp battery, camera battery… we carry so many electronics these days! Make sure you aren’t forgetting anything: use my simple backpacking gear checklist.
Be Prepared to go to the Bathroom
Everybody pees and poops, but none of us talk about it. Find out if there are toilets on the trail and try to go to the bathroom before your hike. I always pack toilet paper, hand sanitizer, and a small trowel in my pack just in case. (For more info on going to the bathroom outside, check out my post about Leave No Trace.)
Leave a Trip Plan
This is THE MOST IMPORTANT thing you can do before going on a hike. Tell a friend where you are going and when you expect to be back. That way, someone will know to look for you if you get lost or injured. Adventure Smart has a great trip planning app and online form.
So there’s my list of things you should do before a hike. It may sound like a lot, but honestly, I find the pre-trip research fun. I also keep my daypack partially packed with most of the 10 essentials and my bathroom kit so it doesn’t take me long to get ready. How many of these steps are you already doing before each hike? Tell me in the comments.
READ NEXT:
- The 10 Essentials: Things You Should Bring on Every Hike
- How to Avoid Bees and Wasps While Hiking
- Backpacking for Beginners: Tips for Getting Started
- How to Leave No Trace (And Why it’s Important!)
- How to Leave No Trace With Dogs
- Bear Safety for Hikers, Campers and Backpackers
- Coastal Hiking Tips: Advice for Beach Backpacking
- Hiking Solo: My Tips
- How to Find Trail Conditions
- How to Prevent Blisters When Hiking
- 15 Ways to Avoid Crowded Hiking Trails
- 17 Ways to Save Money on Hiking Gear
- Backpacking Checklist: Gear You Need To Go Backpacking
- Grasslands National Park Travel Guide - February 4, 2026
- The Best (and Worst) Backpacking Meals Reviewed - December 16, 2025
- My Favourite Hiking Gear of 2025 - December 9, 2025


Chris
Wednesday 2nd of April 2025
I was recently on the Jug Island hike. It was one of the worst hikes because of the number of people who have no trail etiquette. My biggest peeve are the people playing loud music! Listen to the birds and the creek!
ANASTASIA
Sunday 22nd of January 2023
WONDERFUL SITE I ESPECIALLY LIKED YOU DOING THE WILDERNESS SURVIVAL COURSE WITH MEGHAN AND THE OTHER GUYS I LOVE THE WEST COAST HAVE NOT SEEN IT YET BUT HOPE TO DO SO ONE DAY ONLY BEEN TO PORTLAND OREGON TAKE CARE BYE ANASTASIA
Gabriela
Tuesday 22nd of March 2022
Great article, it's very informative specially for beginners. You are right when you say that we should research the trail and look for information about the trail we plan to do.
Tim Scottious
Wednesday 19th of August 2020
Very informative. Thanks for sharing as I am a noob in hiking.
Dorothy L Franson
Tuesday 19th of November 2019
Very informative and interesting article, will be checking out the links to learn more I do most of the ten essentials, not the small trowel though I have have a smaller and larger pack and first aid, garbage bags are in both at all times so l dont forget