

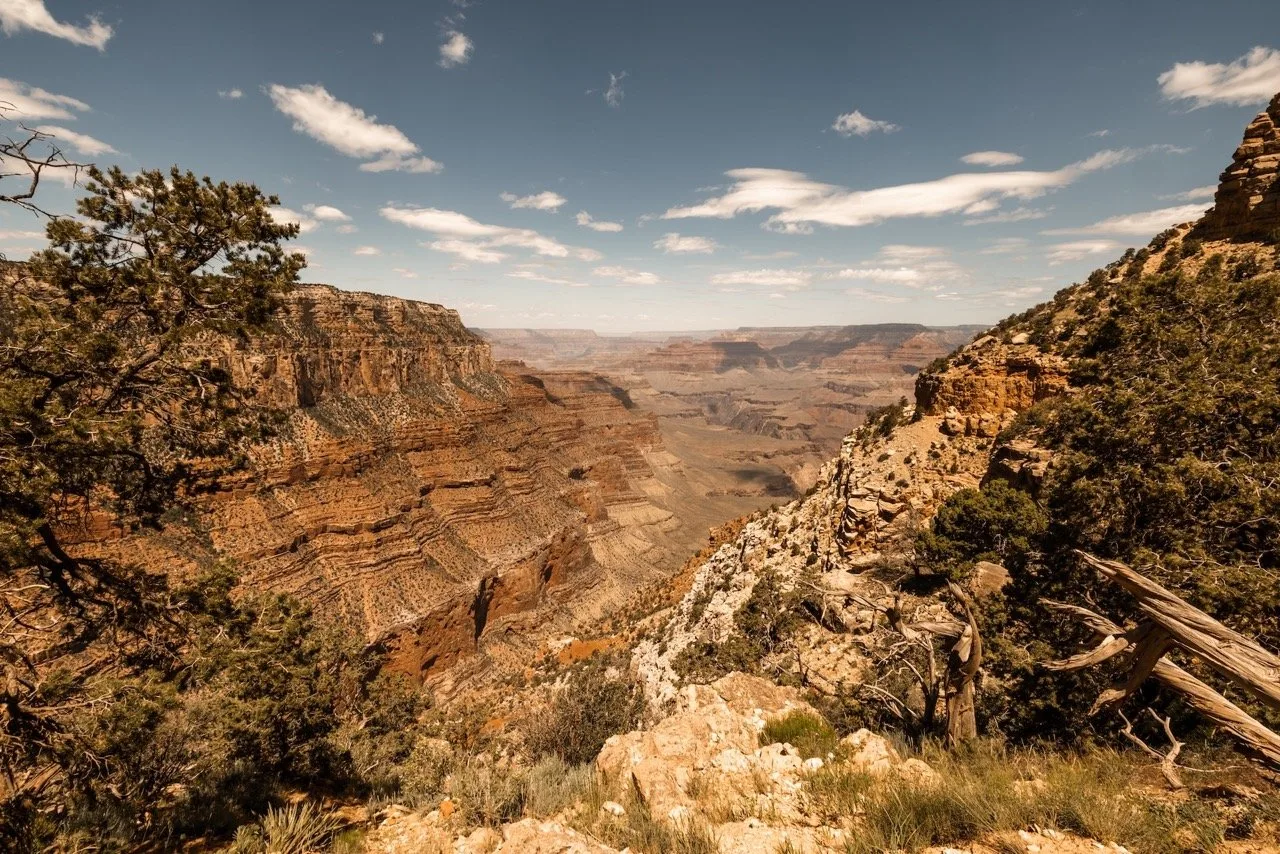
Have you ever dreamt of standing at the bottom of the Grand Canyon? Or seeing the mighty Colorado River up close? While most visitors to this National Park only see the Grand Canyon from its rims, the truly adventurous can experience it from a completely different perspective by taking on the challenging and breathtaking Bright Angel Trail!
Happiest Outdoors contributor Kristen has spent tons of time hiking in the Grand Canyon, including completing the tough Rim to Rim hike in a single day! So you can trust that she has all the insider info on the Bright Angel Trail.
This Bright Angel Trail guide includes:
- Know before you go – key info about location, permits, when to go, and more
- Bright Angel Trail stats – length, duration, difficulty and elevation gain/loss
- Bright Angel Trail map – a custom map showing all the key locations
- Mile-by-mile Bright Angel Trail overview – what to expect every step of the way
- Info about connecting trails so you can vary or extend your hike
This is a sensitive wilderness area. Learn how to Leave No Trace to keep the wilderness wild. Make sure you are prepared by bringing the 10 Essentials. Get ready for adventure with this checklist of things to do before every hike.
Hey there: Some of the links in this post are affiliate links, which means I earn a small commission at no cost to you. Thanks for your support. -Taryn
Know Before You Go
Location: Grand Canyon National Park – South Rim (Grand Canyon Village)
Closest Cities: Flagstaff, Williams, or Tusayan (all in Arizona)
Fees: $35 per vehicle to enter Grand Canyon National Park (South Rim) – good for up to 7 consecutive days
Permits: No permits are required for a day hike of the Bright Angel Trail. (You only need a permit if you are camping overnight along the trail.)
Best Time of Year to Hike: Fall, winter, or spring
Best Time of Day to Start Hike: Early morning
Parking: Multiple parking areas near the trailhead
Facilities: Bathrooms and water refill stations near the trailhead, at parking lots, and along the trail
Lodging: There are lodges, hotels, and campgrounds both at the South Rim within Grand Canyon Village, and just outside the National Park borders.
Pets: Not allowed on the Bright Angel Trail
Weather: Summer temperatures are regularly over 100°F. In spring and fall, temperatures of 40-80°F are common. Winter temperatures are usually between 35°F and 60°F. Check the weather before your hike. Check out these tips for hiking in hot weather.
Tours: Going with a guide can make your hike safer and more enjoyable. There are several popular Bright Angel Trail hiking tours you can book.
A Quick Note on Safety
It is important to note that the official stance of the National Park Service recommends against hiking Rim to River in one day. While it is doable as a day hike, hiking the entire Bright Angel Trail should not be done on a whim, and should not be done unprepared. It requires months of intentional training, the proper gear, and the right mindset. Here are a couple key questions to ask yourself when preparing to hike the Bright Angel Trail:
- do you have experience hiking long distance day hikes?
- do you have experience hiking 4,000+ feet of elevation gain in one day?
- have you trained extensively / committed to training for the Bright Angel Trail?
- do you have a portable water system and backup filter system?
- do you have the proper food and snacks?
- do you have the proper gear, including a first aid kit, emergency shelter, daypack, and proper footwear?
- are you comfortable hiking in triple digit temperatures with minimal shade?
- have you researched the trail and know where water, bathrooms, and your break spots are located?
If you are not properly trained, or do not have experience with long distance day hikes of this nature, it is not recommended to hike the Bright Angel Trail in one day. Instead, consider an earlier turn around point, like roundtrip to Havasupai Gardens Campground and back.

Bright Angel Trail Stats
Length: 19 miles (30.5 km) round-trip
Duration: 10-13 hours (including breaks)
Rating: Very Difficult
Highest Elevation: 7,200 feet (2,195 meters)
Lowest Elevation: 2,500 feet (762 meters)
Elevation Gain/Loss: 4,800 feet (1,463 meters)
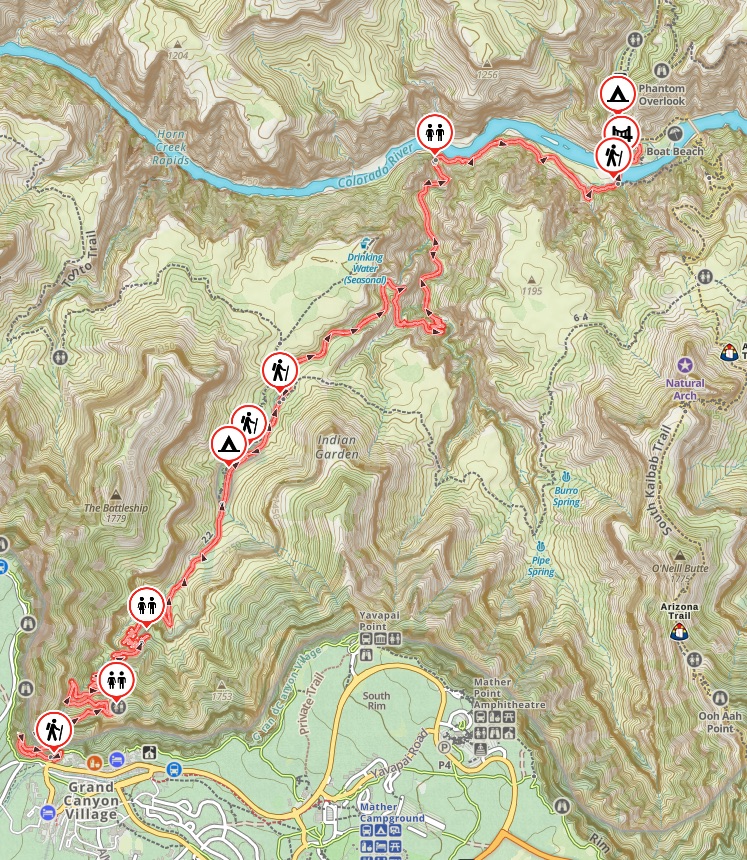
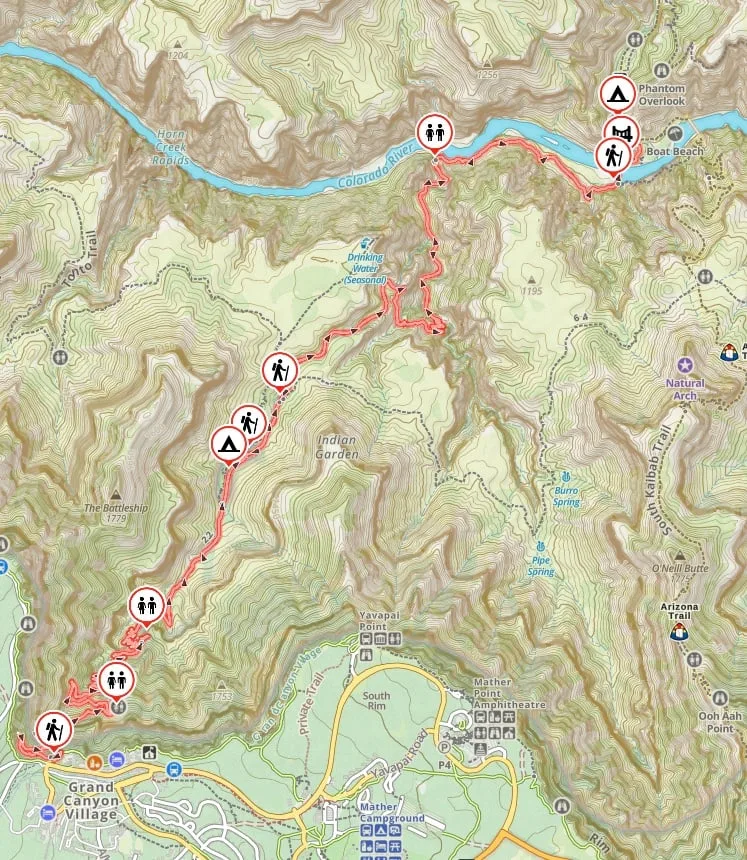
Bright Angel Trail Map
Here’s a custom Bright Angel Trail map that we made just for you using Gaia GPS. It shows the locations of all the points of interest along the trail.
Bright Angel Trail Overview
The payoff for hiking the Bright Angel Trail is indescribable, but it comes with a proportional amount of challenge!
Descending Bright Angel Trail to the bottom of the largest canyon in the United States and then hiking back up, otherwise known as a Rim to River hike, is a feat not to be underestimated. So before you take on the Bright Angel Trail, make sure you are prepared with the right training and the right gear!
This trail is long and challenging and hikers need to be rescued every year. If you aren’t sure about your abilities, consider turning around at Havasupai Gardens (or making the side trek to Plateau Point) instead of continuing down to the bottom of the Grand Canyon.
Parking
The Bright Angel trailhead is located in Grand Canyon National Park’s South Rim, in Grand Canyon Village. There are multiple parking lots in the vicinity of the trailhead.
There are also free park shuttle buses that pick up at the South Rim Visitor’s Center and drop off at the Bright Angel trailhead.
During peak season and peak hours, expect parking to fill up quickly. Just another good reason to arrive early and start hiking early!
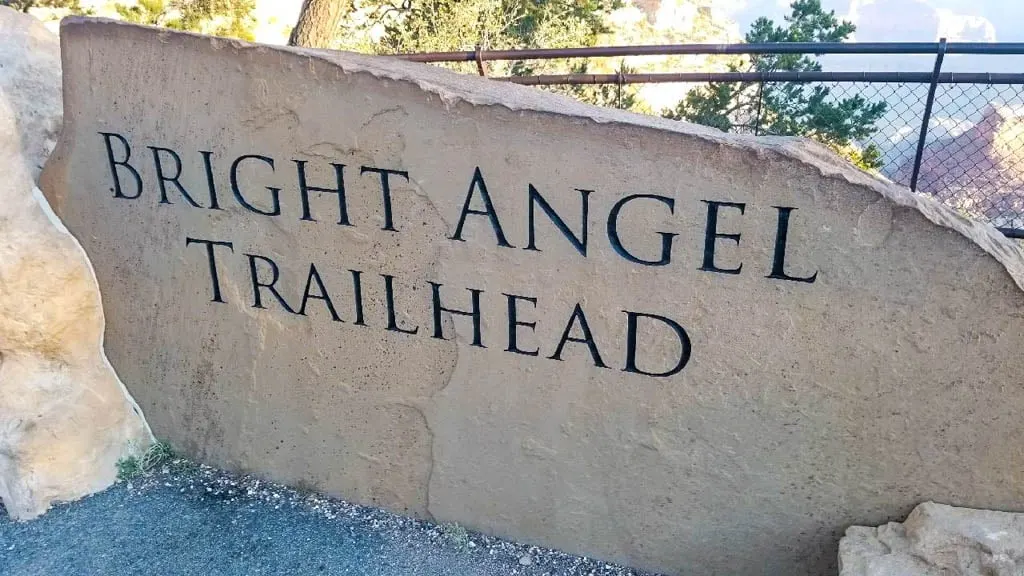
Trailhead
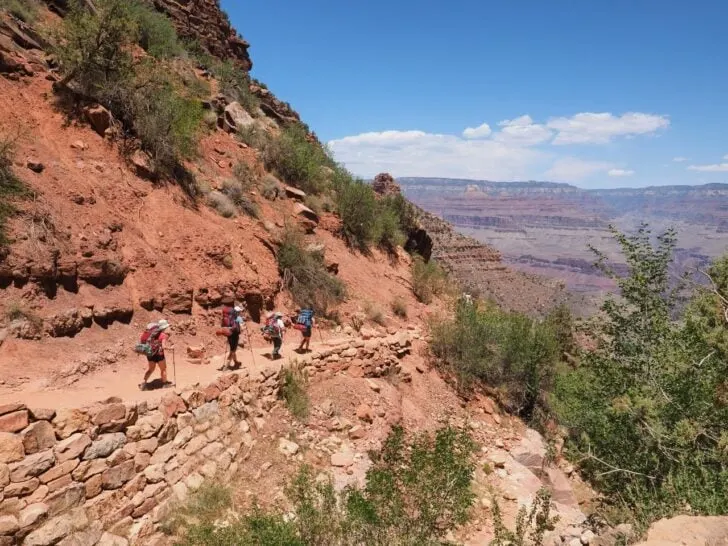
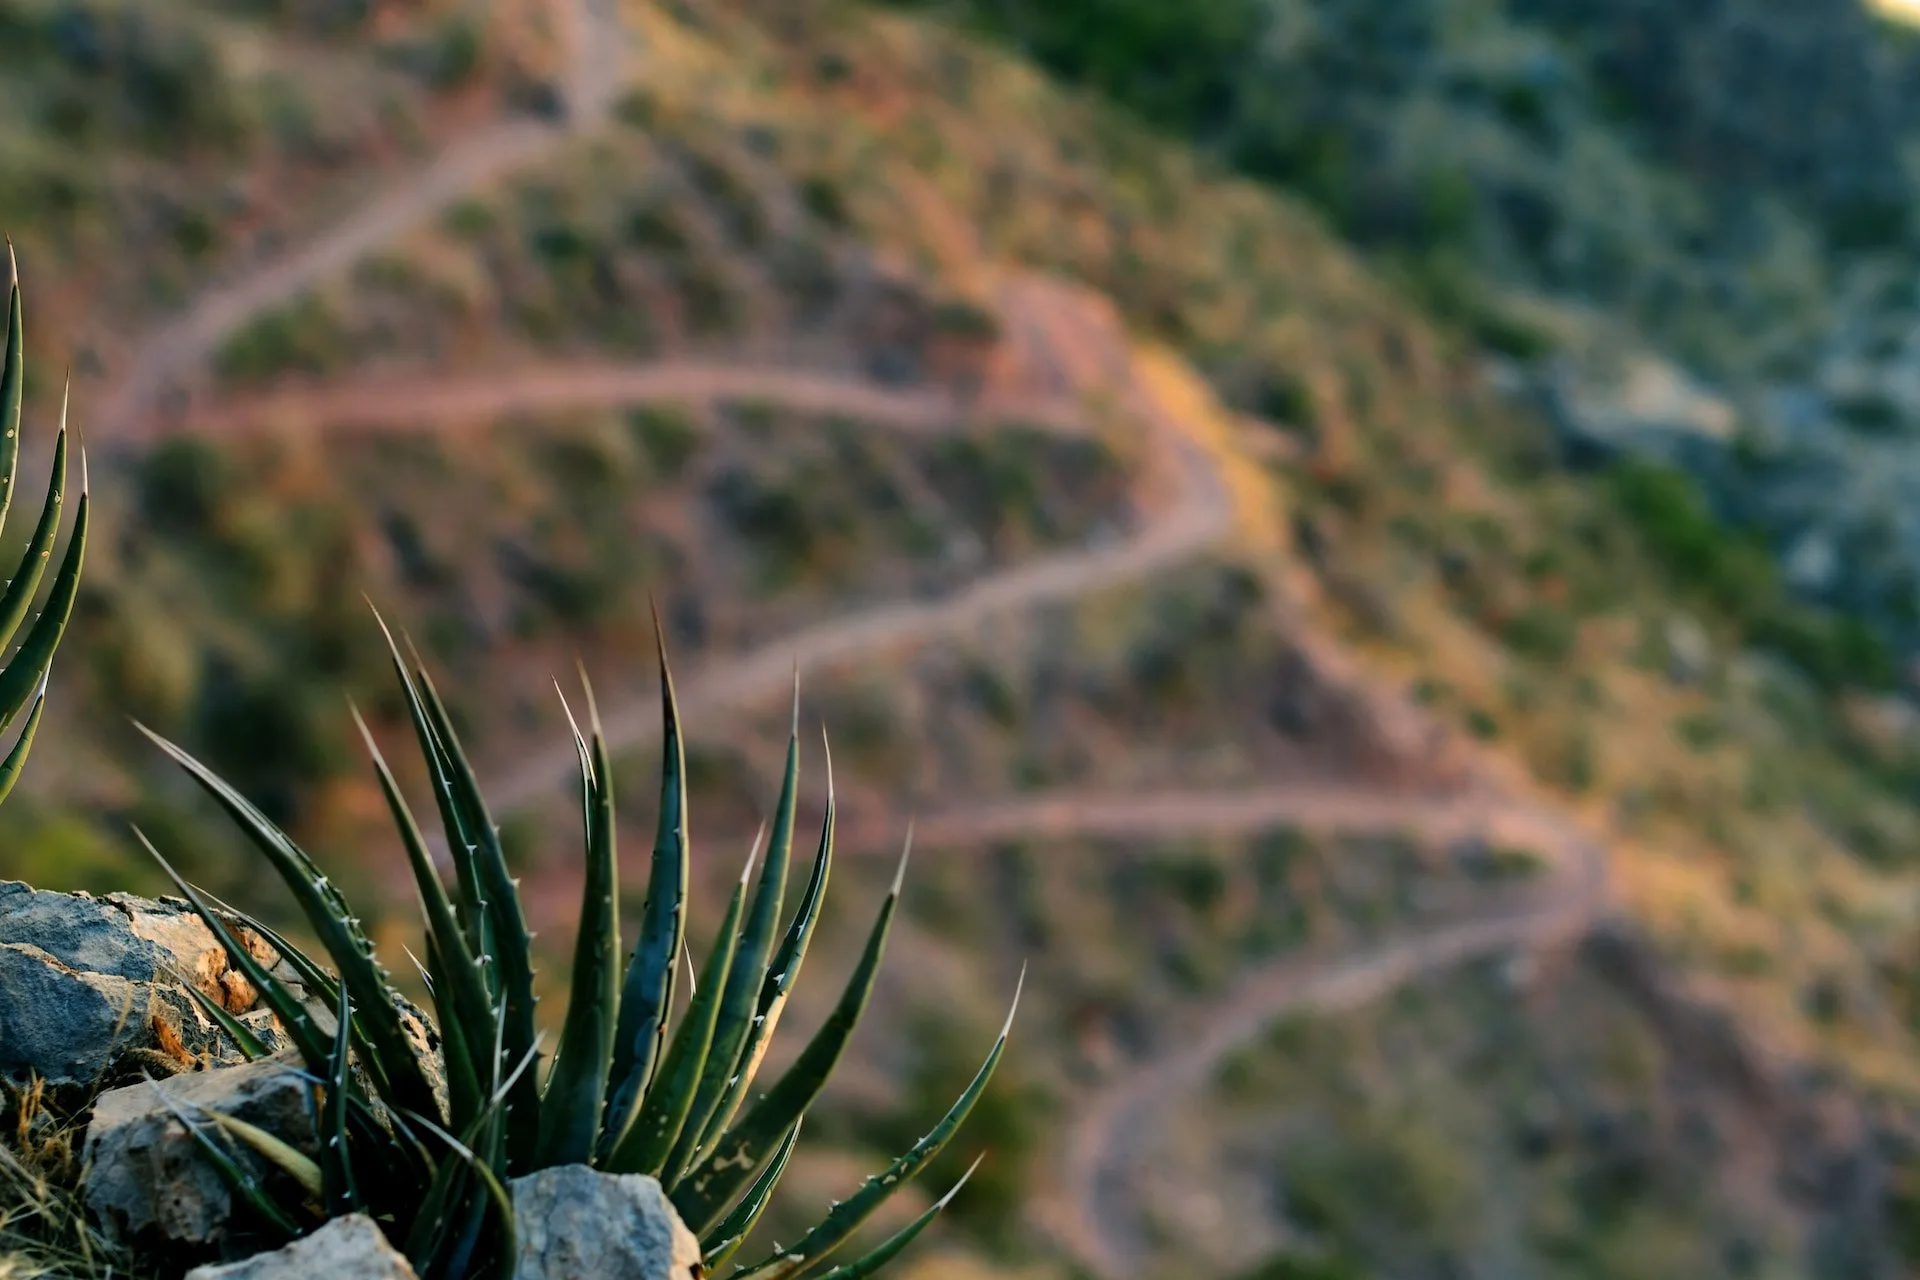
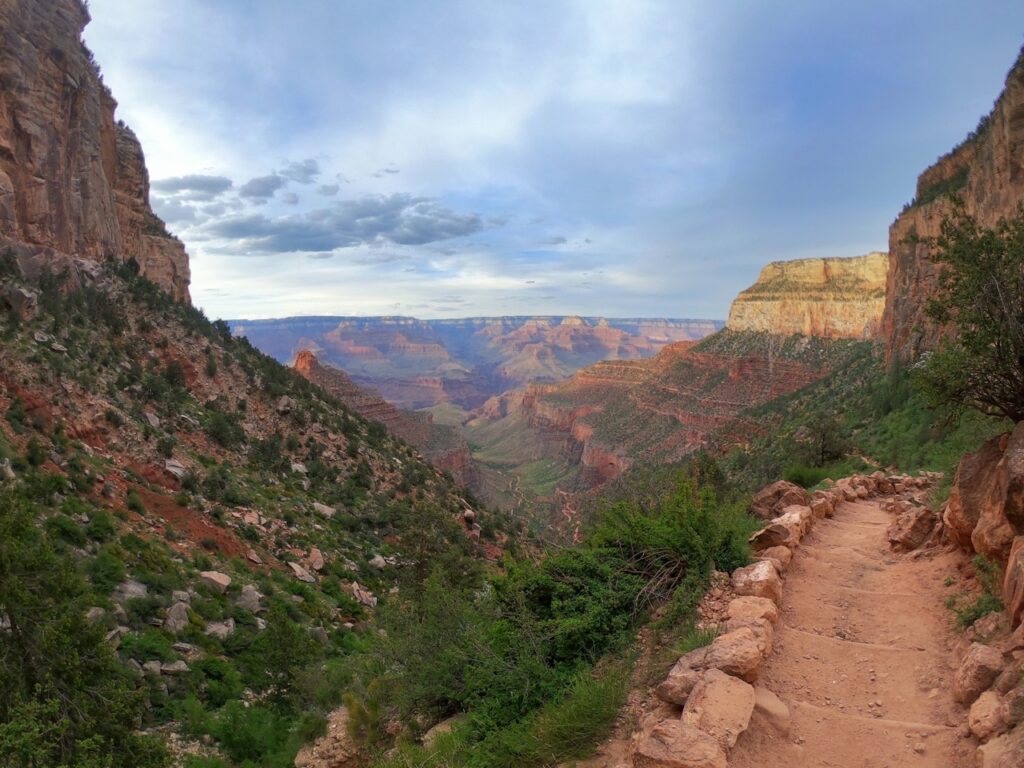
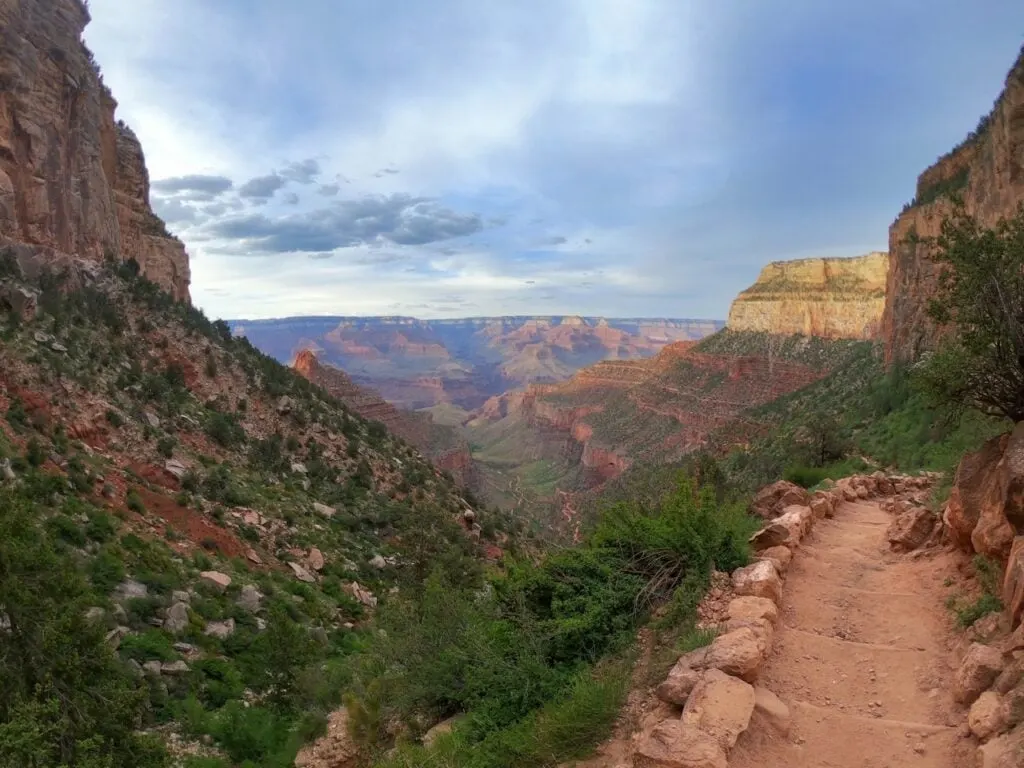
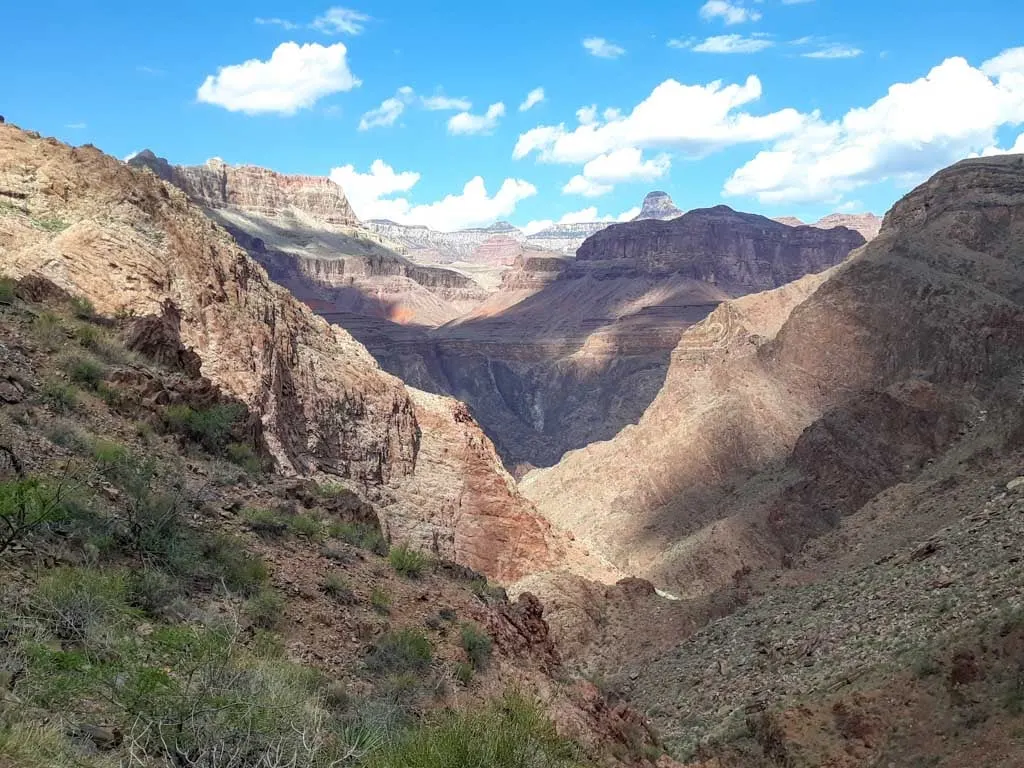
Almost immediately, the breathtaking views begin the moment you step on the Bright Angel Trail. It is also an immediate descent down.

The first 4 miles of the Bright Angel Trail switchback down the South Rim canyon wall. The trail is well maintained here, and there are several places on this portion of the trail with bathrooms and water refill stations.
Mile 1.5 and Mile 3 Resthouses
The first place you will find bathrooms and water is at the Mile 1.5 Resthouse, which is 1.5 miles from the start of the Bright Angel Trail.
The second is the 3 Mile Resthouse, which is 3 miles down from the start of the Bright Angel Trail. However, sometimes the resthouses are closed or the water is shut off, so it is always important to check the National Park’s website prior to starting your hike.
Regardless, always bring enough water with you, a minimum of 3 liters, and refill as often as you can.
After passing both Resthouses, hikers will continue descending until they reach the bottom of the South Rim wall, and the trail begins to level out. This brief level portion of the Bright Angel Trail leads to the lush canyon oasis of Havasupai Gardens Campground, a favorite among hikers!

Havasupai Gardens (Mile 4.5)
Havasupai Gardens Campground (sometimes called Indian Garden) is located 4.5 miles from the start of the trail. While you may not expect to find green life, tall trees, and a babbling creek in the heart of this red rock canyon environment, that is exactly what you will find at Havasupai Gardens Campground.
With bathrooms, water, and shade, this is the perfect spot to take a quick break, refuel, and rehydrate, before continuing on. If you want to make the side trip to Plateau Point, it starts at Havasupai Gardens. (See the Connecting Trails section below for more details.)
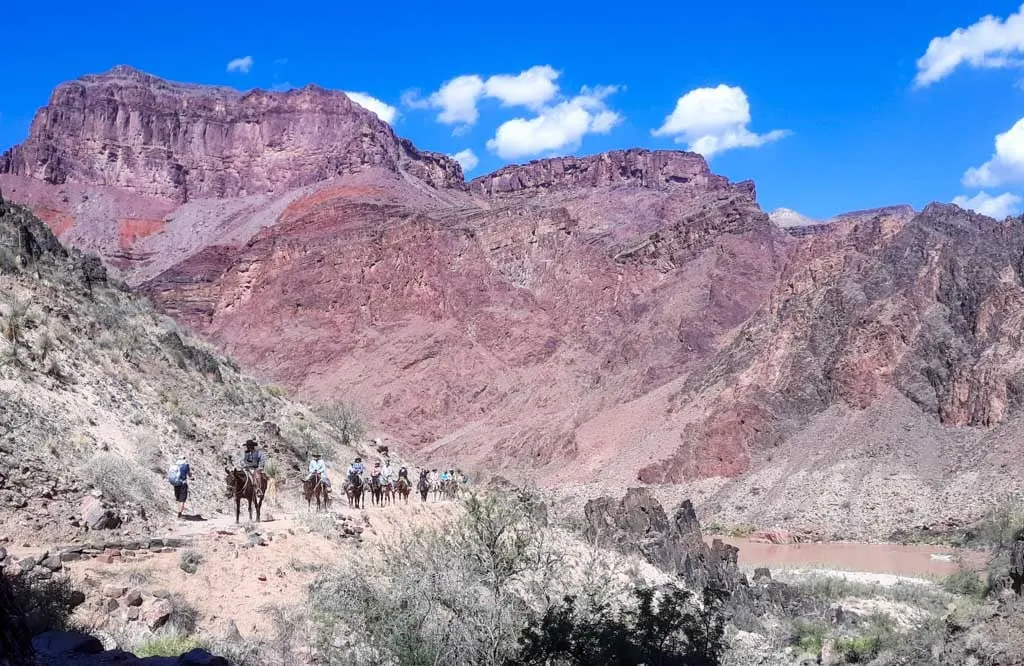
Departing from Havasupai Gardens Campground, the trail stays relatively level and flat for a brief portion, as it parallels Garden Creek and shallow canyon walls. You will pass the turn-off for the Tonto Trail not long after leaving Havasupai Gardens. (See Connecting Trails below for more.)
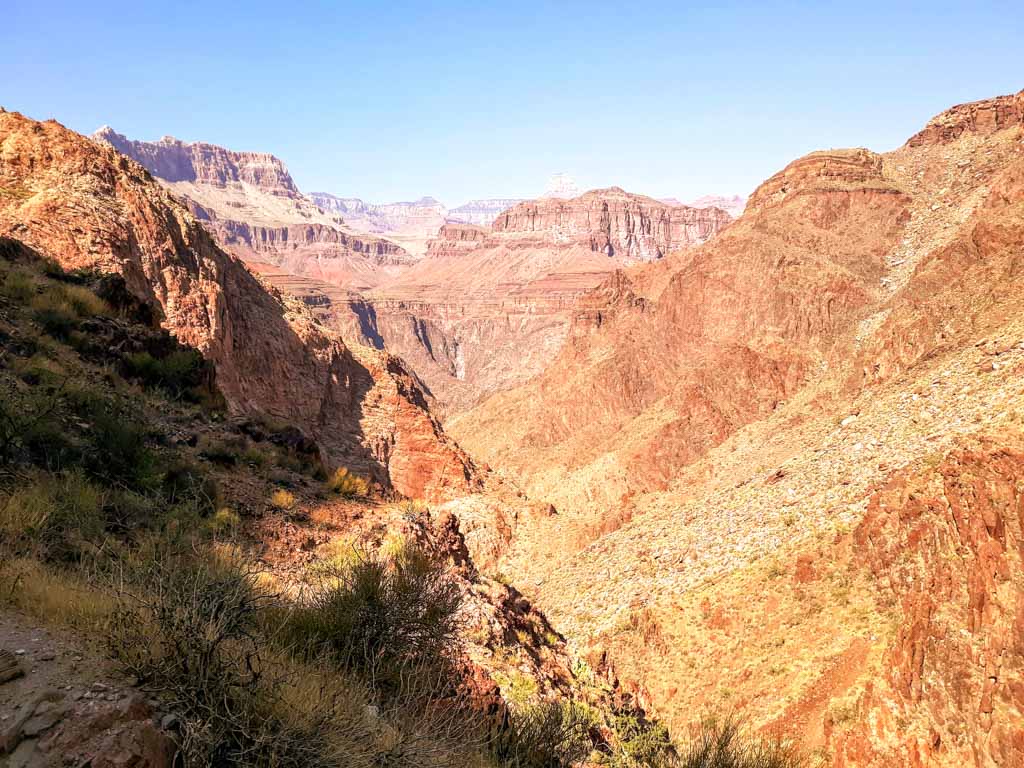
There is another series of downhill switchbacks that carry you further deep into the Grand Canyon until the trail converges next to Pipe Creek.
Hikers will continue to follow the trail as it weaves through the canyon parallel to Pipe Creek until the walls begin to open up. You can catch your first glimpse of the mighty Colorado River at Pipe Creek Resthouse and Pipe Creek Beach!
Pipe Creek Resthouse (Mile 7.7)
Pipe Creek Resthouse and Beach are mile 7.7 from the trailhead. There are bathrooms and a water refill station here.
While the use of the word “beach” makes it sound like this is a good spot to wade into the river, do not do so! The Colorado River and its current can be deceptively dangerous.

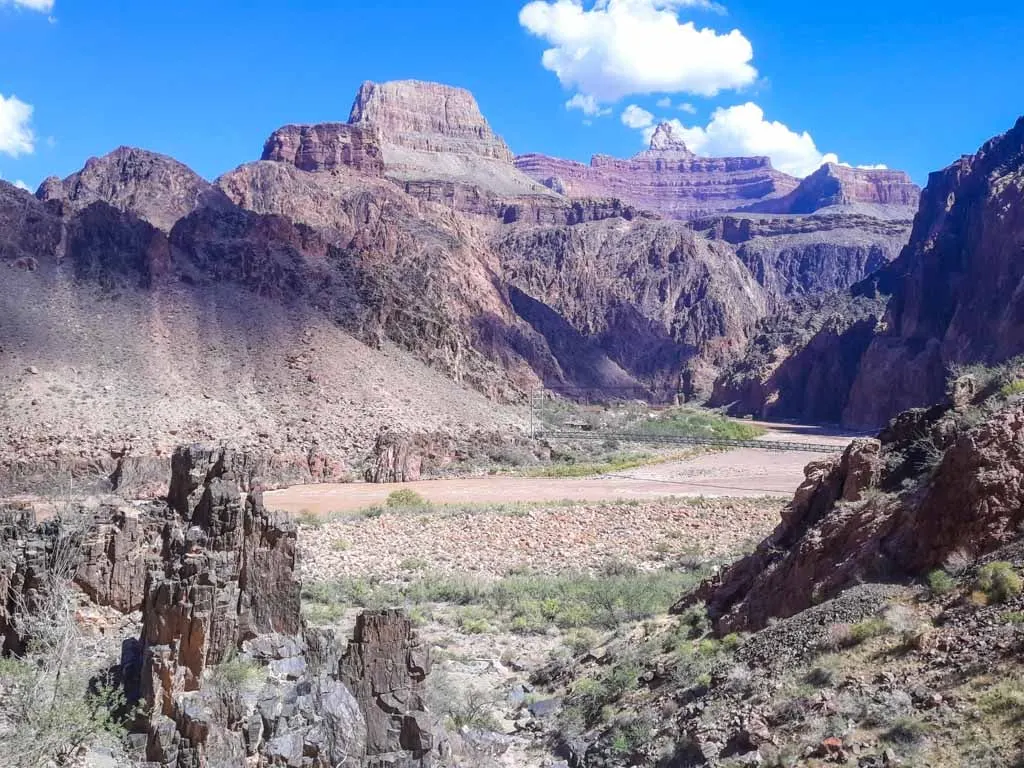
Instead, continue on along the trail as it overlooks the Colorado River below and to the left. Your next landmark looming in the distance is the Silver Suspension Bridge across the Colorado River!

Bright Angel Campground (Mile 9.5)
The Silver Suspension Bridge over the Colorado River carries you the rest of the way to the halfway point of your hike because after you cross it you will have arrived at Bright Angel Campground and the end of the Bright Angel Trail.
This is not only the turnaround spot in this out-and-back hike, but it is also an ideal place to take a meal, rest, and hydration break in the shade of this surprisingly foliaged and protected location in the canyon.
Top it off by taking your socks and shoes off and soaking your tired feet in the icy Bright Angel Creek that runs through the campground! Just be sure to pack a second pair. Bright Angel Campground marks mile 9.5 on the 19-mile round-trip Bright Angel Trail.
Starting the Return Trip
After departing Bright Angel Campground, hikers will head back the way they came, cross back over the Silver Suspension Bridge on the Colorado River. Hang a right to stay on the Bright Angel Trail. (Left will take you up the South Kaibab Trail – details on that below.) Get ready for the hardest part of the hike – the climb up and out!
This time, you will pass by the Colorado River on your right side, as you head back towards Pipe Creek Beach and Resthouse.
For hikers that started at daybreak or early morning as recommended, this portion of the trail will likely be receiving a good amount of direct sunlight by now. It will warm up very quickly, even in the shoulder seasons of spring and fall. Take care to hydrate consistently from this point on! These tips for hiking in hot weather can help.
Things will stay majority flat with some minor sections of incline as you pass by Pipe Creek Beach and Resthouse, but remember those downhill switchbacks following Havasupai Gardens Campground? Well, you have to climb back up them now, and in stronger sun and warmer temperatures.
Hydrate, hydrate, hydrate! Dip your shirt or cooling towel in every creek crossing you encounter, and know that when you finish climbing up the switchbacks, you will be almost to Havasupai Gardens Campground and a welcome break spot!
Havasupai Gardens (Mile 14.5)
When you reach Havasupai Gardens Campground, you will be at mile 14.5. Since the final climb up the South Rim wall is approaching, it is a good idea to take a final break to rest, refuel, and rehydrate in the shade of Havasupai Gardens Campground.
The good news is that the worst of the full sun and temperatures are over, as they will continue to lessen as the elevation gains, and the sun gets lower in the sky.

The Final Climb to Mile 19
There is no easy or quick way to finish the last 4.5 miles up the Bright Angel Trail. It is a slow, gruelling climb up the South Rim switchbacks, but don’t forget to stop, rest, and appreciate the magnificent views over the canyon from this unique perspective, as you soak in the surrealness of what you have accomplished so far.
And know that all the hard work is almost paying off! If you look hard, you can even see the green spot below that is Havasupai Gardens Campground getting smaller and smaller!
Mile 19 concludes back at the top of a hard-earned climb of the South Rim wall, and the Bright Angel Trailhead!
Connecting Trails
While this guide is aimed at day hiking the Bright Angel Trail roundtrip point to point, it is possible to connect to other trails in the Grand Canyon when on the Bright Angel Trail.
You can take the short Plateau Point spur trail from Havasupai Gardens Campground to enjoy a breathtaking lower viewpoint over the canyon. It is 1.5 miles each way from Havasupai Gardens to Platea Point. The trail is nearly flat.
You can also connect to the Tonto Trail just south of Havasupai Gardens Campground. The Tonto Trail is a popular backpacking route between Bright Angel Trailhead and Hermit Trailhead, for a total distance of 24.8 miles.
You can connect to the South Kaibab Trail on the south side of the Silver Suspension Bridge over the Colorado River. You can climb up and out of the South Rim via the 6.5-mile-long South Kaibab Trail, but it is important to note that there are no water sources on the South Kaibab Trail. That is why the Bright Angel Trail is highly recommended and safer. Also, the South Kaibab Trail is steeper than the Bright Angel Trail, and therefore, slightly more difficult.

Finally, for those who want to take on one of the hardest long-distance day hikes in the country, you can connect to the North Kaibab Trail to complete a Rim to Rim hike. A Rim to Rim hike is a 24-mile-long roundtrip hike from South to North Rim (or North to South Rim), via the Bright Angel Trail and the North Kaibab Trail, which join in Bright Angel Campground.
Thanks to Kristen for sharing this great guide to hiking the Bright Angel Trail in Grand Canyon National Park. You can read more about Kristen’s adventures on her website, Yonderlust Ramblings.
READ NEXT:
- Take an Epic Outdoors Arizona Road Trip
- 14 Best Outdoor Activities Near Las Vegas
- 15 Best Easy Hikes in Moab
- 10 Best Things to Do in Death Valley National Park
- 18 Awesome Things to Do in Joshua Tree National Park
- Tips for Hiking in Hot Weather
- Tips and Tricks for Hiking in the Desert
- 9 Best Washington Road Trips - October 3, 2023
- 9 Beautiful Reasons to Visit Banff in the Fall - September 20, 2023
- 10 Best Things to Do in Death Valley National Park - September 13, 2023