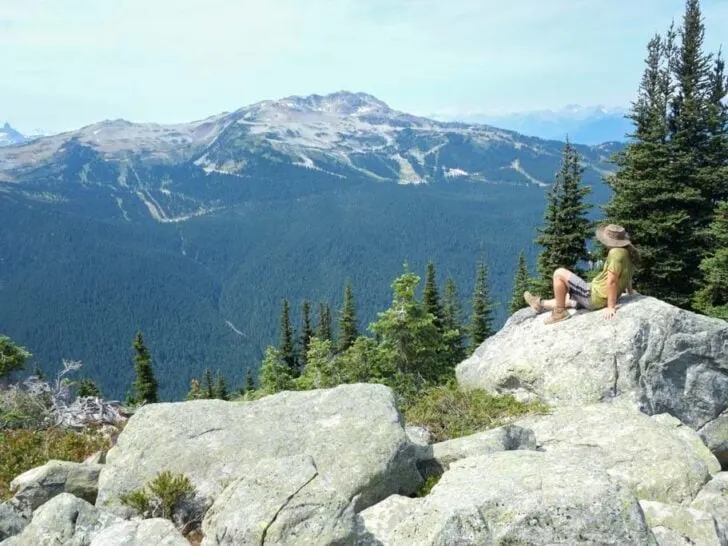
If you’re in Whistler in summer, I recommend checking out the Blackcomb hiking trails. It’s a great network of easy and moderate trails that wind between alpine lakes and flower-filled meadows. They also have great views of mountains and glaciers. And my favourite part: lots of chances to see adorable marmots and pikas!
You also don’t have to sweat to get there – instead, you can ride the gondola up the mountain from Whistler Village. You can also combine a trip to the hiking trails on Blackcomb with the Peak 2 Peak Gondola (which is one of my picks for the best things to do in Whistler.)
There are so many hikes in Whistler that it can be hard to choose. And honestly, some of the other trails get all the hype. That’s why I think the Blackcomb Alpine Trails are underrated. They have incredible views, easy trails, easy access via the gondola, an otherworldly above-treeline alpine location… and a fraction of the traffic!
I have an annual summer season’s pass for the Whistler Blackcomb Gondola so I’ve hiked this trail quite a few times. This guide includes:
- Blackcomb Hiking Trails Basics including how long it takes, difficulty, cost, best time to go, and more
- Are the Blackcomb hiking trails worth it? My honest opinion on these trails vs. other trails on Whistler Mountain.
- Tips for hiking the Blackcomb Trails including what to pack and how to prep
- Blackcomb Hiking Trails map that shows all the key locations I mention in this post
- How to get to the Blackcomb Hiking Trails including parking and which gondola to take
- Step-by-step hiking directions and tips for where to get the best views
Hey there: Some of the links in this post are affiliate links, which means I earn a small commission at no cost to you. Thanks for your support. -Taryn
This is a sensitive wilderness area. Learn how to Leave No Trace to keep the wilderness wild. Make sure you are prepared by bringing the 10 Essentials. Get ready for adventure with this checklist of things to do before every hike.
Blackcomb Hiking Trails Basics
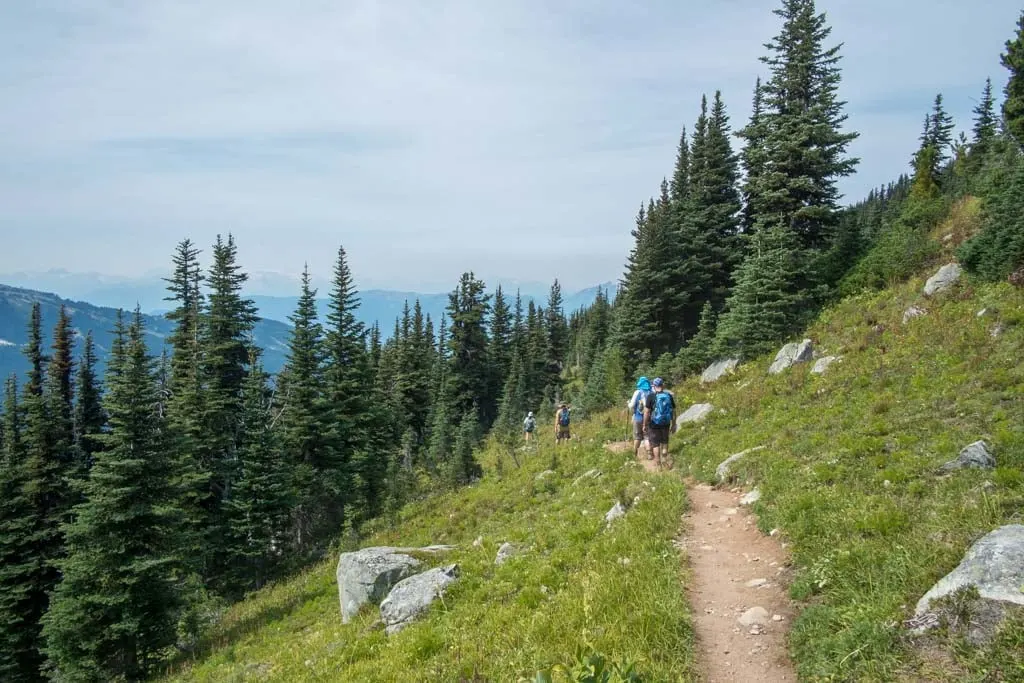
There is a great network of alpine trails high on the slopes of Blackcomb Peak. In this guide, I’ve got details for all of the trails up there. To help you make the most of your trip, I’ve also got a step-by-step route that links together the best trails in one killer loop.
Note: There are also three trails lower on the mountain that are collectively called the Blackcomb Burn Ascent Trails. These are workout-style uphill trails like the Grouse Grind. I’m only going to focus on the alpine trails at the top of the mountain in this post since the ascent trails don’t have great views so I only recommend them for a workout.
Duration: 30 min to 4.5 hours
Distance: 1.5 to 9.9 km
Difficulty: Easy to moderate
Elevation Change: 70 to 560 m elevation gain
Cost: $85/adult for an all-day sightseeing lift ticket that also includes the Peak 2 Peak Gondola. (If you plan to go sightseeing for more than one day, it’s worth it to buy a season’s pass. That’s what I do.)
Best Time to Go: Late June/early July to late September. The trail is closed the rest of the year. I highly recommend picking a clear day so you can enjoy the views. It’s not worth your money if it’s cloudy.
Toilets: There are no toilets on the trail, but there are toilets at the Rendezvous Lodge where you start and end the hike.
Drinking Water: You can collect water at Blackcomb Lake and Decker Tarn, but you need to filter or treat it first.
Dogs: Only guide dogs and service dogs are allowed.
Caution: Keep an eye on the gondola hours – you don’t want to miss the last one off the mountain!
Indigenous Context: The Blackcomb Trails are in the traditional territory of the Lil’wat and Skwxwu7mesh (Squamish) Nations. Their oral tradition teaches us that before settlers arrived, the two Nations shared the Whistler Valley, using summer camps to harvest plants and animals. To learn more, visit the Squamish Lil’wat Cultural Centre.
Are the Blackcomb Hiking Trails Worth It?
Unfortunately, the Whistler Blackcomb Gondola is pretty expensive. So you might be wondering, “Are the Blackcomb Hiking Trails worth it?” and “If I’m paying for the Whistler Blackcomb sightseeing gondola, which hike should I do?”
I’ve hiked all of the trails on both mountains several times. If you only have time for one trail and you’re a moderately fit hiker, I recommend the High Note Trail because it has by far the best views.
But if you want to see something different, have great opportunities for viewing marmots and pikas, and escape the crowds, I think the Blackcomb Alpine Trails are worth it.
My recommendation is to combine your hike on the Blackcomb trails with the Peak 2 Peak gondola and exploring Whistler Peak. That way you get the best bang for your buck.
My guide to visiting Whistler in summer has more tips for making the most of your trip on the Whistler Blackcomb Gondola and Peak2Peak Gondola.
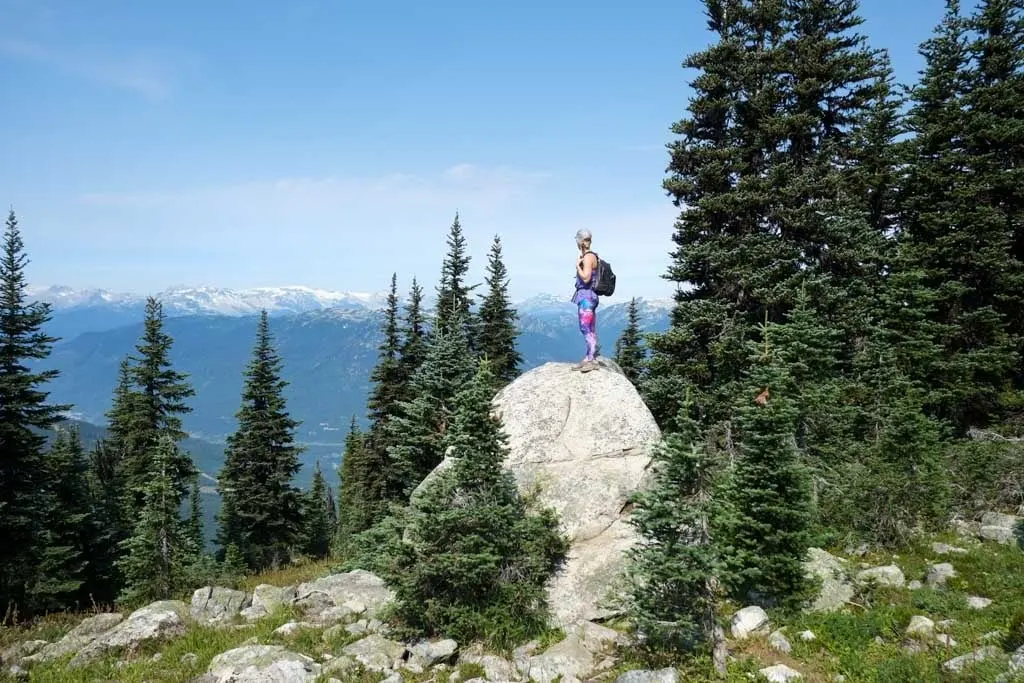
Tips for Hiking for the Blackcomb Trails
- Check the weather before you go. City weather forecasts are useless in the mountains. Use an algorithmic spot forecast for Blackcomb Peak like Spotwx. (Read my guide to weather apps for hikers for more tips.)
- Check gondola hours and trail status. Make sure the trail is open and the gondola and chairlifts are running by checking hours of operation and trail status online.
- Bring a rain jacket and warm clothing just in case. It can be much colder and rainier in the mountains than in the valley.
- Wear trail running shoes or hiking boots. The trail is steep, rocky, and loose in places. Regular running shoes don’t have enough grip or ankle support.
- Bring water and snacks. It is not safe to drink the water from the lakes without boiling, filtering, or treating it because you never know if people or animals have pooped or died upstream. Gross! (I use a Katadyn BeFree to filter water.)
- Bring the 10 Essentials. These are key safety items you should have on every hike.
- Bring a camera – it’s gorgeous and you will want tons of pics! But leave the drone at home. Drones aren’t allowed in Whistler without a commercial filming permit.
- Pack out all your garbage. There are garbage cans at Rendezvous Lodge – please pack out your trash.
- Leave time for the Peak 2 Peak Gondola – it’s a spectacular ride and it’s included with your lift ticket. If you have extra time, it’s also worth taking the Peak Chair up to the top of Whistler Peak after you ride the Peak 2 Peak Gondola.
Blackcomb Hiking Trails Map
The Blackcomb trails are easy to follow with lots of signs and maps at every junction.
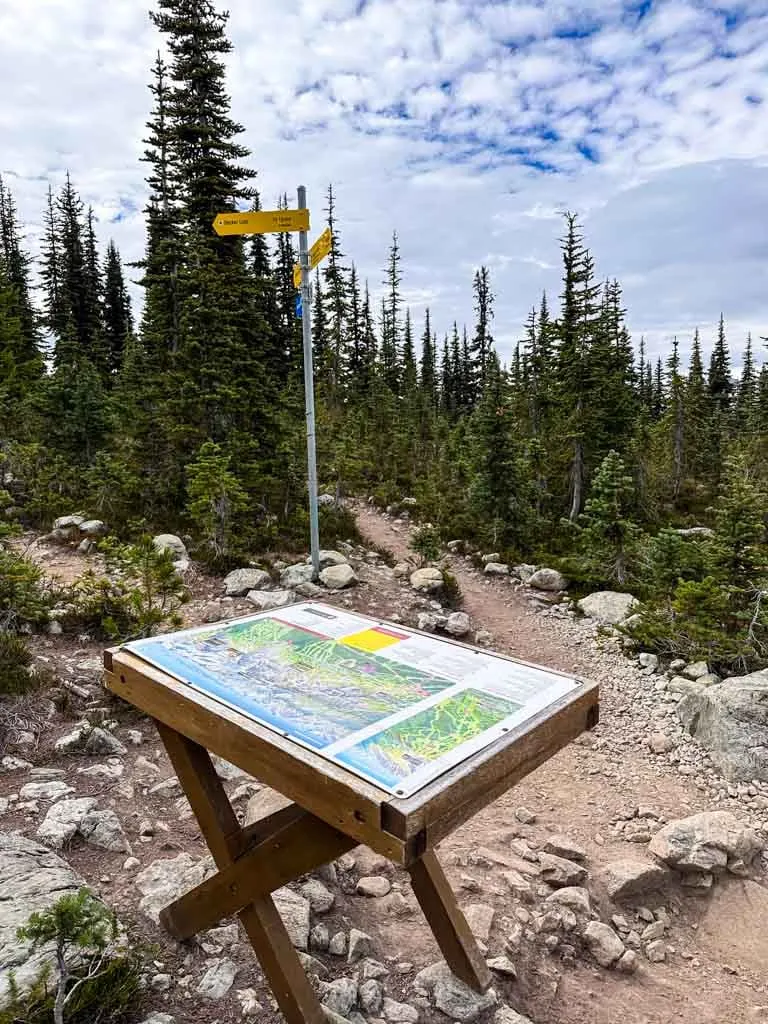
But it can be helpful to have a map to understand where you are once you leave the map stations. I made you a custom trail map using Gaia GPS, my favourite mapping app. It shows all the locations I mention in this post. Click through to zoom in and explore (and to download the GPX file).
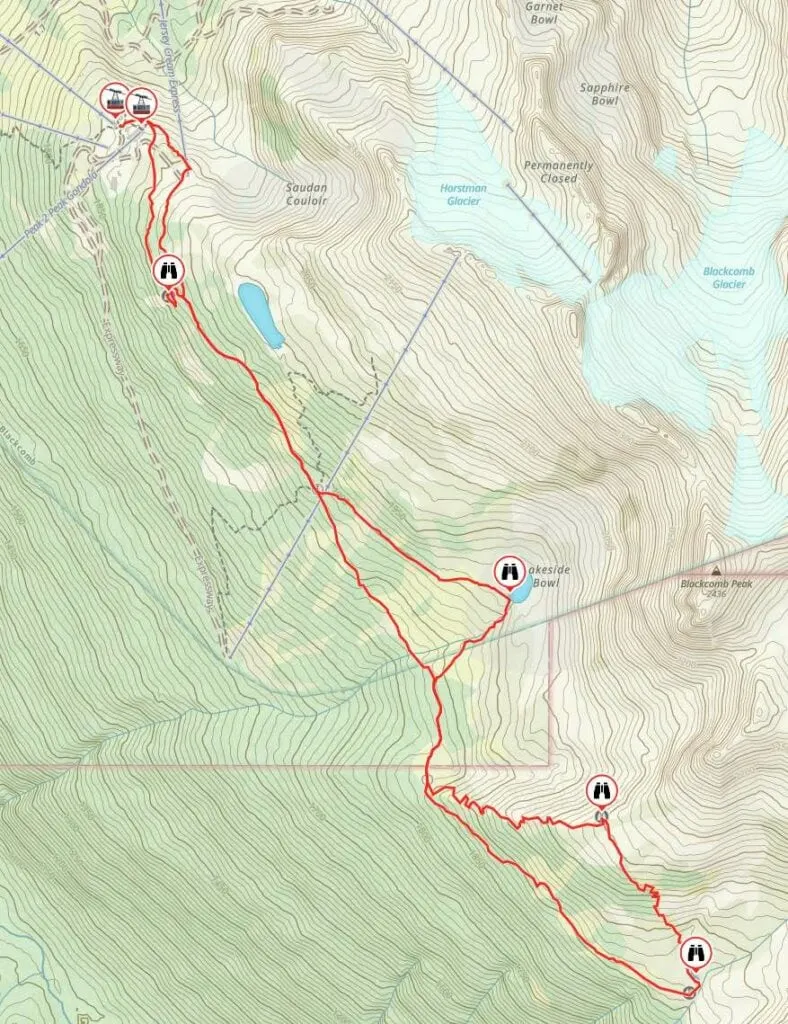
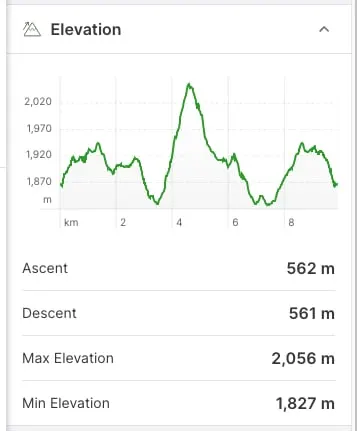
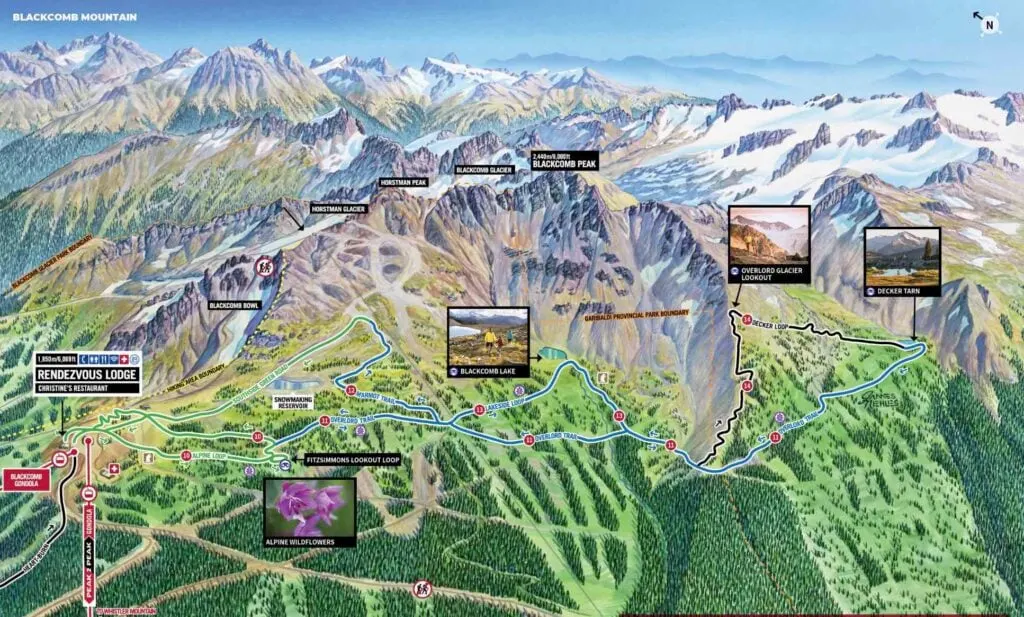
You can also use Whistler Blackcomb’s Alpine Trails Map – they will give you a paper copy when you buy your lift ticket. It’s a beautiful hand-drawn map, and it gives you a vague idea of the terrain. But I don’t find it nearly as helpful as a proper topographic map… which is why I use All Trails+ or Gaia GPS instead.
How to Get to the Blackcomb Trails
Parking
Getting to Whistler is fairly straightforward: Drive Highway 99 north from Vancouver to Whistler. My Sea to Sky Highway Road Trip guide has lots of driving tips and suggestions for where to stop along the way.
Once you get to Whistler, head for the day-use parking lots on Backcomb Way. Here are Google Maps driving directions. From there, walk 5 minutes on the Valley Trail to the Blackcomb Gondola in the Upper Village.
Day-use lots 1 and 2 are the closest parking to the Blackcomb Gondola Base. My budget tip: Park in lots 4 or 5. They are an extra 5-10 minute walk and a bit cheaper. Here is info on current parking rates and hours.
Gondola Ride
The Blackcomb Alpine Trails starts at the top of Blackcomb Peak. To get there you, will need to ride the gondola from Upper Whistler Village. You need to pay to take the gondola, but they only check your ticket at the bottom when you get on the first gondola. They don’t check it again for the Peak 2 Peak Gondola or the Whistler Village Gondola.
Buy your lift tickets at Blackcomb Gondola Base in Upper Whistler Village. Then take the Blackcomb Gondola to its end at Rendezvous Lodge. The takes about 15 minutes. The Lodge has a coffee shop, restaurant, and bathrooms. The Peak 2 Peak Gondola to Whistler is next to Rendezvous Lodge.
Adding the Peak 2 Peak Gondola to Your Hike
If you’ve paid for a summer sightseeing lift ticket, you should make the most of it. And that means riding the Peak 2 Peak Gondola along with hiking on Blackcomb – it’s one of my recommendations for the best things to do in Whistler in summer.
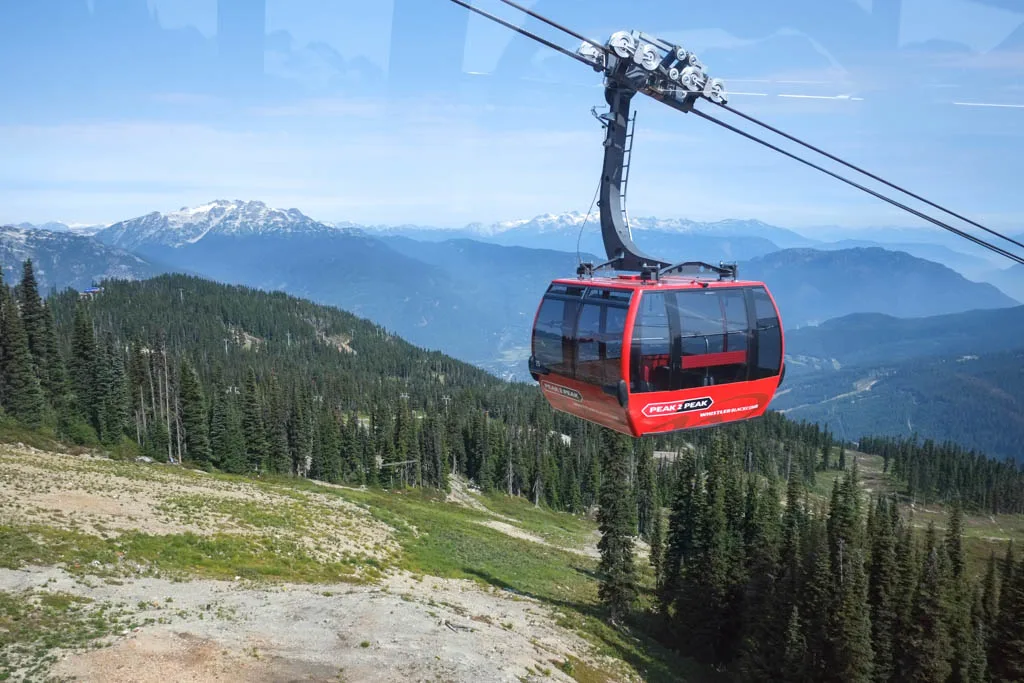
If you want to ride the Peak 2 Peak before your hike, walk to Whistler Base and take the Whistler Village Gondola to Roundhouse Lodge. Then ride the Peak 2 Peak Gondola to Rendezvous Lodge on Blackcomb. If you have time, I recommend taking the Peak Chair to the top of Whistler Peak before getting on the Peak 2 Peak. It is a short walk from the Roundhouse and has incredible views. There’s also a cool suspension bridge up there.
To ride the Peak 2 Peak after hiking on Blackcomb, finish your hike at the Rendezvous Lodge, and then go next door and get on the Peak 2 Peak Gondola. Ride it to Roundhouse Lodge on Whistler, then ride the Whistler Village Gondola back down to Whistler Village. (And of course, add on the Peak Chair if you have time.)
Keep an eye on gondola opening hours to plan your hike and decide when to ride the Peak 2 Peak Gondola.
Hiking Up Via the Ascent Trails
If you don’t want to pay full price to take the gondola, you can hike up via the Blackcomb Ascent Trails instead. This option costs $45 instead of $85.
However, these are steep and challenging trails that take most hikers 3-4 hours. Unless you are a strong hiker, I don’t recommend hiking the Ascent Trails to access the Blackcomb Alpine Trails because you won’t have enough energy or time to complete both hikes.
Blackcomb Alpine Trails Hiking Directions (My Recommended Route)
There are several trails on Blackcomb. Below, I’ve got step-by-step directions for my recommended route which includes most of the trails.
The total stats for my route are below. But in each section, I’ll also give you the option to turn around and go back to the gondola, which will make your trip shorter.
Duration: 3.5-4.5 hours
Distance: 9.9 km loop
Difficulty: Moderate
Elevation Change: 560 m elevation gain
To help keep you on track, here is a brief overview of the key distances on this hike:
| Location | Distance | Elevation |
|---|---|---|
| Blackcomb Gondola | 0 km | 1870 m |
| Start of Alpine Loop | 0.1 km | 1875 m |
| Alpine Loop Viewpoint | 0.9 km | 1915 m |
| Alpine Loop/Overlord Trail Junction | 1 km | 1930 m |
| North Overlord Trail/Lakeside Loop Junction | 1.9 km | 1885 m |
| Blackcomb Lake | 2.75 km | 1915 m |
| South Overlord Trail/Lakeside Loop Junction | 3.2 km | 1840 m |
| Overlord Trail/Decker Loop Junction | 3.6 km | 1845 m |
| Decker Viewpoint | 4.6 km | 2055 m |
| Decker Tarn | 5.4 km | 1930 m |
| Overlord Trail/Decker Loop Junction | 6.8 km | 1845 m |
| South Overlord Trail/Lakeside Loop Junction | 7.2 km | 1840 m |
| North Overlord Trail/Lakeside Loop Junction | 8.1 km | 1885 m |
| Alpine Loop/Overlord Trail Junction | 9 km | 1930 m |
| Start of Alpine Loop | 9.8 km | 1875 m |
| Blackcomb Gondola | 9.9 km | 1870 m |
Alpine Loop
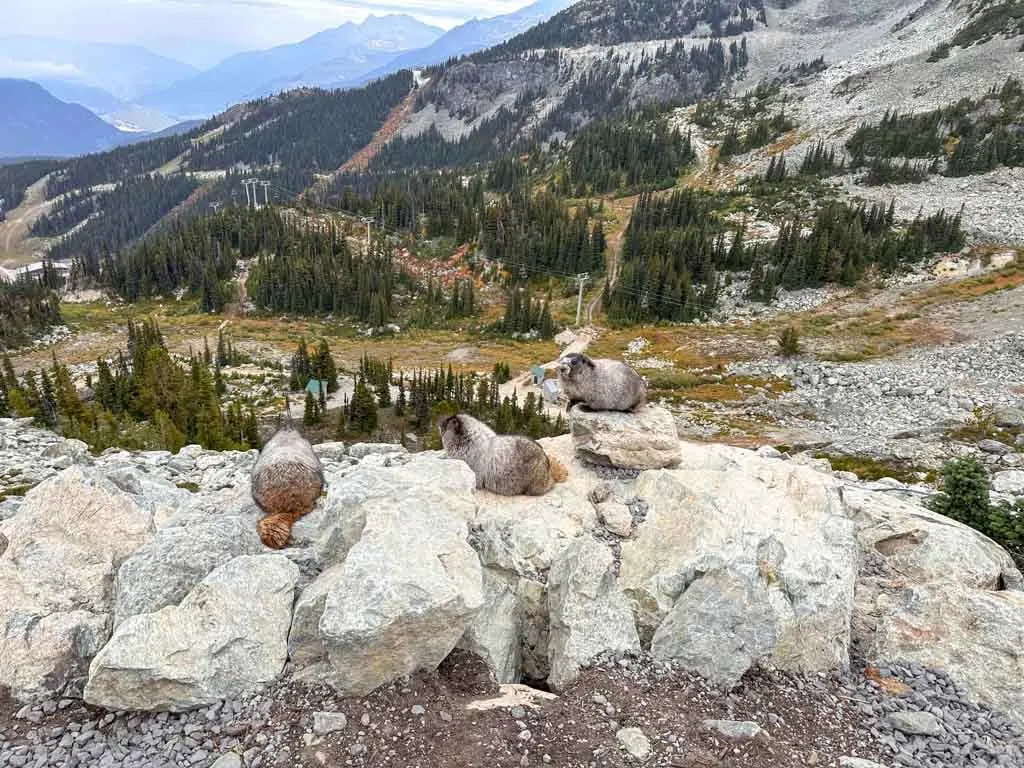
To start the hike, follow the path in front of the Rendezvous Lodge. This is often a good place to spot marmots eating grass or sunbathing on rocks. Marmots are one of my favourite animals and I can’t resist slowing down to watch them. These large rodents whistle when they are scared, which is how nearby Whistler Mountain got its name.
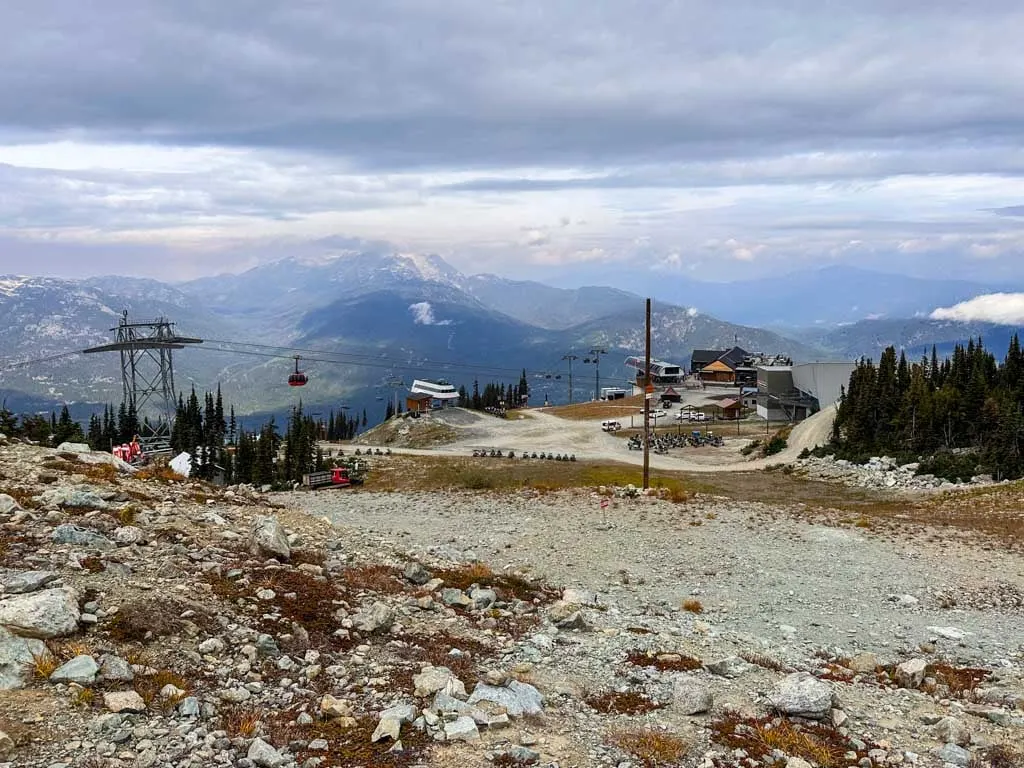
From the Rendezvous Lodge, take the path that goes left around the Peak 2 Peak Gondola to the entrance to the alpine trails. You are now on the Alpine Loop Trail. Go left to start the first part of the loop. (Your return route will take you through the other side of the loop.
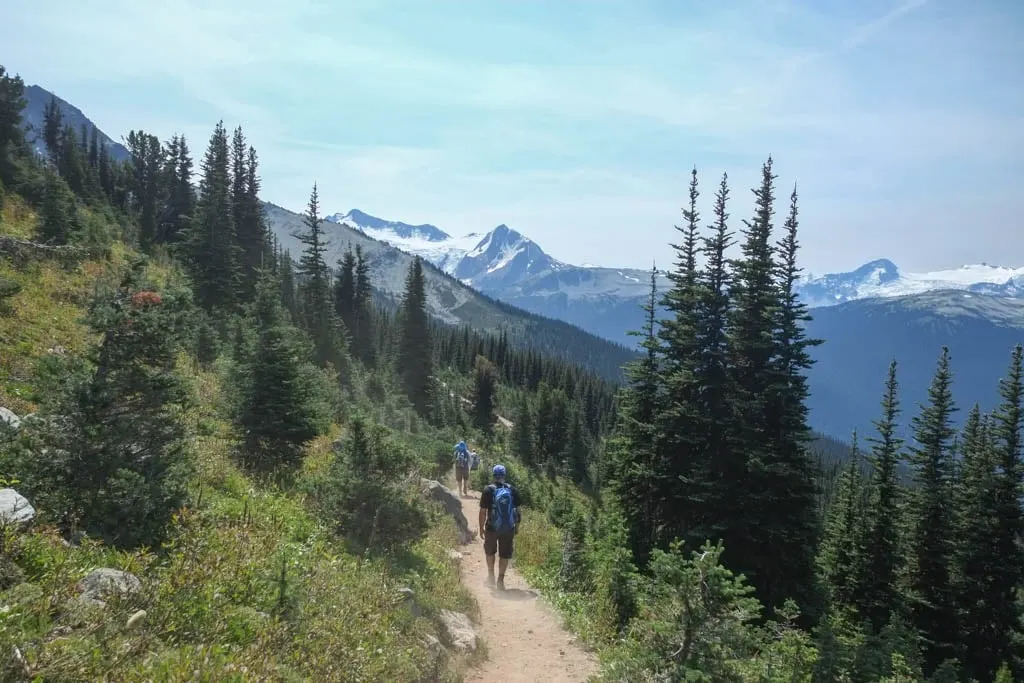
Soon you leave the ski hill infrastructure behind. The wide path has great views of Whistler Mountain to your right. Keep your eyes peeled for more marmots here as well as pikas, a tiny round-eared member of the rabbit family.
Reach a junction about 0.9 m from the gondola. Go right onto a short loop to a great viewpoint. Back on the main trail, turn right and reach another junction 100 m later.
If you have had enough, go left to head back to the gondola. It is about 1 km away via the other side of the Alpine Loop Trail.
Overlord Trail (Part 1)
If you want to continue onwards, turn right onto the Overlord Trail. The next kilometre of trail is gradually downhill. It starts in more open and rocky terrain and transitions to patches of meadow. If you visit in late July and early August, you might spot some gorgeous alpine wildflowers here.
Just before you pass underneath the 7th Heaven Express chairlift (about 1.9 km from the gondola), reach a junction with the Lakeside Loop. There are some wide ski hill roads here, so pay attention to the signs to stay on the right track.
Lakeside Loop
From the junction, turn left to start the Lakeside Loop. This trail climbs gradually through meadows and patches of trees. It also crosses a wide ski and grassy ski run.
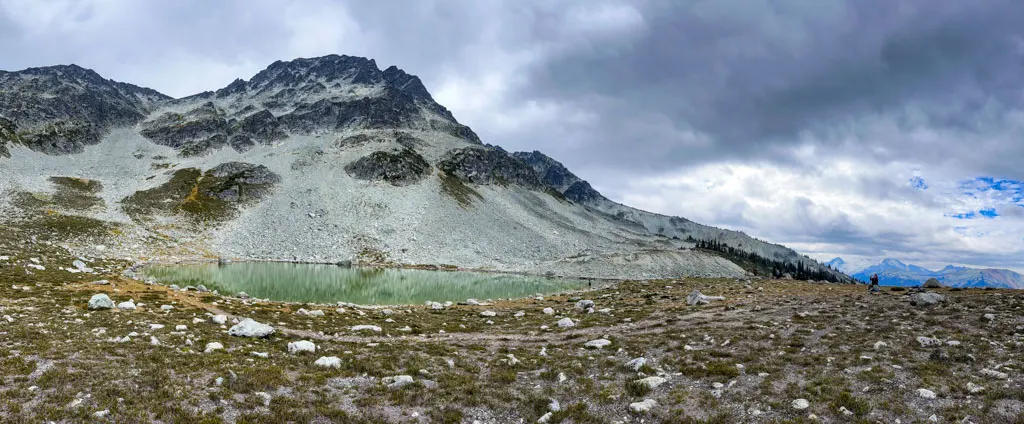
At the top, reach Blackcomb Lake 2.75 km from the gondola. The turquoise waters of this lake sit in a gravelly bowl right under Blackcomb Peak. This is a good place to take a break on some benches. There are also great views of Whistler Mountain across the valley.
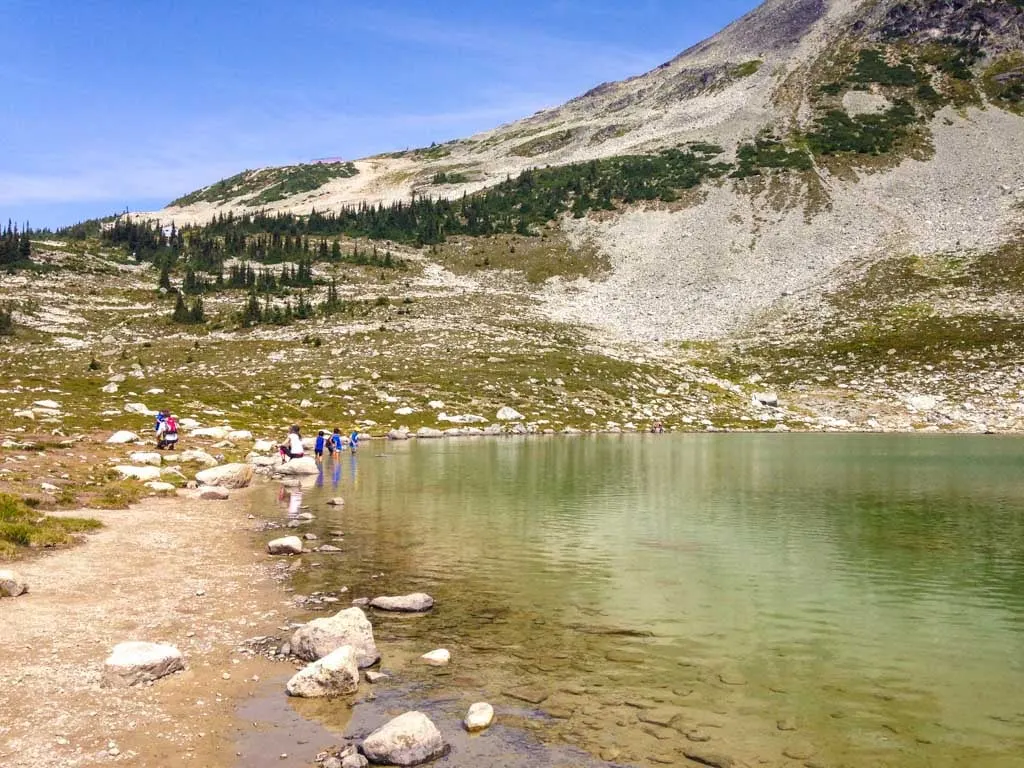
You might also notice a large stone cairn with a plaque that commemorates a ski patroller who was responsible for developing the ski terrain in this area.
When you are ready to continue, follow the trail downhill through the meadows and gravel to another junction with the Overlord Trail 3.2 km from the gondola.
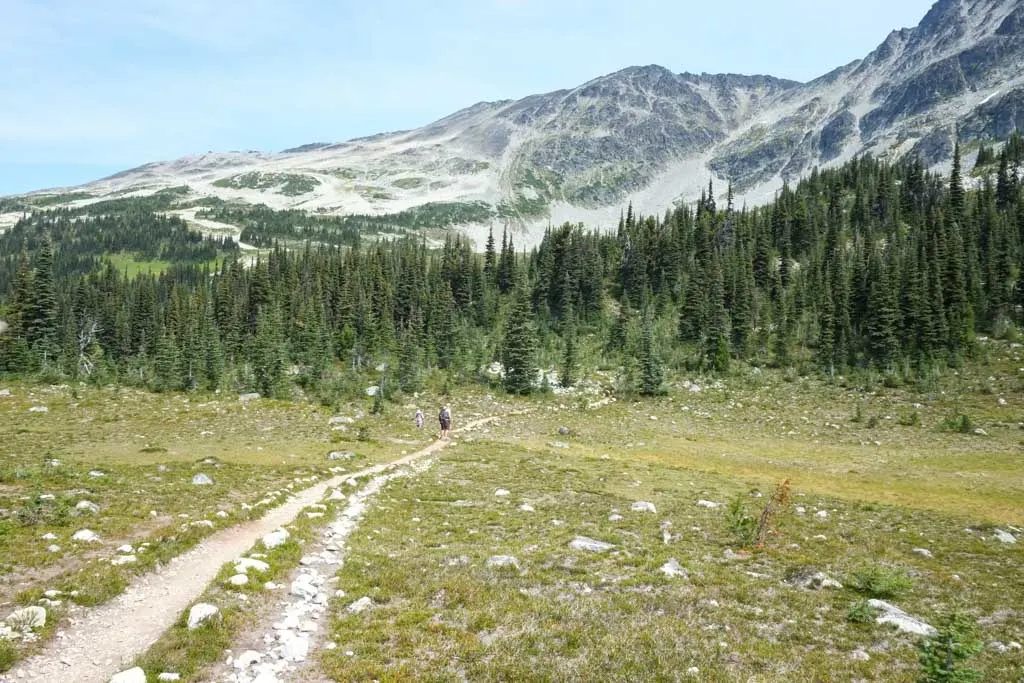
If you want to head back to the gondola it is 2.6 km away via the Overlord and Alpine Loop Trails.
Overlord Trail (Part 2)
But if you want to continue on the loop, turn left and follow the Overlord Trail for a few minutes as it heads downhill, first through the trees and then across a meadow. Reach the junction with the Decker Loop Trail 3.6 km from the gondola.
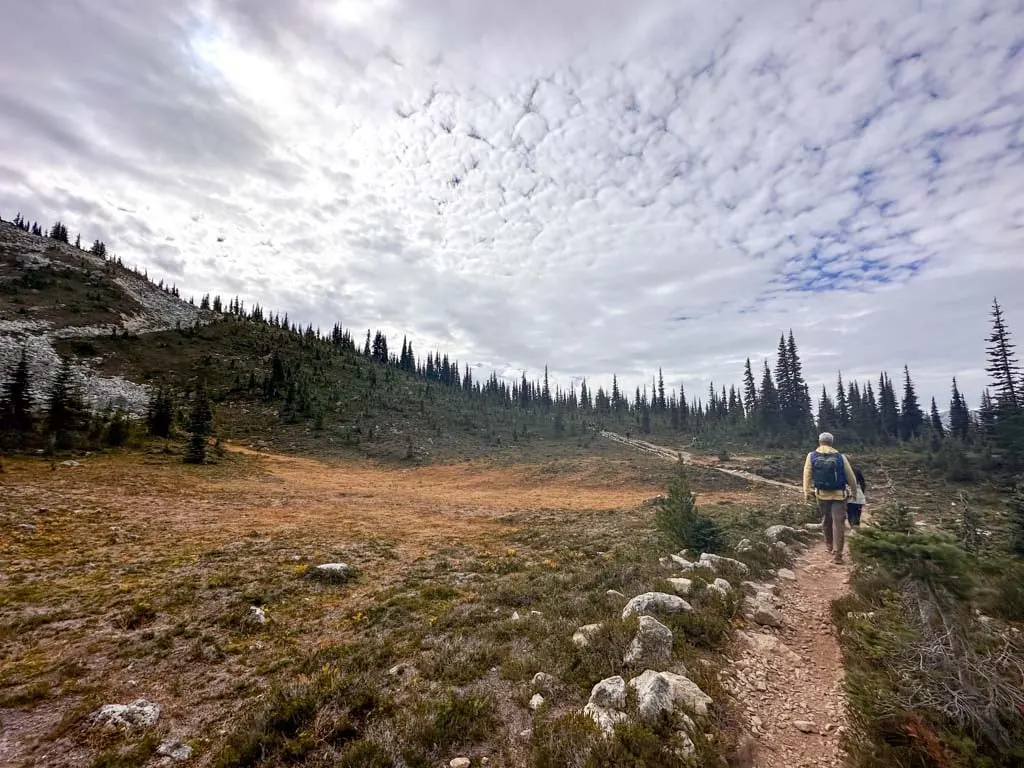
Decker Loop Trail
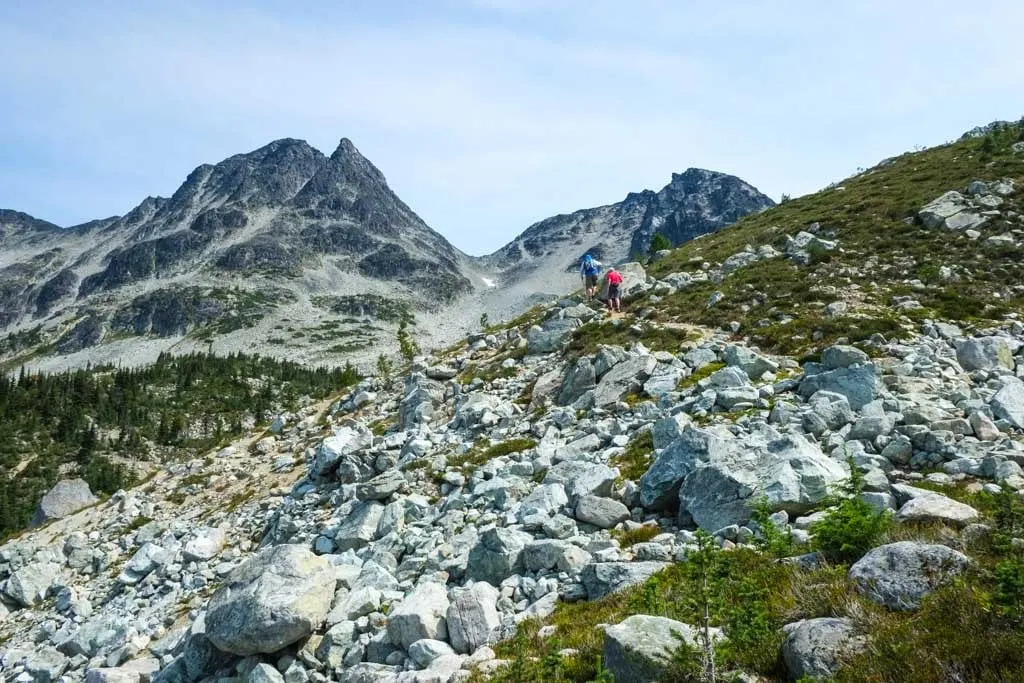
Turn left and start up the Decker Loop Trail. This is the only steep and challenging climb of the hike. You’ll gain about 200 m in just 1 kilometre. While the trail is steep, the views are great and it doesn’t take that long.
Stay on the trail as it zigzags up the slope at the edge of a ridge. The trail is often dusty and loose. You’ll want to pause often to catch your breath and to enjoy the views.
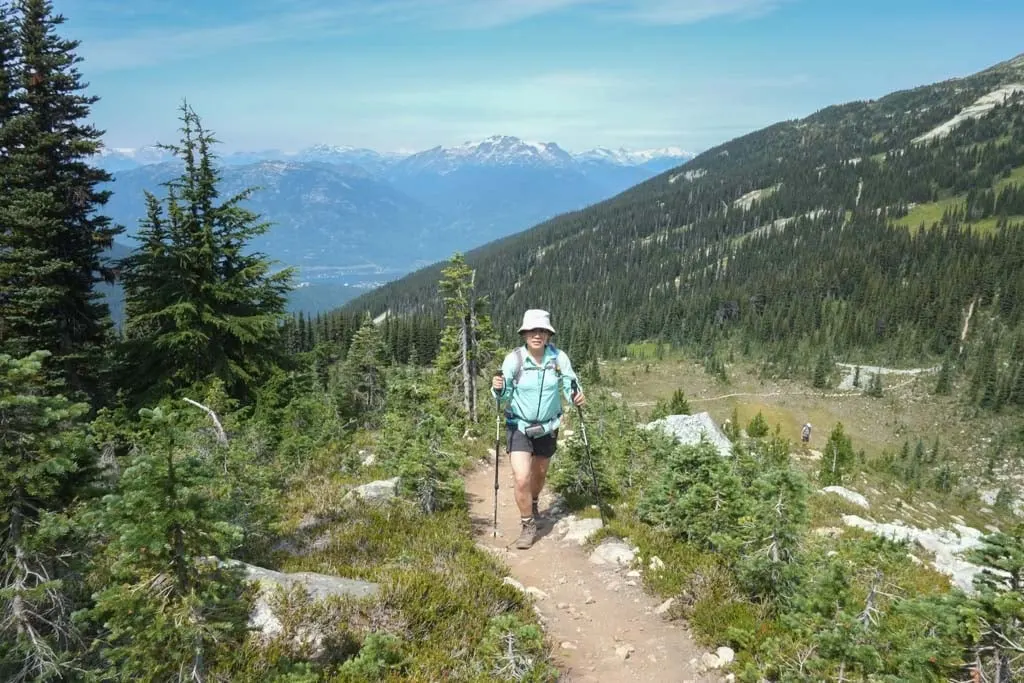
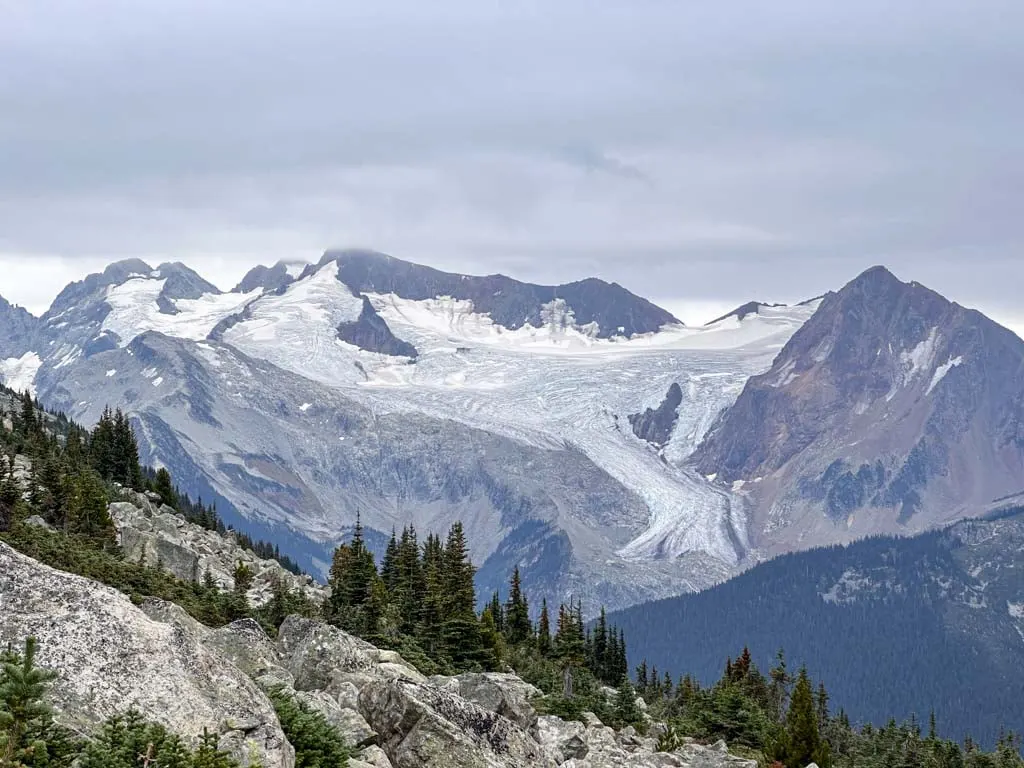
Reach the top of the climb at the best viewpoint on Blackcomb 4.6 km from the gondola. From this rocky vantage point, you can look south to Overlord Mountain in Garibaldi Provincial Park. The spectacular Overlord and Fitzsimmons Glaciers spill down its slopes. You can also look back north to Blackcomb Lake and the rocky slopes below Blackcomb Peak.
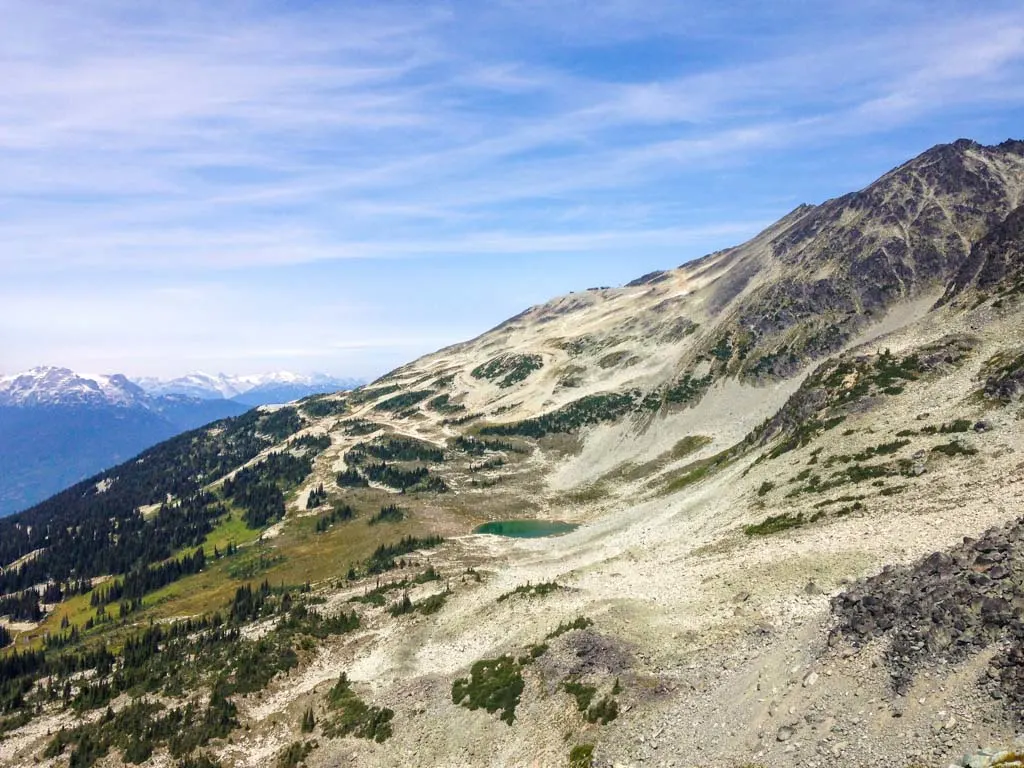
When you are done enjoying the view, follow the trail through small trees and rocks as it starts to head downhill towards Decker Tarn.
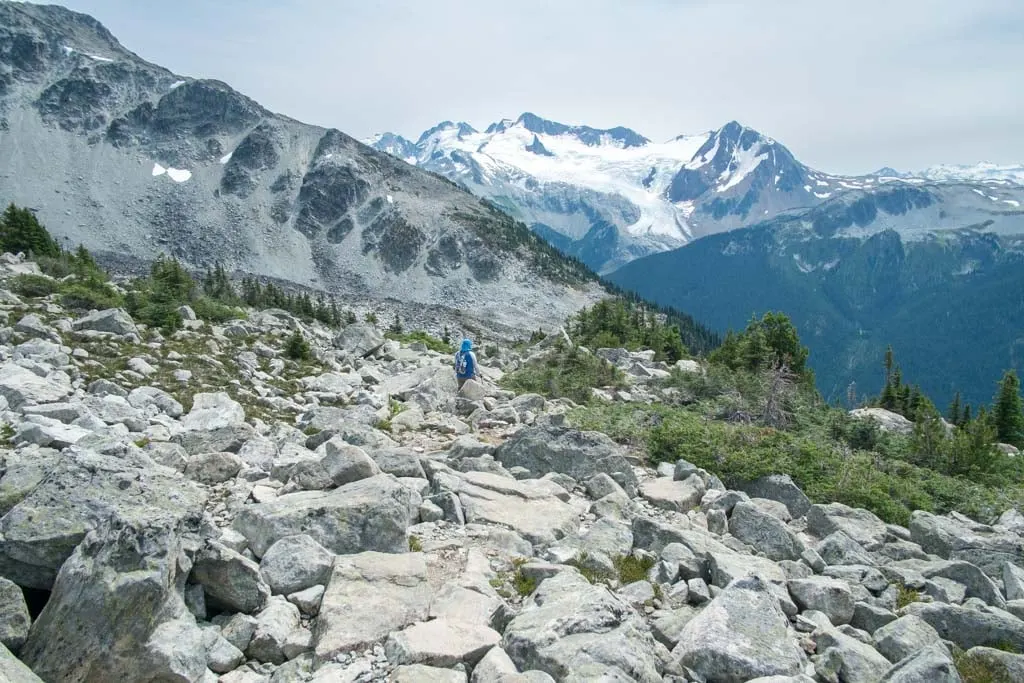
Reach the tarn 5.4 km from the gondola. It sits in a pretty little meadow and is surrounded by a jumble of boulders.
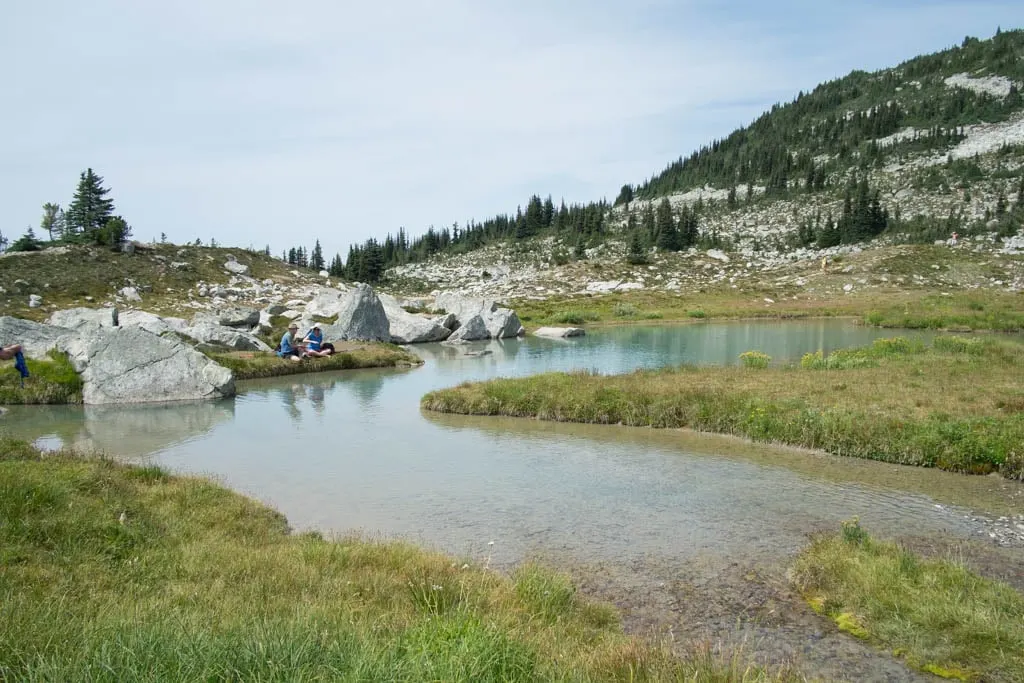
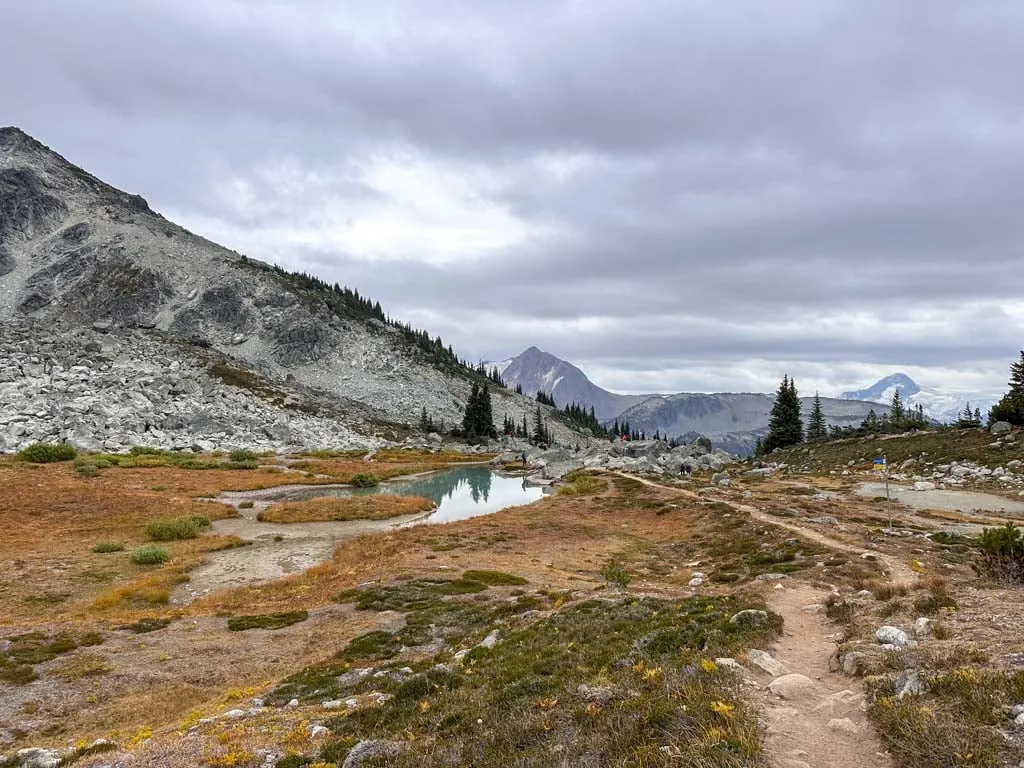
This is my favourite spot on the whole trail. Find a boulder to lounge on and enjoy the scenery. You can also explore the shoreline a bit, but tread lightly as this is a fragile ecosystem with a short growing season.
When you are ready to carry on, follow the trail downhill along the creek from the lake outlet – it can be slightly confusing to locate the trail here – look for signs and trail markers.
The trail continues to head gradually downhill as it works its way through patches of meadow and clumps of trees. Arrive back at the junction with the Overlord Trail 6.8 km from the gondola.
Back to the Gondola via the Overlord and Alpine Loop Trails
From here your route back to the gondola is fairly straightforward and mostly uses trails you’ve hiked already. Go straight onto the Overlord Trail and follow it through a meadow and up a small hill to the southern junction with the Lakeside Loop 7.2 km from the gondola.
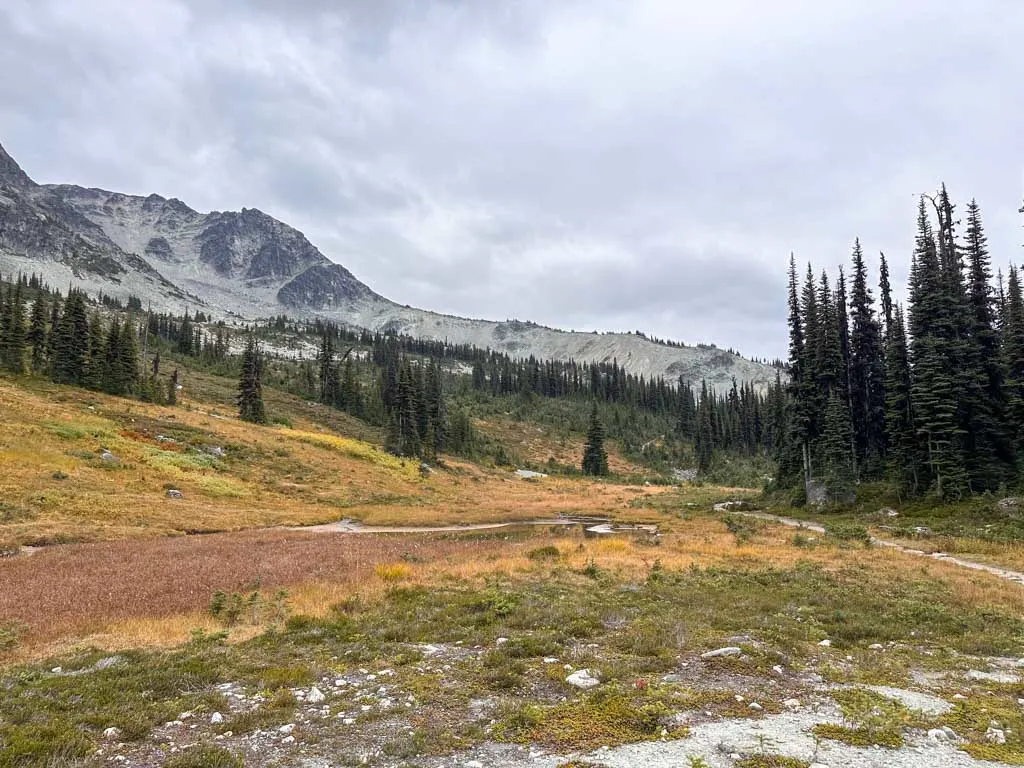
Continue straight onto a section of the Overlord Trail that you haven’t hiked yet. It climbs gradually and crosses several grassy ski runs as well as a few patches of dense forest.
Arrive at the northern junction with the Lakeside Loop 8.1 km from the gondola. Go straight onto the Overlord Trail. While you have hiked this section of the trail already, now you have to hike it in the uphill direction, which might be a little tiring at the end of the day. Thankfully, it’s fairly short.
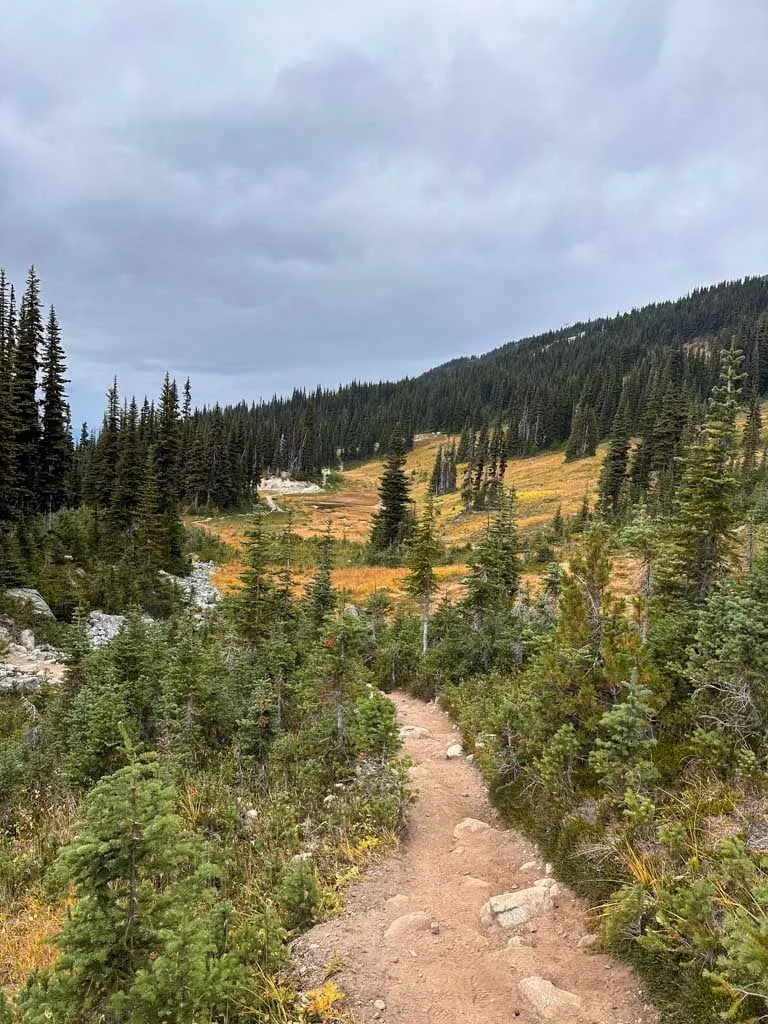
Reach the junction with the Alpine Loop Trail 9 km from the gondola. Turn right to hike the other side of the loop. The trail weaves through rocky terrain. It’s a good place to spot pikas and marmots.
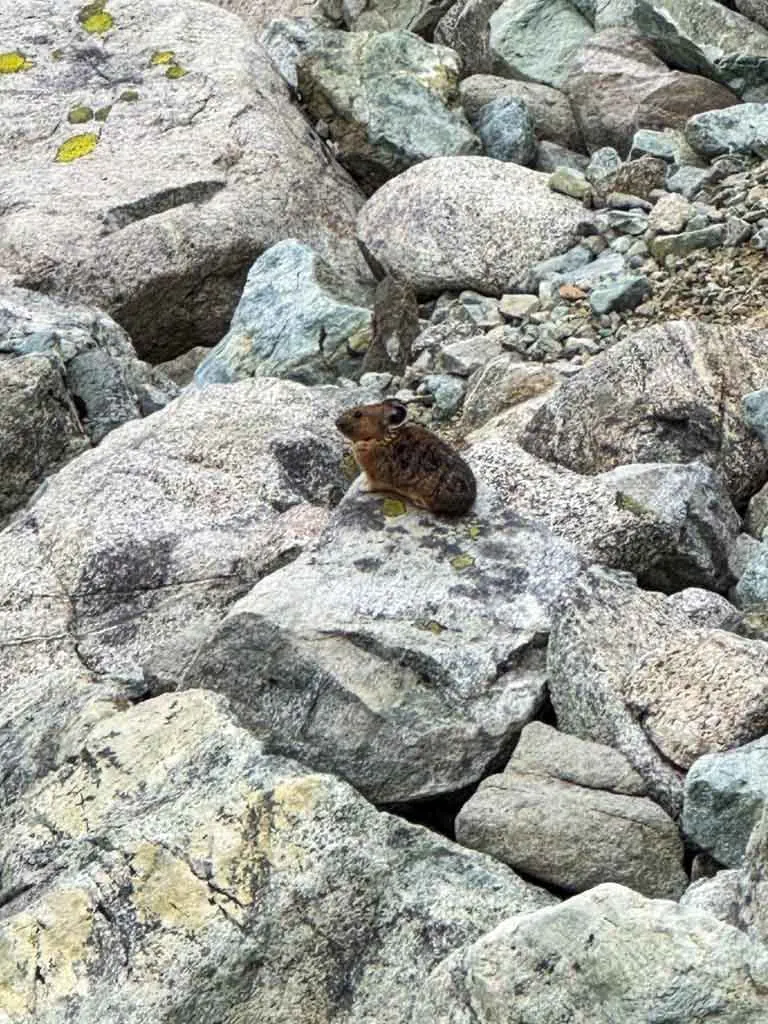
Towards the end, it crosses a rocky slope before joining a ski area access road to head downhill to the Peak 2 Peak gondola, the Rendezvous Lodge, and the Blackcomb Gondola.
Finish your hike back at the Rendezvous Lodge. Head out to their patio to have a drink on their patio – I love the views there! Or jump on the Peak 2 Peak gondola and ride over to Whistler to relax at the Umbrella Bar on the patio at the Roundhouse Lodge.
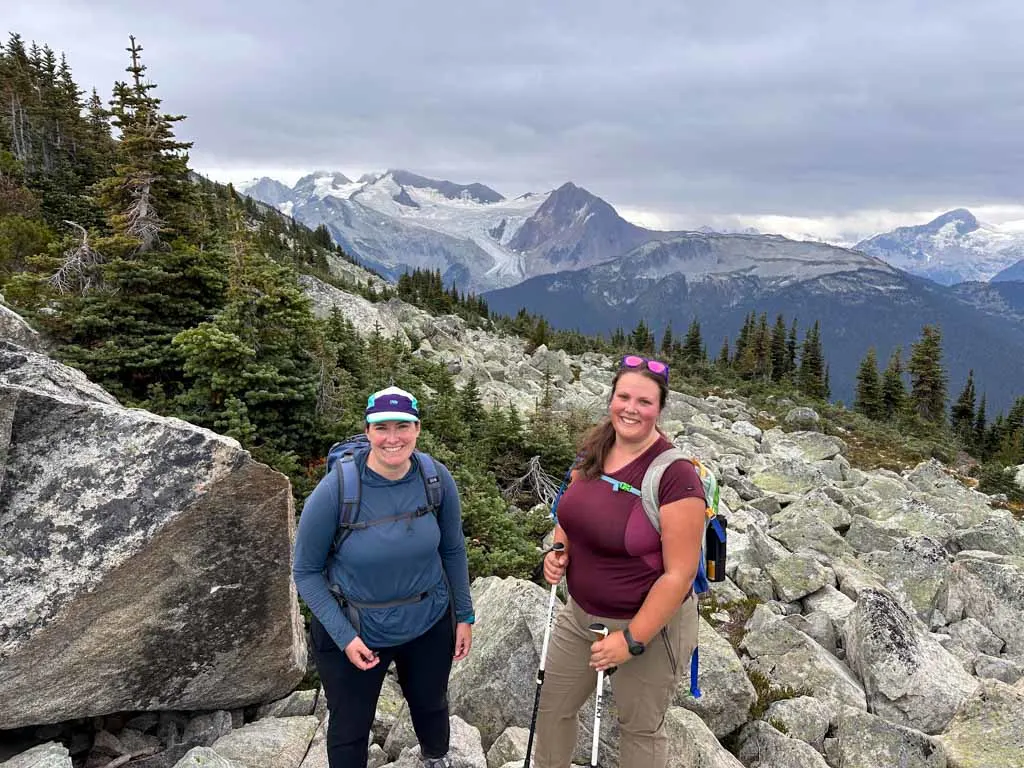
I hope you enjoy your hike on the Blackcomb Alpine Hiking Trails. I love the contrast of the gravel alpine moonscape with the lush wildflower meadows. And don’t forget those cute marmots! If you’ve got questions about the trail, ask them in the comments and I’ll help you out.
READ NEXT:
- The Best Hikes in Whistler: A Guide to All the Trails
- Visiting Whistler, BC in Summer (By a Local)
- 80+ Things to Do in Whistler (By a Local)
- High Note Trail in Whistler Hiking Guide (By a Season’s Pass Holder)
- Joffre Lakes Hike (By a Local)
- Whistler Train Wreck Hike
- The Best (and Worst) Backpacking Meals Reviewed - December 16, 2025
- My Favourite Hiking Gear of 2025 - December 9, 2025
- Best Insulated Skirts For Hiking and Snowshoeing in 2026 - December 5, 2025

